Snow.
Metering and photographing when everything is white.

A snowy landscape, one of the most picturesque and dramatic situations a landscape photographer can find himself or herself in, is also one of the trickiest to meter and shoot.
When the scene is predominantly white, the light meter can not be trusted. Light meters are designed to read everything as a mid grey, and the majority of normal scenes are averaged out to give this mid point, but snow fools it.
I’m sure we have all at some time produced at least one, grey flat snow image with no clear highlights and murky shadow detail. This is most likely because the image has been exposed by metering the scene directly (reflective reading), or shot on auto. The light meter is fooled into thinking that the scene is much brighter than it actually is, this is obviously because there is an abundance of white around instead of the usual mixture of dark, light and mid tones.
This doesn’t just happen in bright sunlight, -snowy conditions will give the wrong reading on grey days as well as sunny days if the meter is pointed at the snow. Metering directly off snow gives a very high EV reading (exposure value). This translates into fast shutter speeds and small apertures, which prevent enough light from reaching the film (or the sensor), causing underexposure.
Underexposed shots record only mid to high tones, very underexposed shots record only high tones.
To compensate for this, it is essential that you overexpose the camera reading by one and a half stops on a grey day and a full two stops on sunny days. Using a hand meter to take an incident reading will avoid having to make these adjustments (see section on light meters).
Unless your landscape photography is limited to your own garden, take precautions; before you run out of the door excitedly at the first fall of snow, let someone know where you have gone and take a phone with you. Warm clothing is an obvious requirement. It is easy to forget that the weather can worsen whilst you are concentrating on pictures and it would be worth consulting someone who does a lot of climbing or hill walking to enquire about what is most effective before going off into the wilderness.
Long periods in low temperatures can make your fingers very stiff and sluggish and it is sensible to have gloves with you that you can easily remove when you need to operate fiddly controls on the camera.
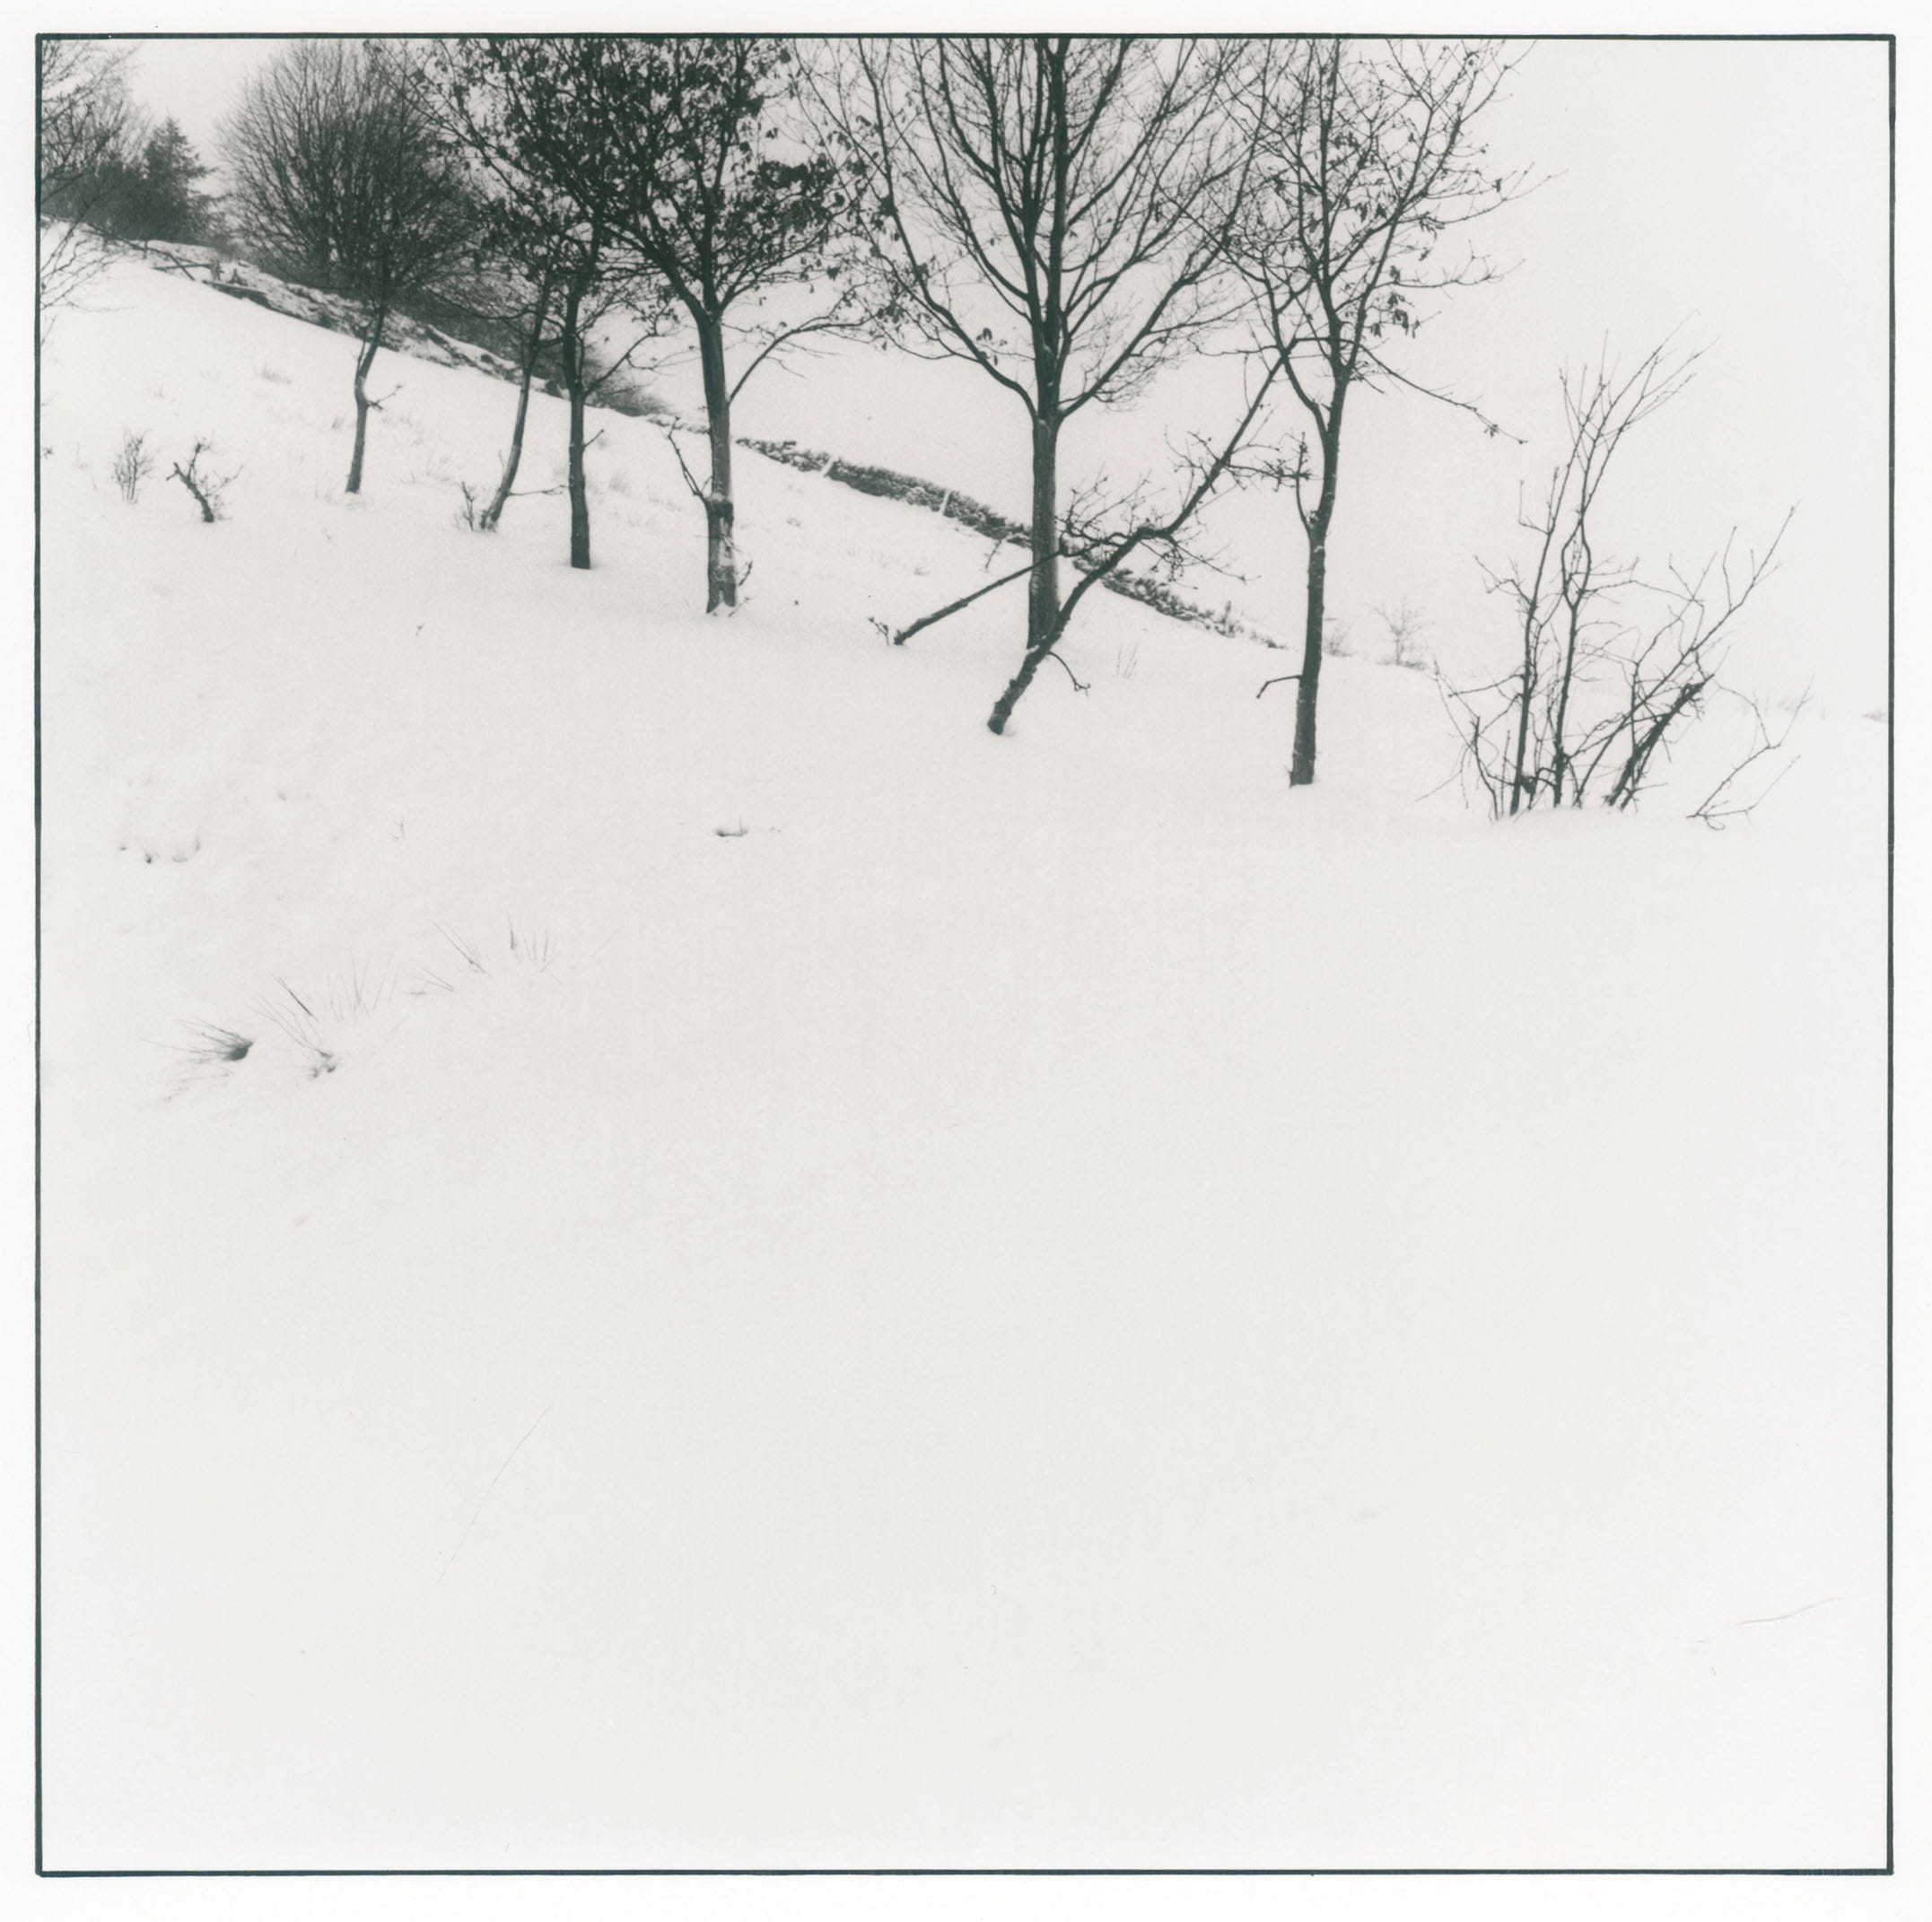
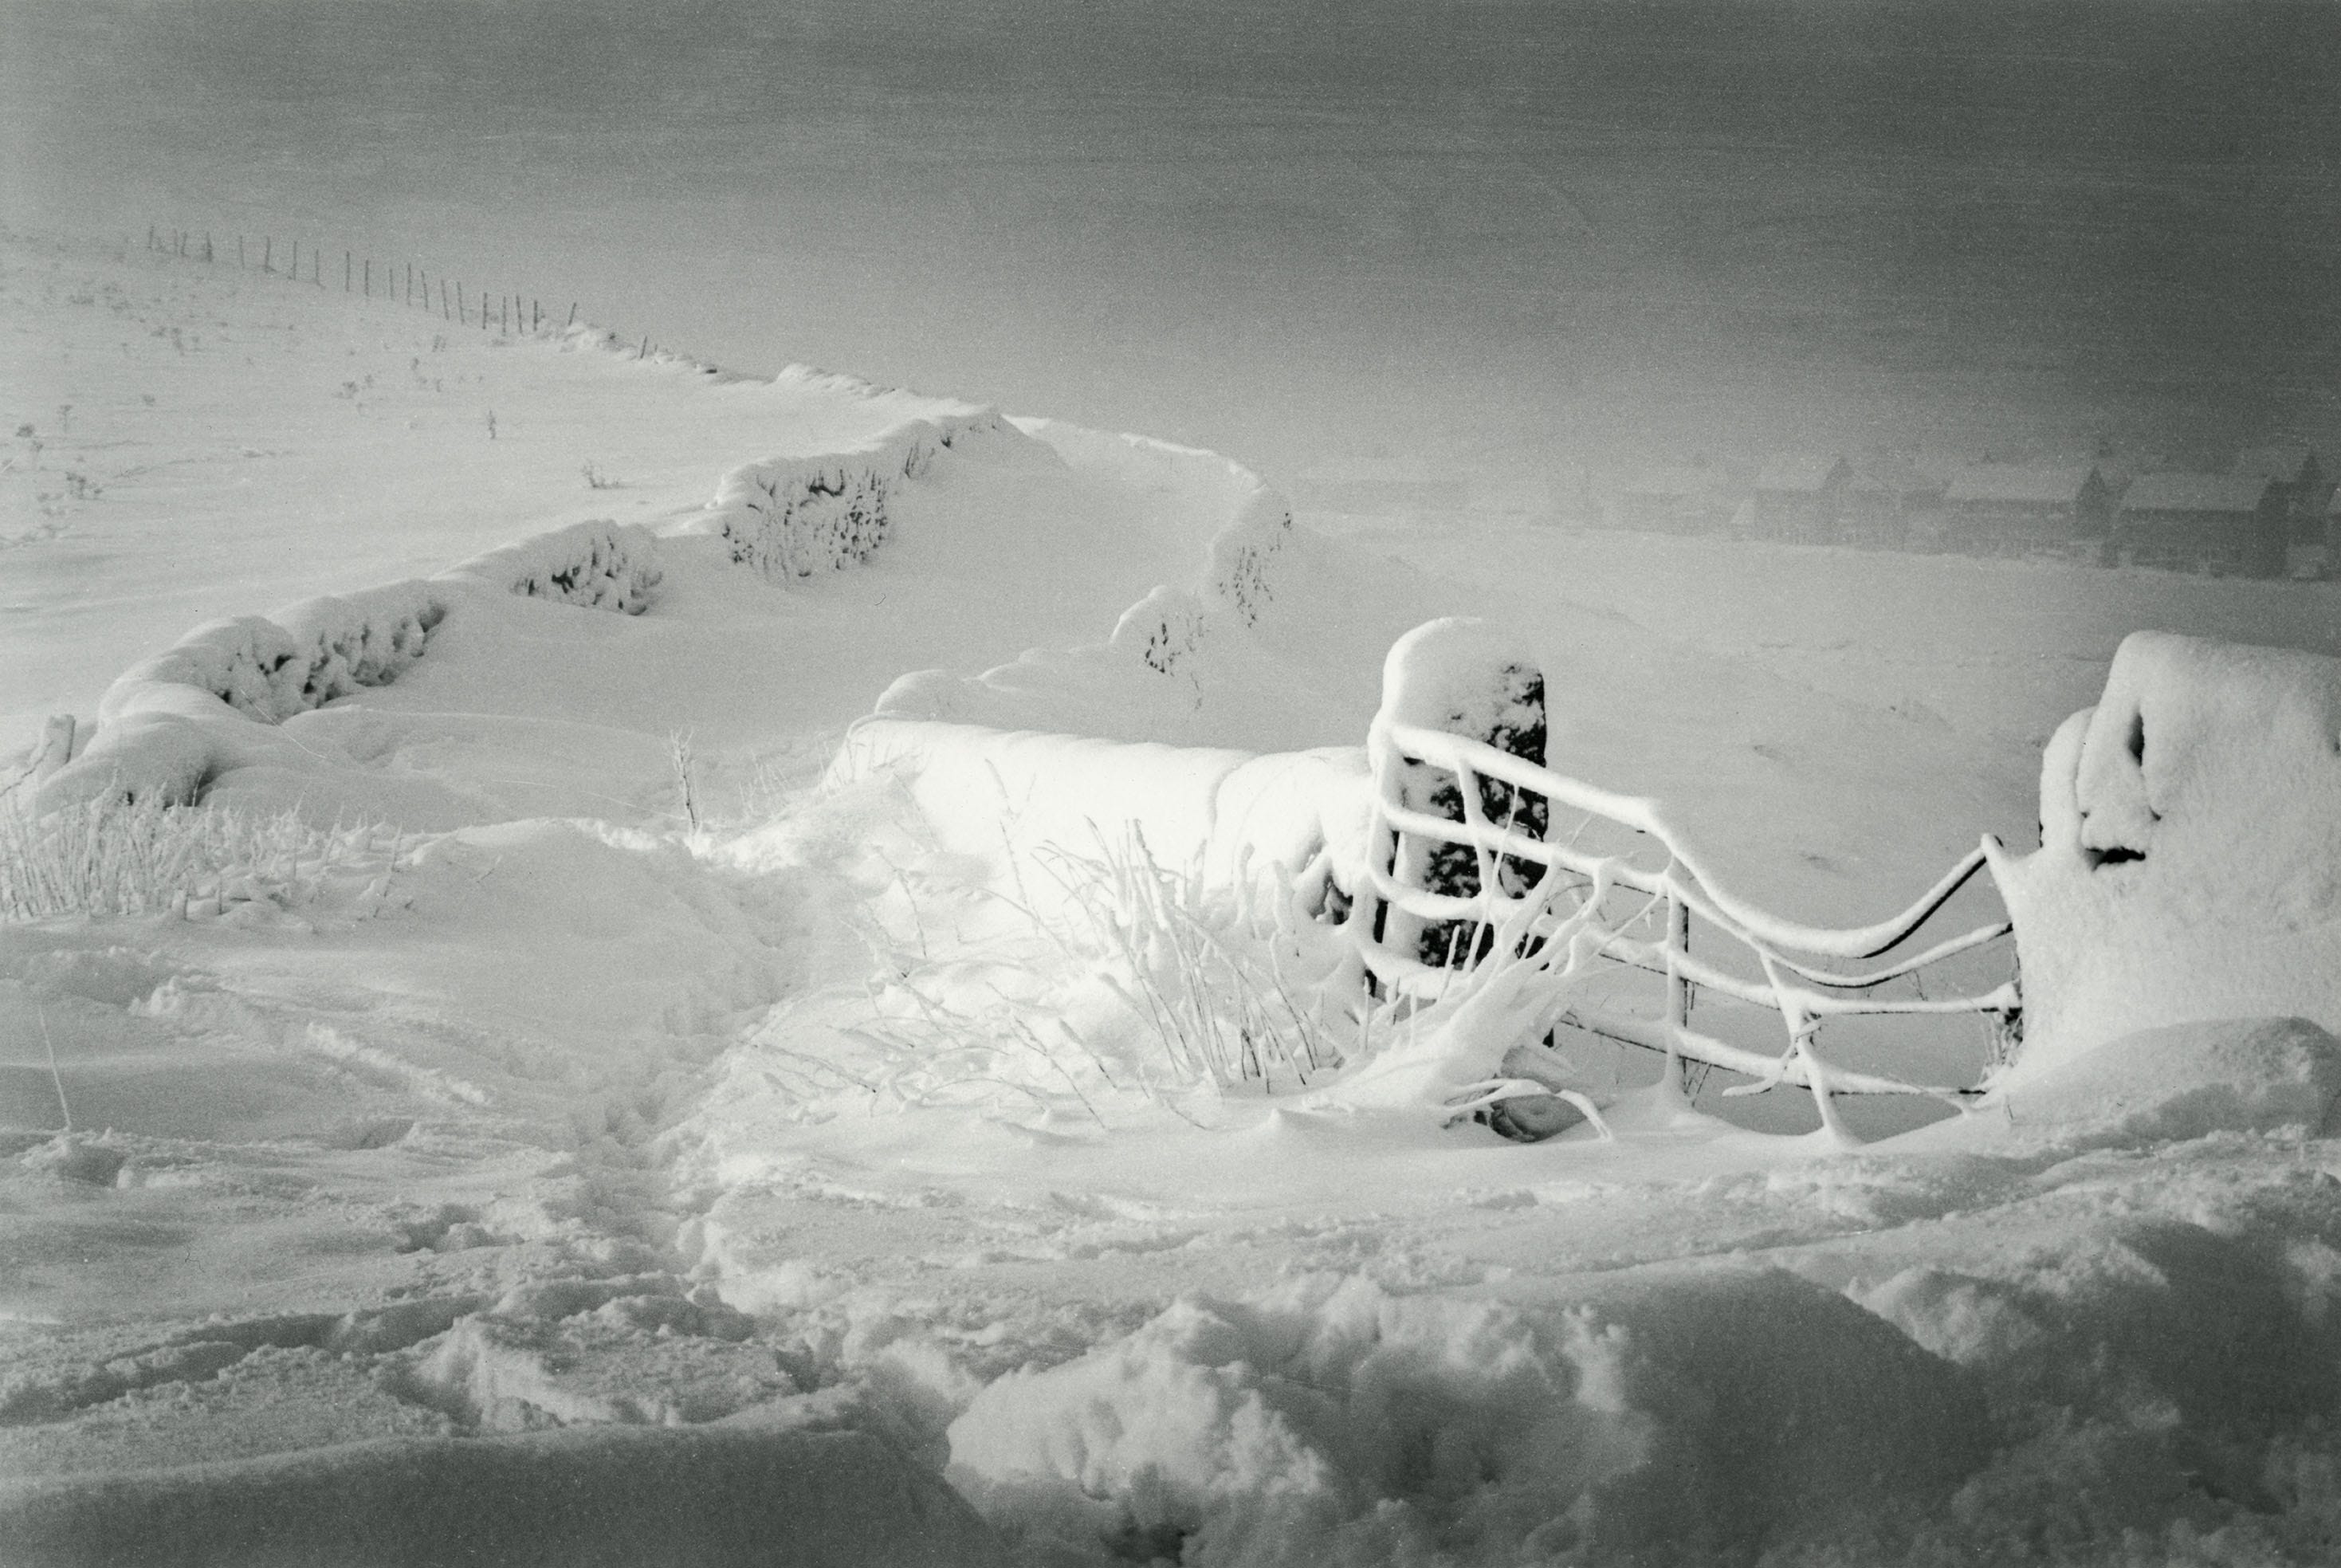
Watch where you go - on the day that I shot the picture above, I was caught out as I descended a hill and stepped into a snowdrift which came up to my neck!
I could have disappeared from view if the snow had been deeper, but luckily I was with a fellow photographer and was not in danger, though I did tread very carefully from that point on. Don’t stray too far from places you are familiar with, the landscape is deceptive when covered in thick snow.
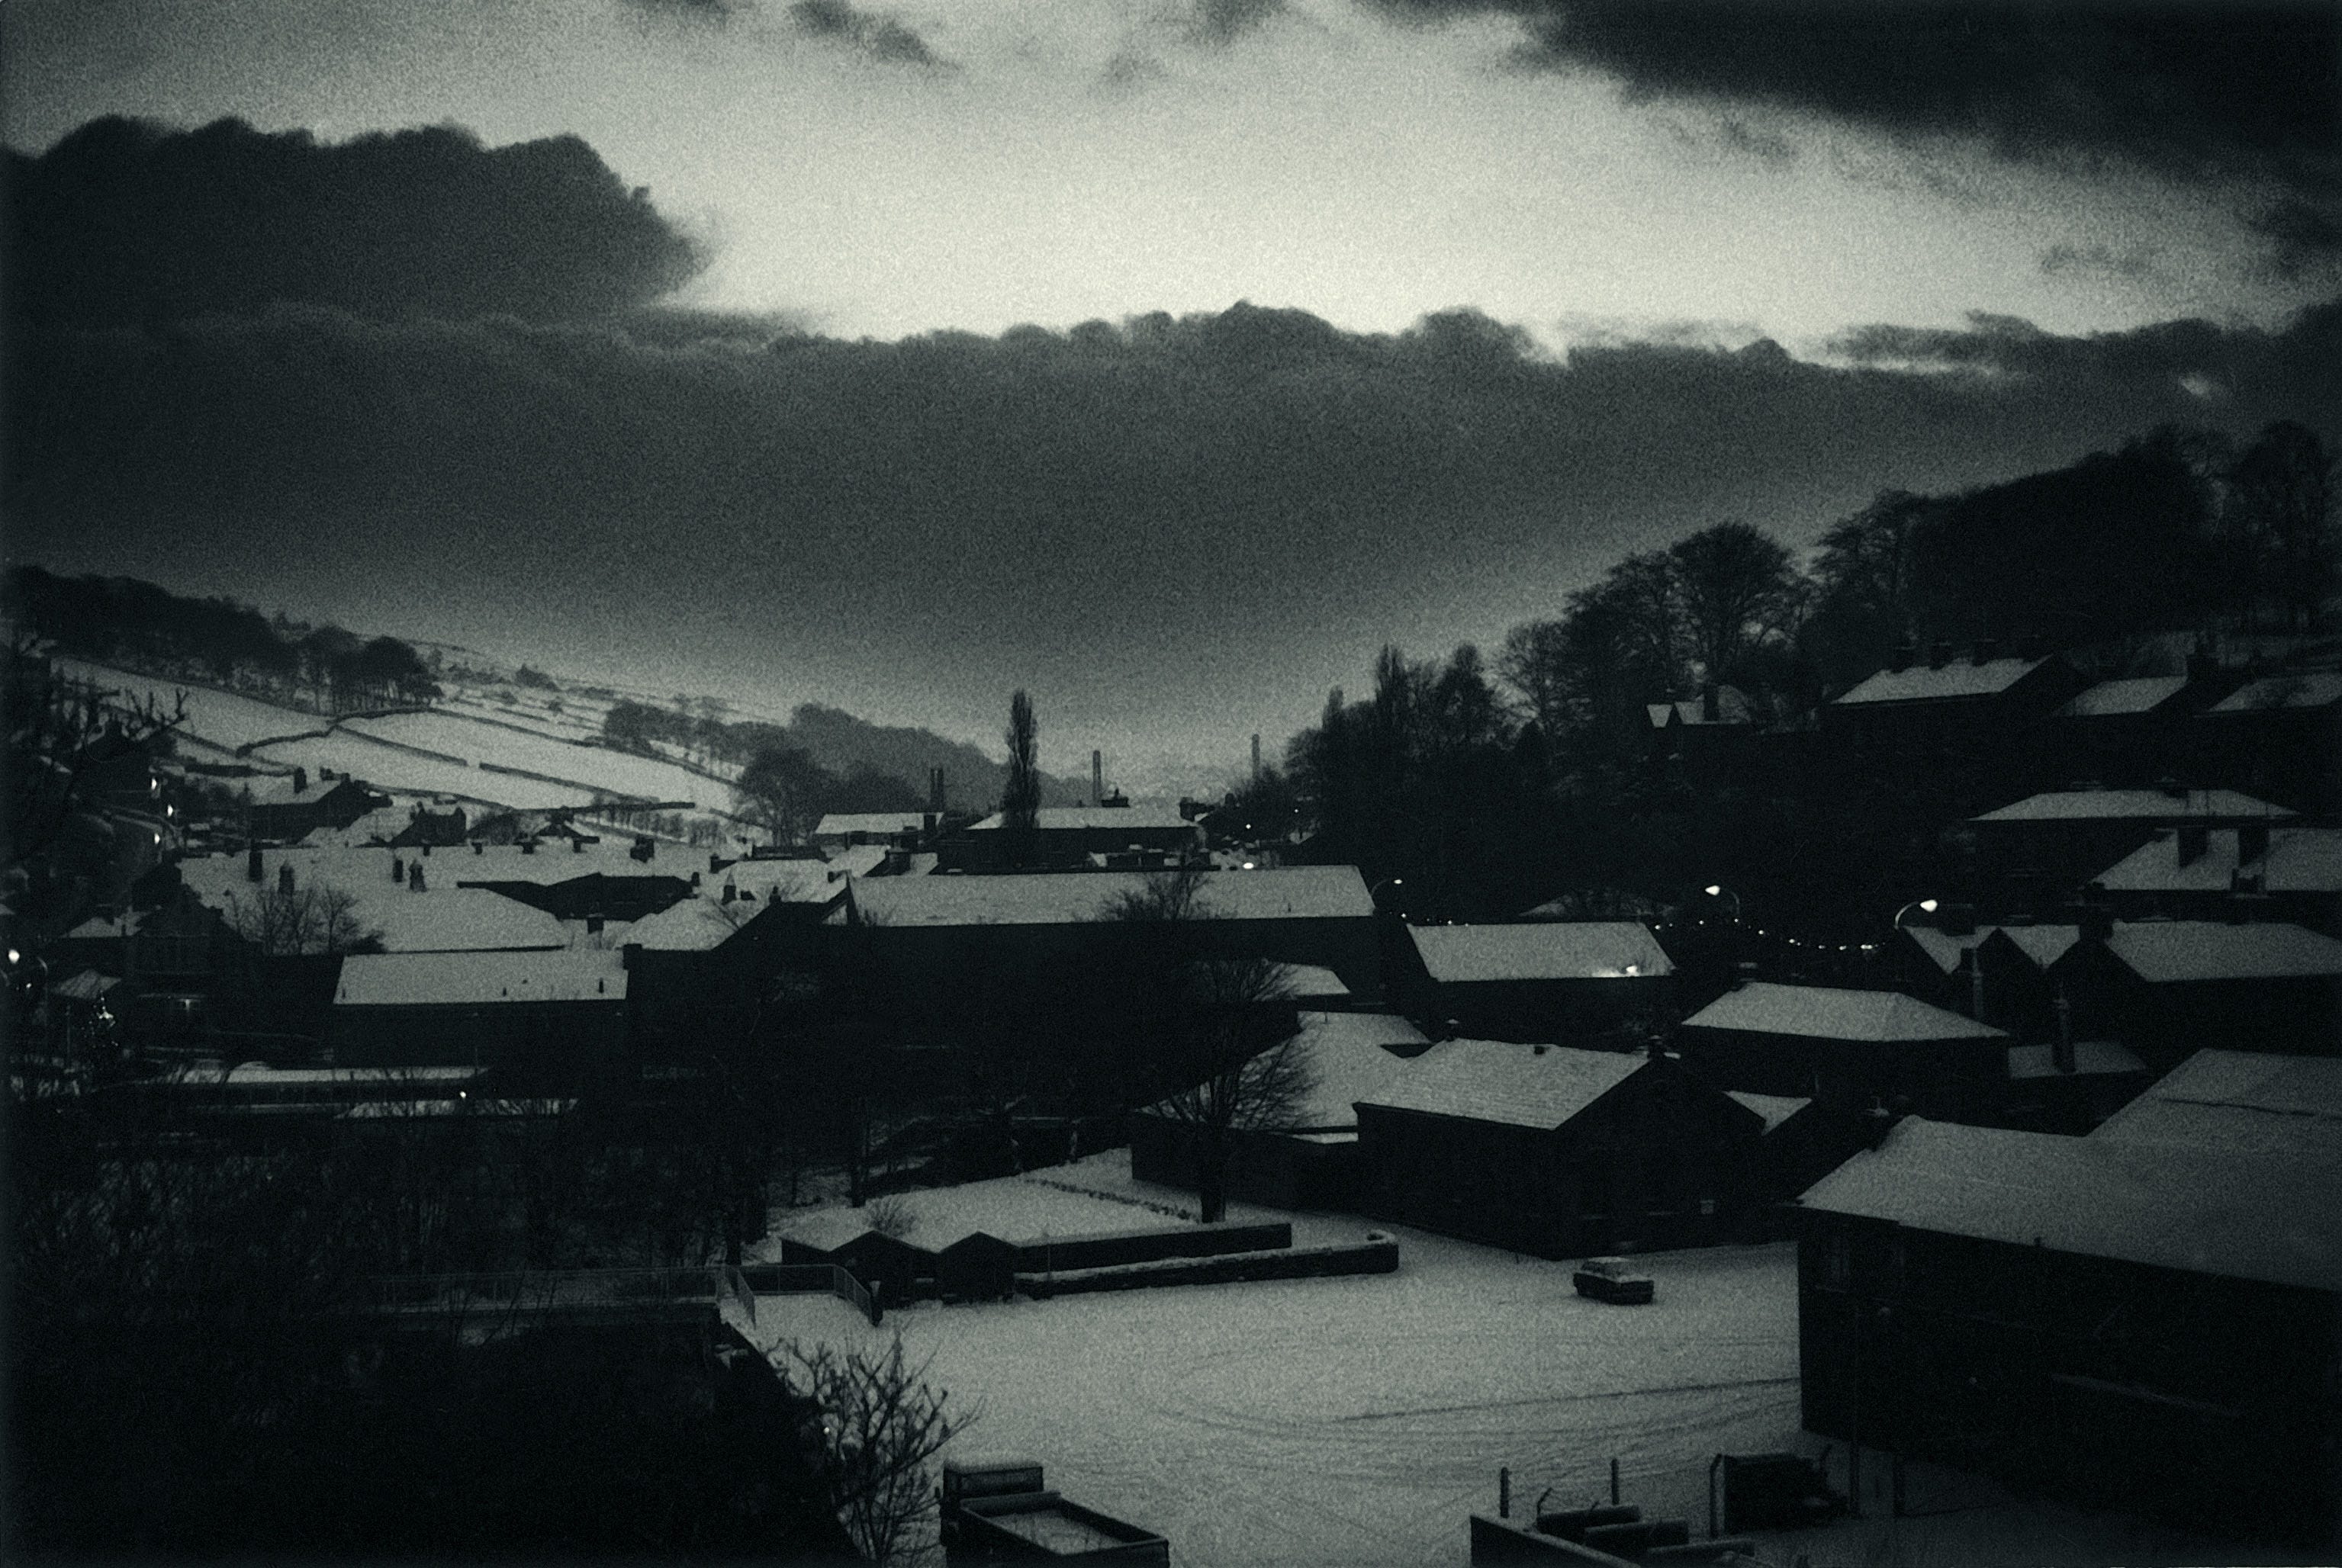
Snow photography needn’t be confined to sunny days. I really enjoy doing night photography after a heavy snowfall. The light levels are higher because of all the reflected light and the localised nature of street lighting creates dramatic areas of light and shade. Cold feet can be a problem though, from standing still whilst waiting for the exposure, so wear thick socks.
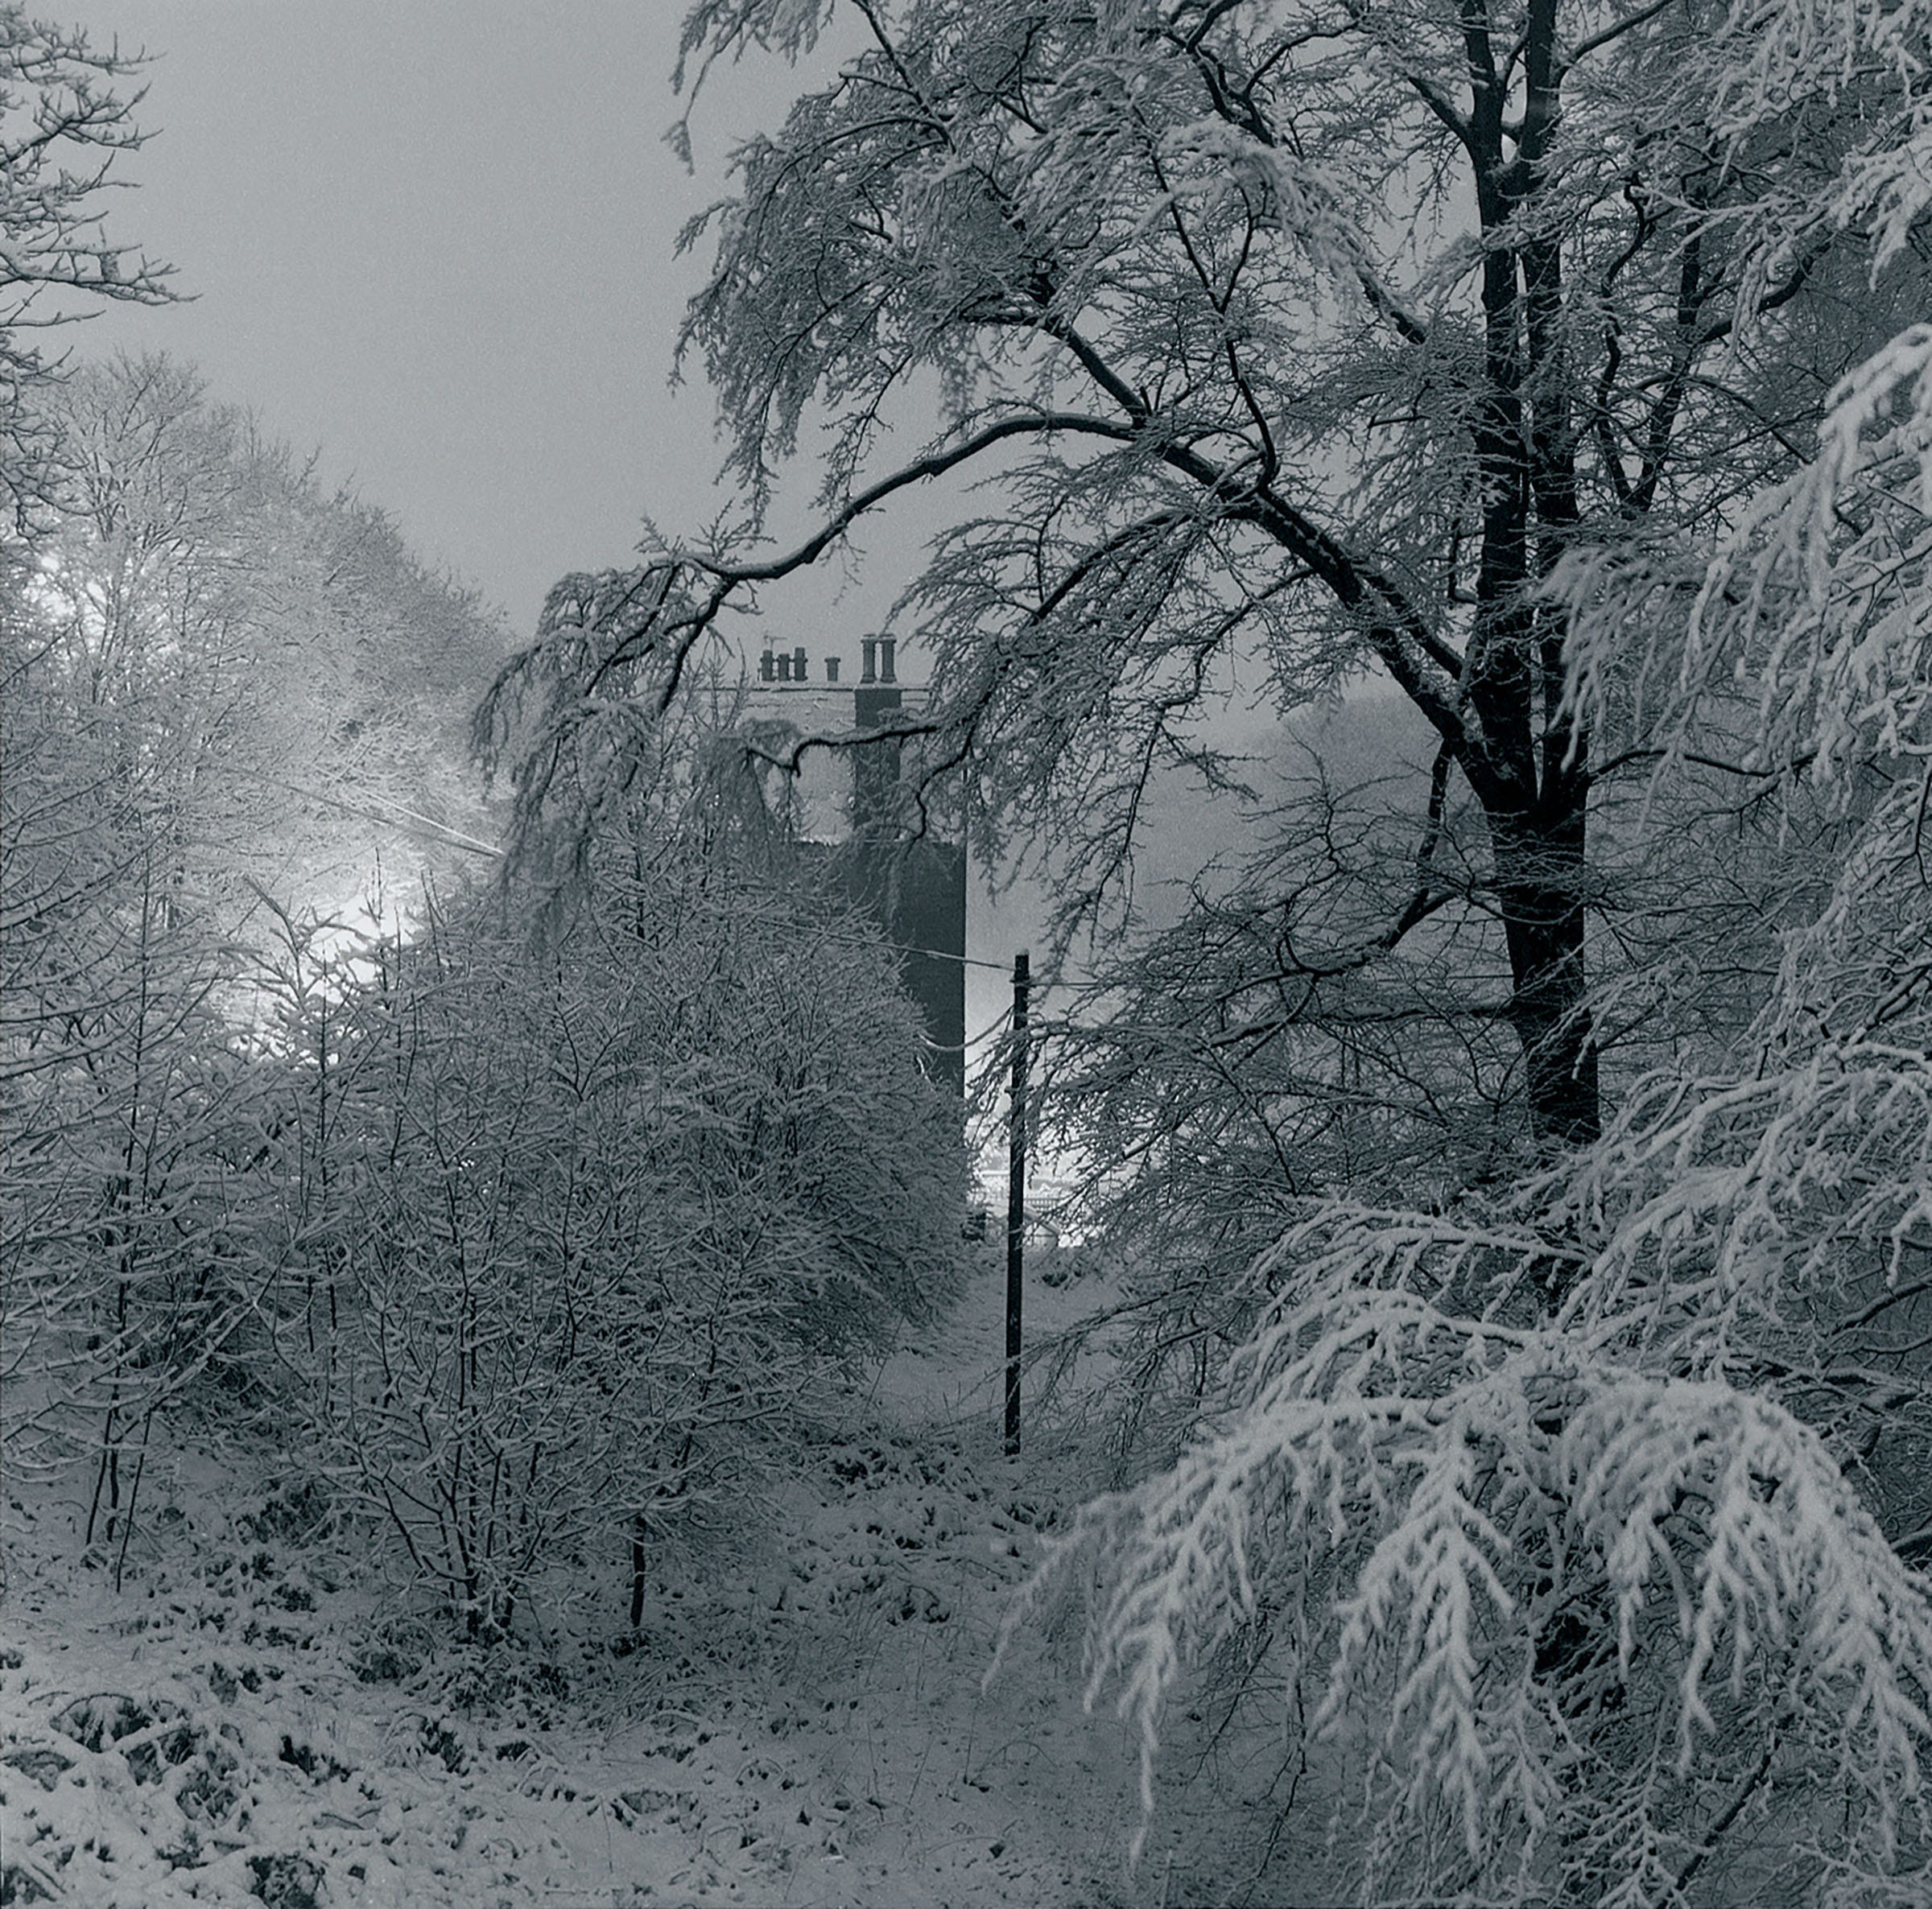
Night photography in the snow provides dramatic subject matter, but can this can also be rather contrasty. Again, an incident reading is the most accurate method, though extra exposure must be given for reciprocity failure. See my article on night photography: https://substack.com/@masterprinter/p-177185498
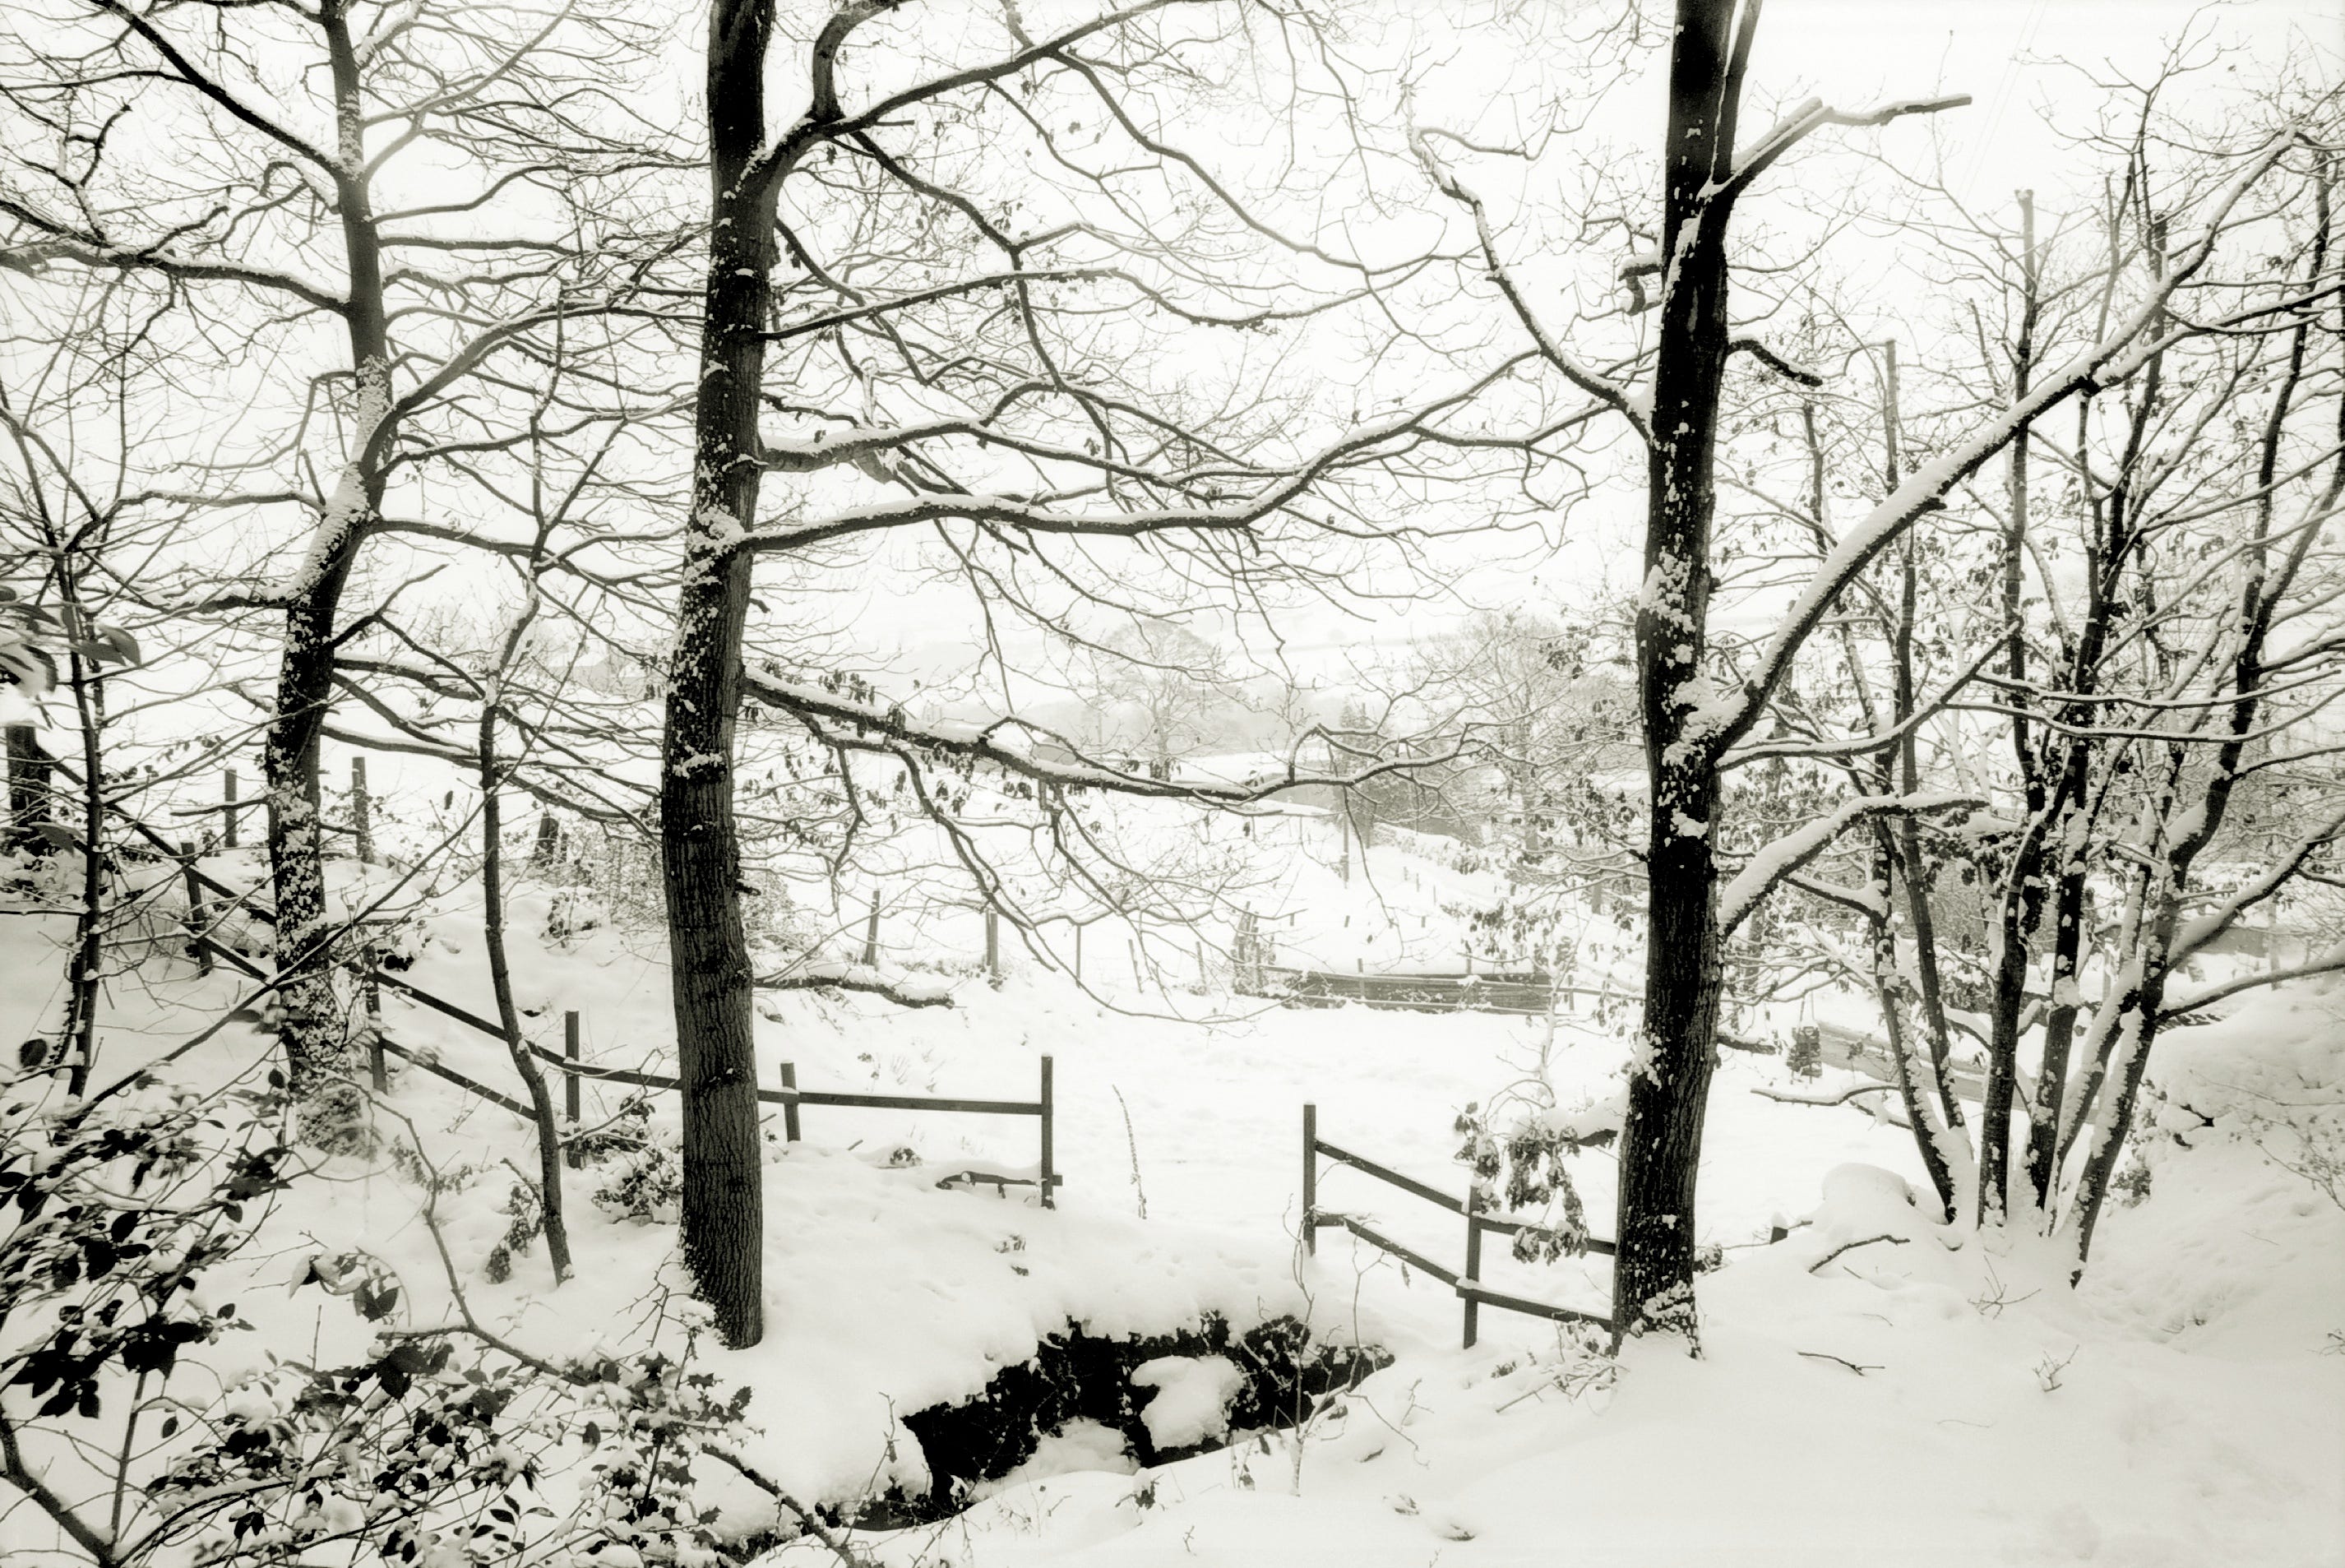
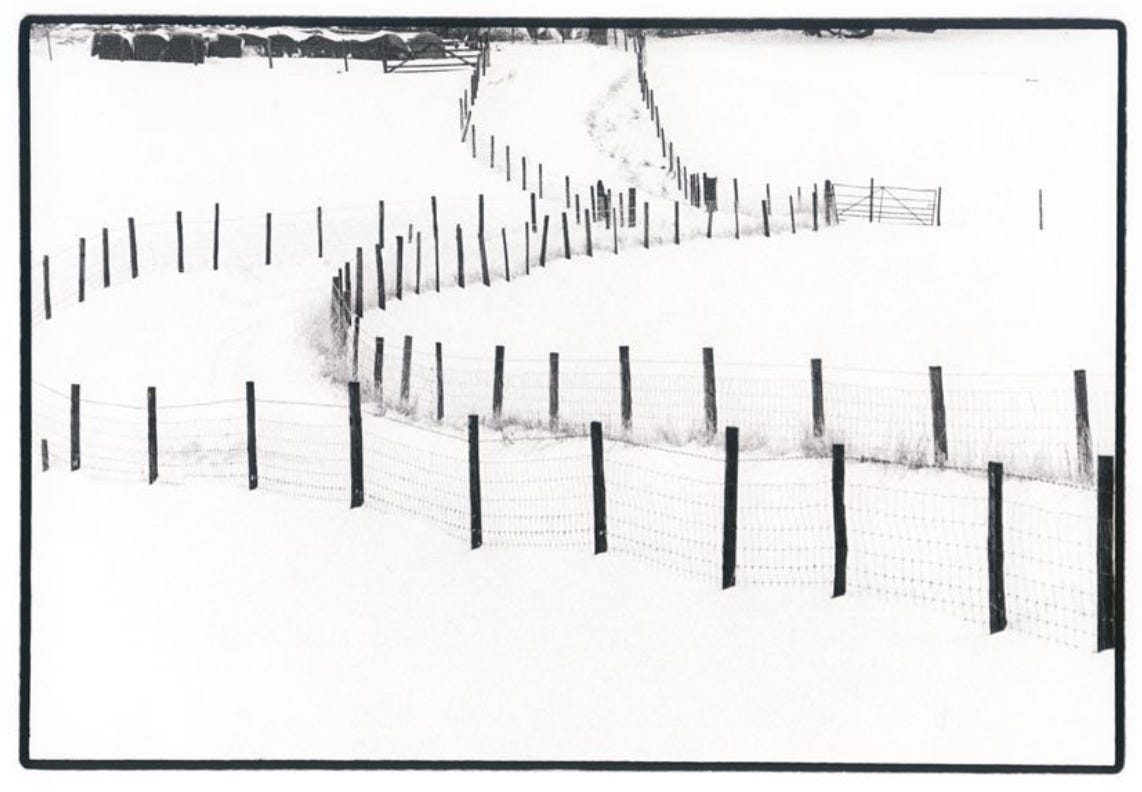
The graphic quality of black shapes in a white landscape can provide stark, interesting compositions that just would not work as well at any other time. Simple shapes can look like a pencil or charcoal sketch.
Equipment.
Camera
For very cold situations, a camera that is heavily dependant on batteries is probably asking for trouble. Batteries are notorious for performing badly, -or not at all, in cold conditions.
A fully manual film camera is the best option and keep the light meter in an inside pocket where it is insulated from the cold.
Digital photographers will have to take their chances. Perhaps you could keep a spare set of batteries in your inside pocket to swap over if the camera is having difficulties.
Tripod
Not essential, unless you are shooting large format. Sunny snowy days provide more than enough light for hand held photography, however, you may wish to shoot at dusk, or on a dark, grey day, or even use a slow film, any of these situations would benefit from a steady support. A tripod can also be useful if you are at a particular location, waiting for the best lighting conditions. The camera can be positioned and you can make a snowman while you wait.
Light meter
A light meter with the ability to do incident readings will give you the most accurate exposure, as long as you use it correctly. The meter must be positioned so that the white cone covering the light cell is pointing towards the camera, from the position of the subject. Confused? OK, think of it this way; This form of metering reads light falling on the subject, not light reflected from the subject, so the meter should be in the subject and pointing at the camera. Sometimes this is not possible, such as shooting distant scenes. In this situation, hold the meter in the air and point it behind you. If for example, the sun is shining from the side, then it will strike the meter at exactly the same angle as it will strike the landscape in the distance.
The only situation where an incident will give you an inaccurate reading is when the sun is shining directly into the lens i.e.; backlighting.
My recommendation for an accurate and reliable analogue meter would be the Gossen Lunasix F. I have used one since the early 80’s and it was the best bit of photographic kit I ever bought
Flash
Personally, I wouldn’t take a flashgun out with me when shooting snow, but so many cameras have it built in these days, that I feel the need to mention it here.
If your camera has a flash, it is best turned off. At best it could perhaps fill in the shadows a little when shooting towards the light, but this would only effect the immediate foreground causing it to look false and flat. If there is snow in the air, the flash will illuminate this, causing the flakes closest to light up and dominate the picture.
Plastic bag
I also take a plastic bag out with me so that I can leave the camera on the tripod and pull it over the camera if there is a fall of snow.
Some people keep their fil, lenses and cameras in plastic Ziploc bags to keep them dry
Tissues
These come in handy for dabbing up wet patches on the camera when snow falls off a branch or when the cold weather makes your nose run.
A flask or thermos
A hot drink of tea or soup can be very welcome after a few hours in the snow, well worth the extra weight.
Wellingtons or waterproof footwear (This is pretty obvious, but I thought I’d mention it).
Tips.
Ice can provide interesting shapes, which may suggest a picture, either in the form of icicles, or as abstract shapes in a frozen puddle.
Low sunlight provides the best delineation of form and improves a snow scene dramatically. In winter, the sun is never as high as summertime, but even so, morning and late afternoon are going to be the times when the light provides the magic that snow photography needs.
Backlighting is very tricky to meter, but shows up the undulations in a thick fall of snow really well. A spot meter reading from the shadow side of a mound of snow will give very nearly a mid grey and should get your exposure pretty close.
The use of a yellow, orange or red filter will darken the sky and also the blue shadows.
Having a U.V. filter on permanently is a useful way of keeping water and snow off the front element of the lens. It is better to wipe a filter than an expensive multicoated lens.
If you find my articles interesting or useful, please spread the word to anyone you can think of who would be interested.
If you have enjoyed this post and the information here and elsewhere on my Substack and you would like to support me, you can subscribe or just buy me a coffee at Ko-fi.com/andrewsandersonphotography You can send as little as £5.00, or more if you are feeling generous. This money goes towards materials used for the tests and printing for these articles. Alternatively you can be a paid subscriber.
Thank you for reading, please let me know your thoughts.
Andrew Sanderson January 2026.
Other places to see my work;
Instagram; http://instagram.com/andrewsandersonphotography
Facebook; https://www.facebook.com/andrew.sanderson.96155/
Original hand made darkroom prints are available from my online shop; www.andrewsandersonphotography.bigcartel.com
A timely post, Andrew! Thank you. Excellent examples too!! Really nice.
Good article. As soon as I saw the title I thought about incident light metering.
We hardly ever get snow in my region, mostly just heavy rain unfortunately.