Pinhole photography
The most basic of techniques, with a charm of its own.

Does anyone these days not know what a pinhole camera is? I think it is pretty widely understood that a simple camera can be made from a light tight box with a pinhole at the front instead of a lens. How many of us have had the experience of seeing a projected image on the wall of a darkened room when the curtains or blind has a hole, or a small gap?
The principle of of a small hole being used to project an image is much older than many people would realise and predates photography by thousands of years!
Images of the sun projected on the ground under dense trees were described in the Chinese Zhoubi Suanjing writings. (1046 BC–256 BC)
Aristotle (384–322 BC) noticed the sun being projected through a hole and tried to work out why.
Camera obscuras with a lens in the opening have been used since the second half of the 16th century and became popular as aids for drawing and painting.
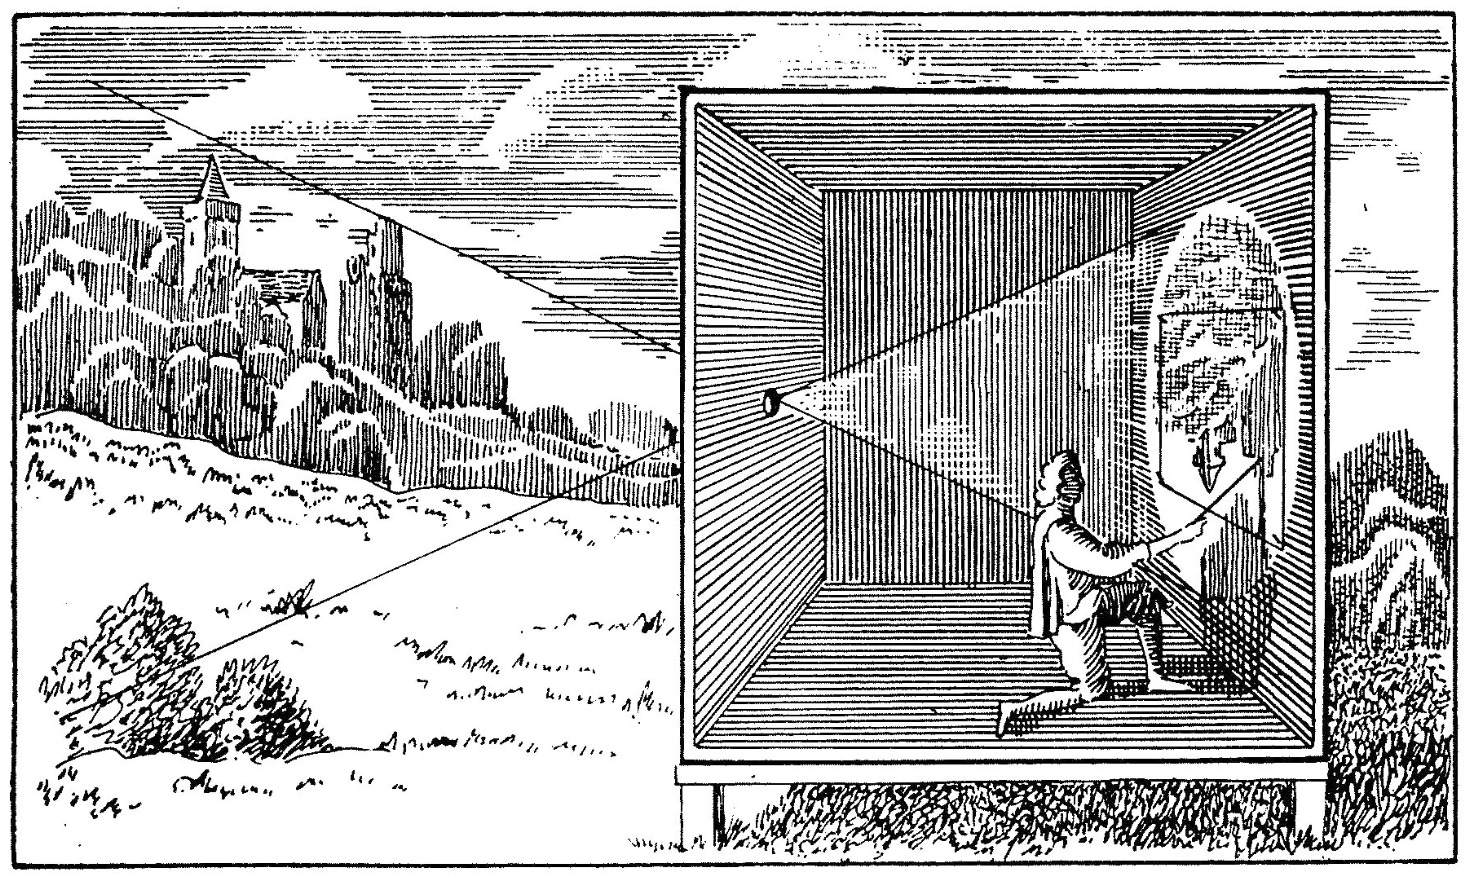
This is probably why the word camera (which means ‘dark chamber’ in latin) was chosen.
It was around 1870 that George Davison used a pinhole lens to create photographic images, as he thought lenses gave images which were too sharp.
My own introduction to pinhole photography happened in 1980 when my photography tutor made a camera from a cardboard tube, put some old photographic paper in the back an did a shot of himself, me and a few other students outside our college. I thought it was magic then and I still do.
I played around with various home made pinhole cameras after that day, changng the size and format, seeing what it could produce.
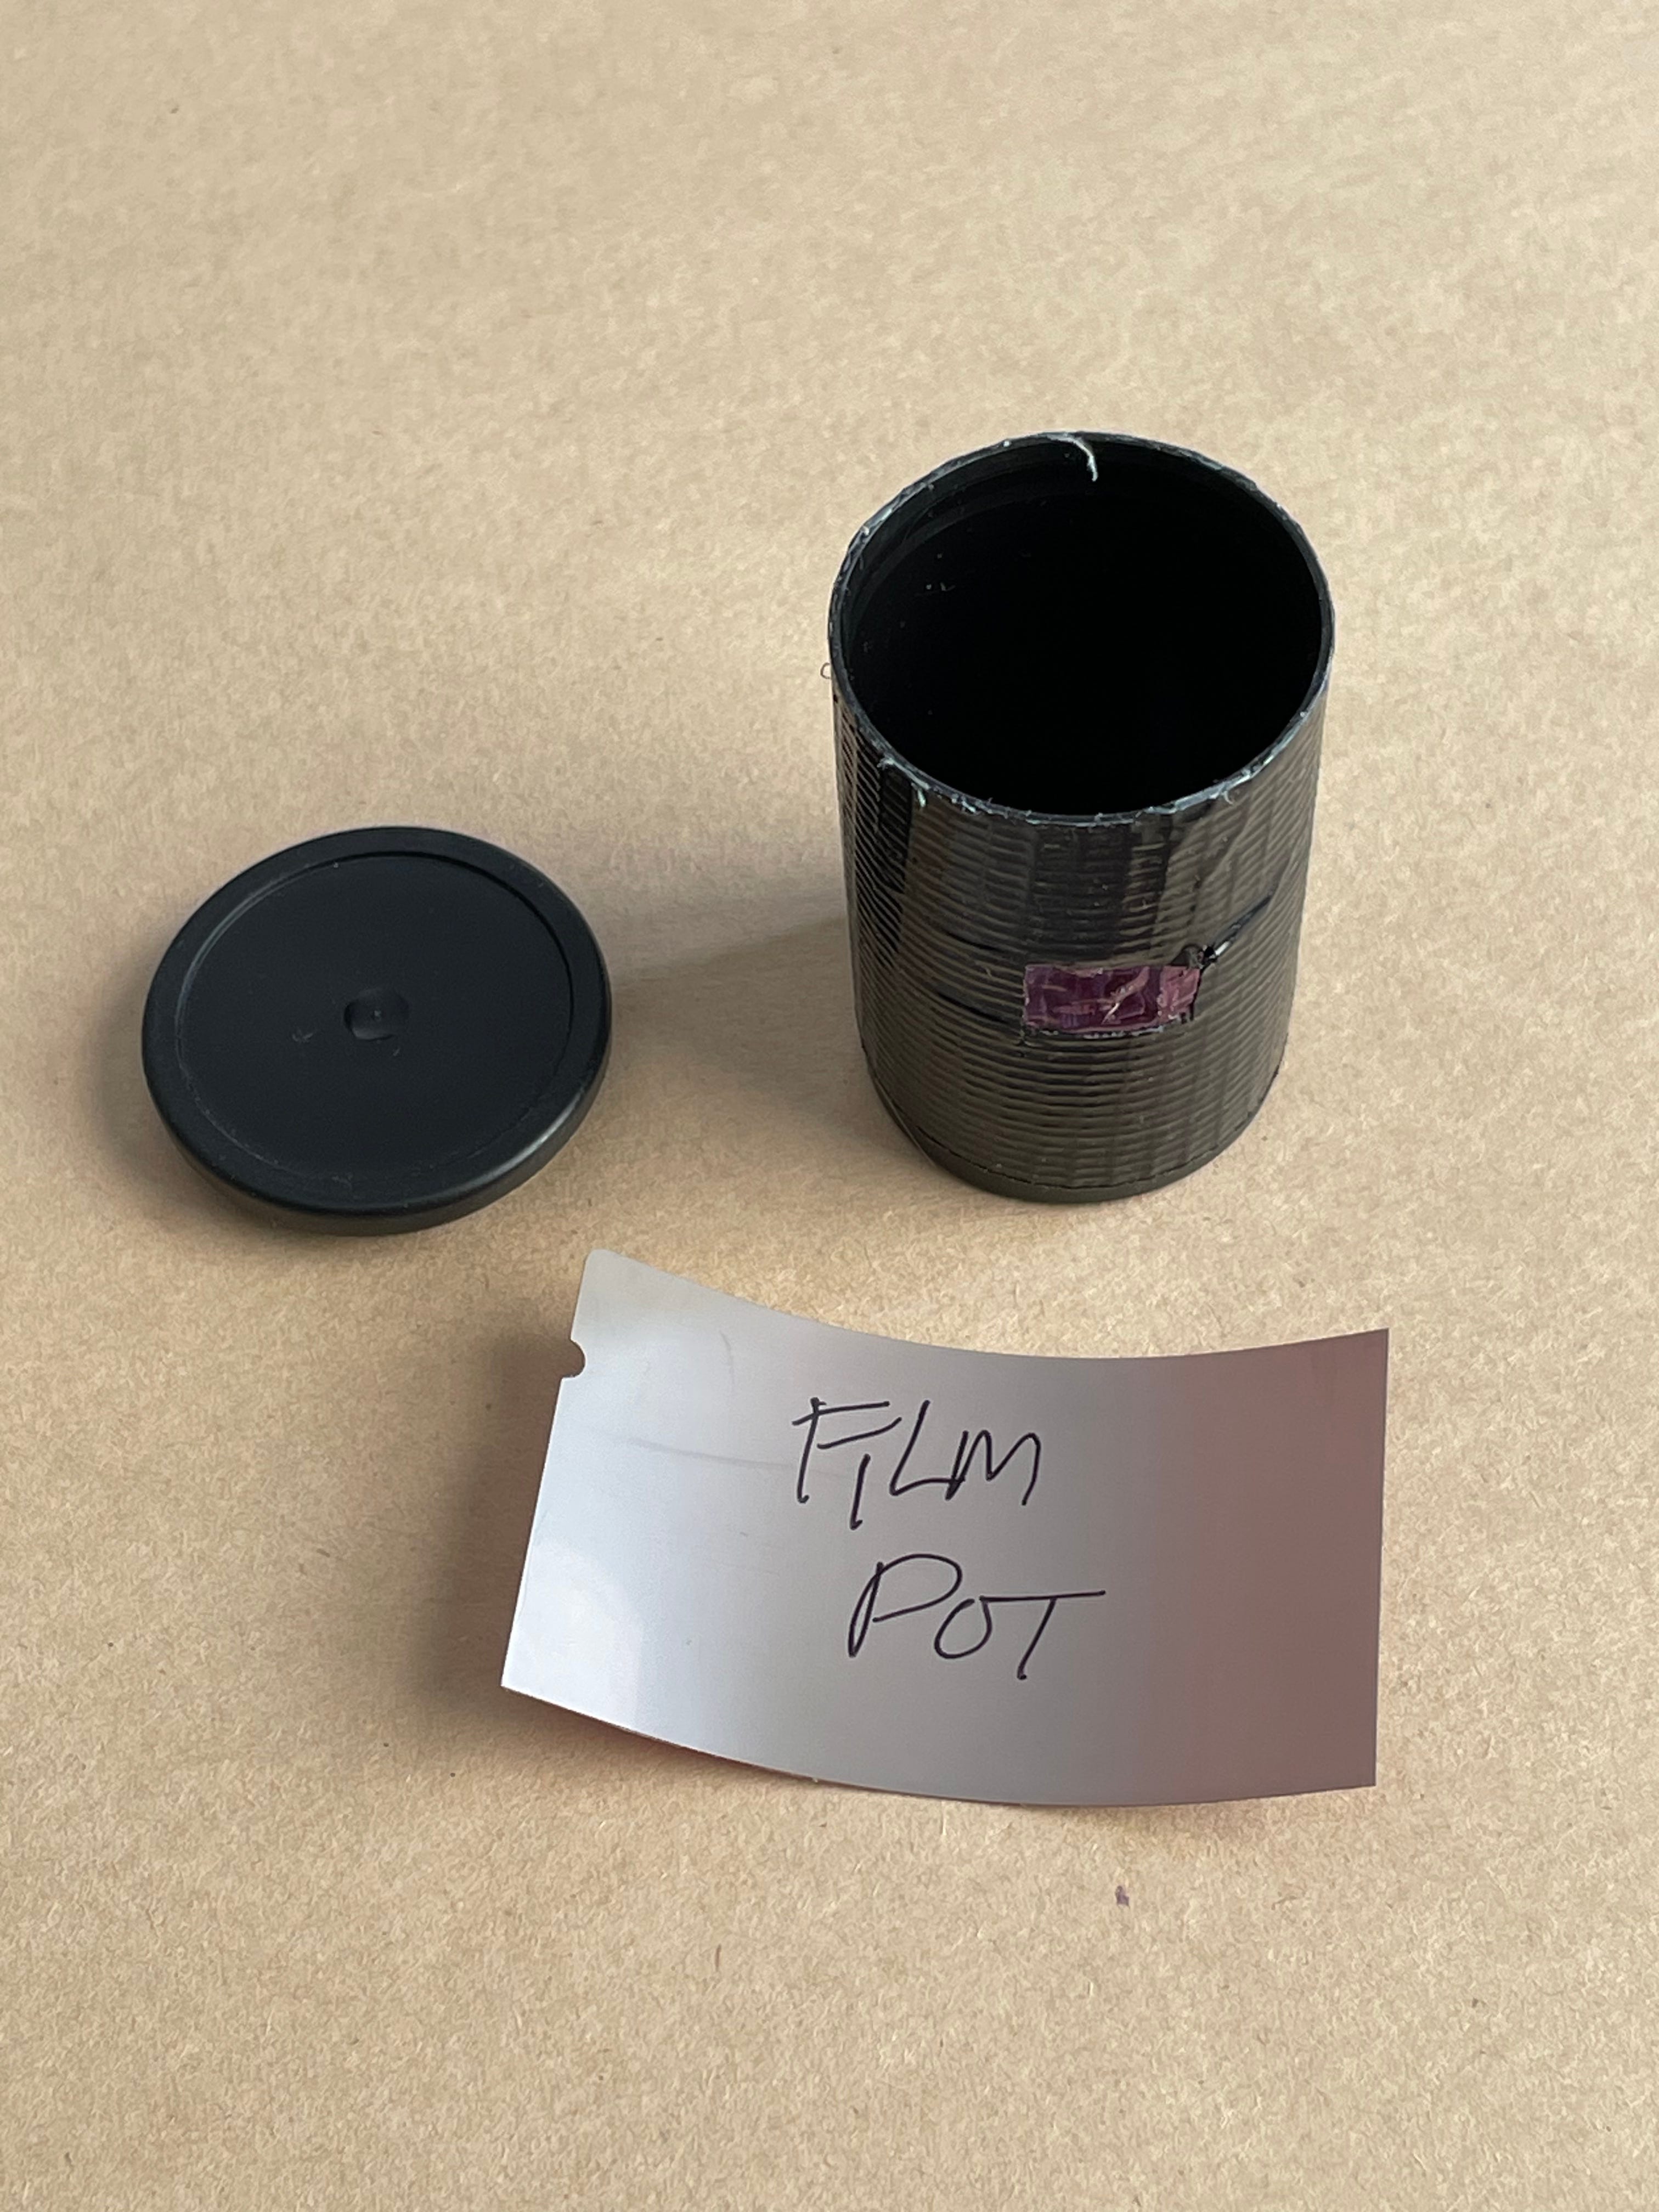
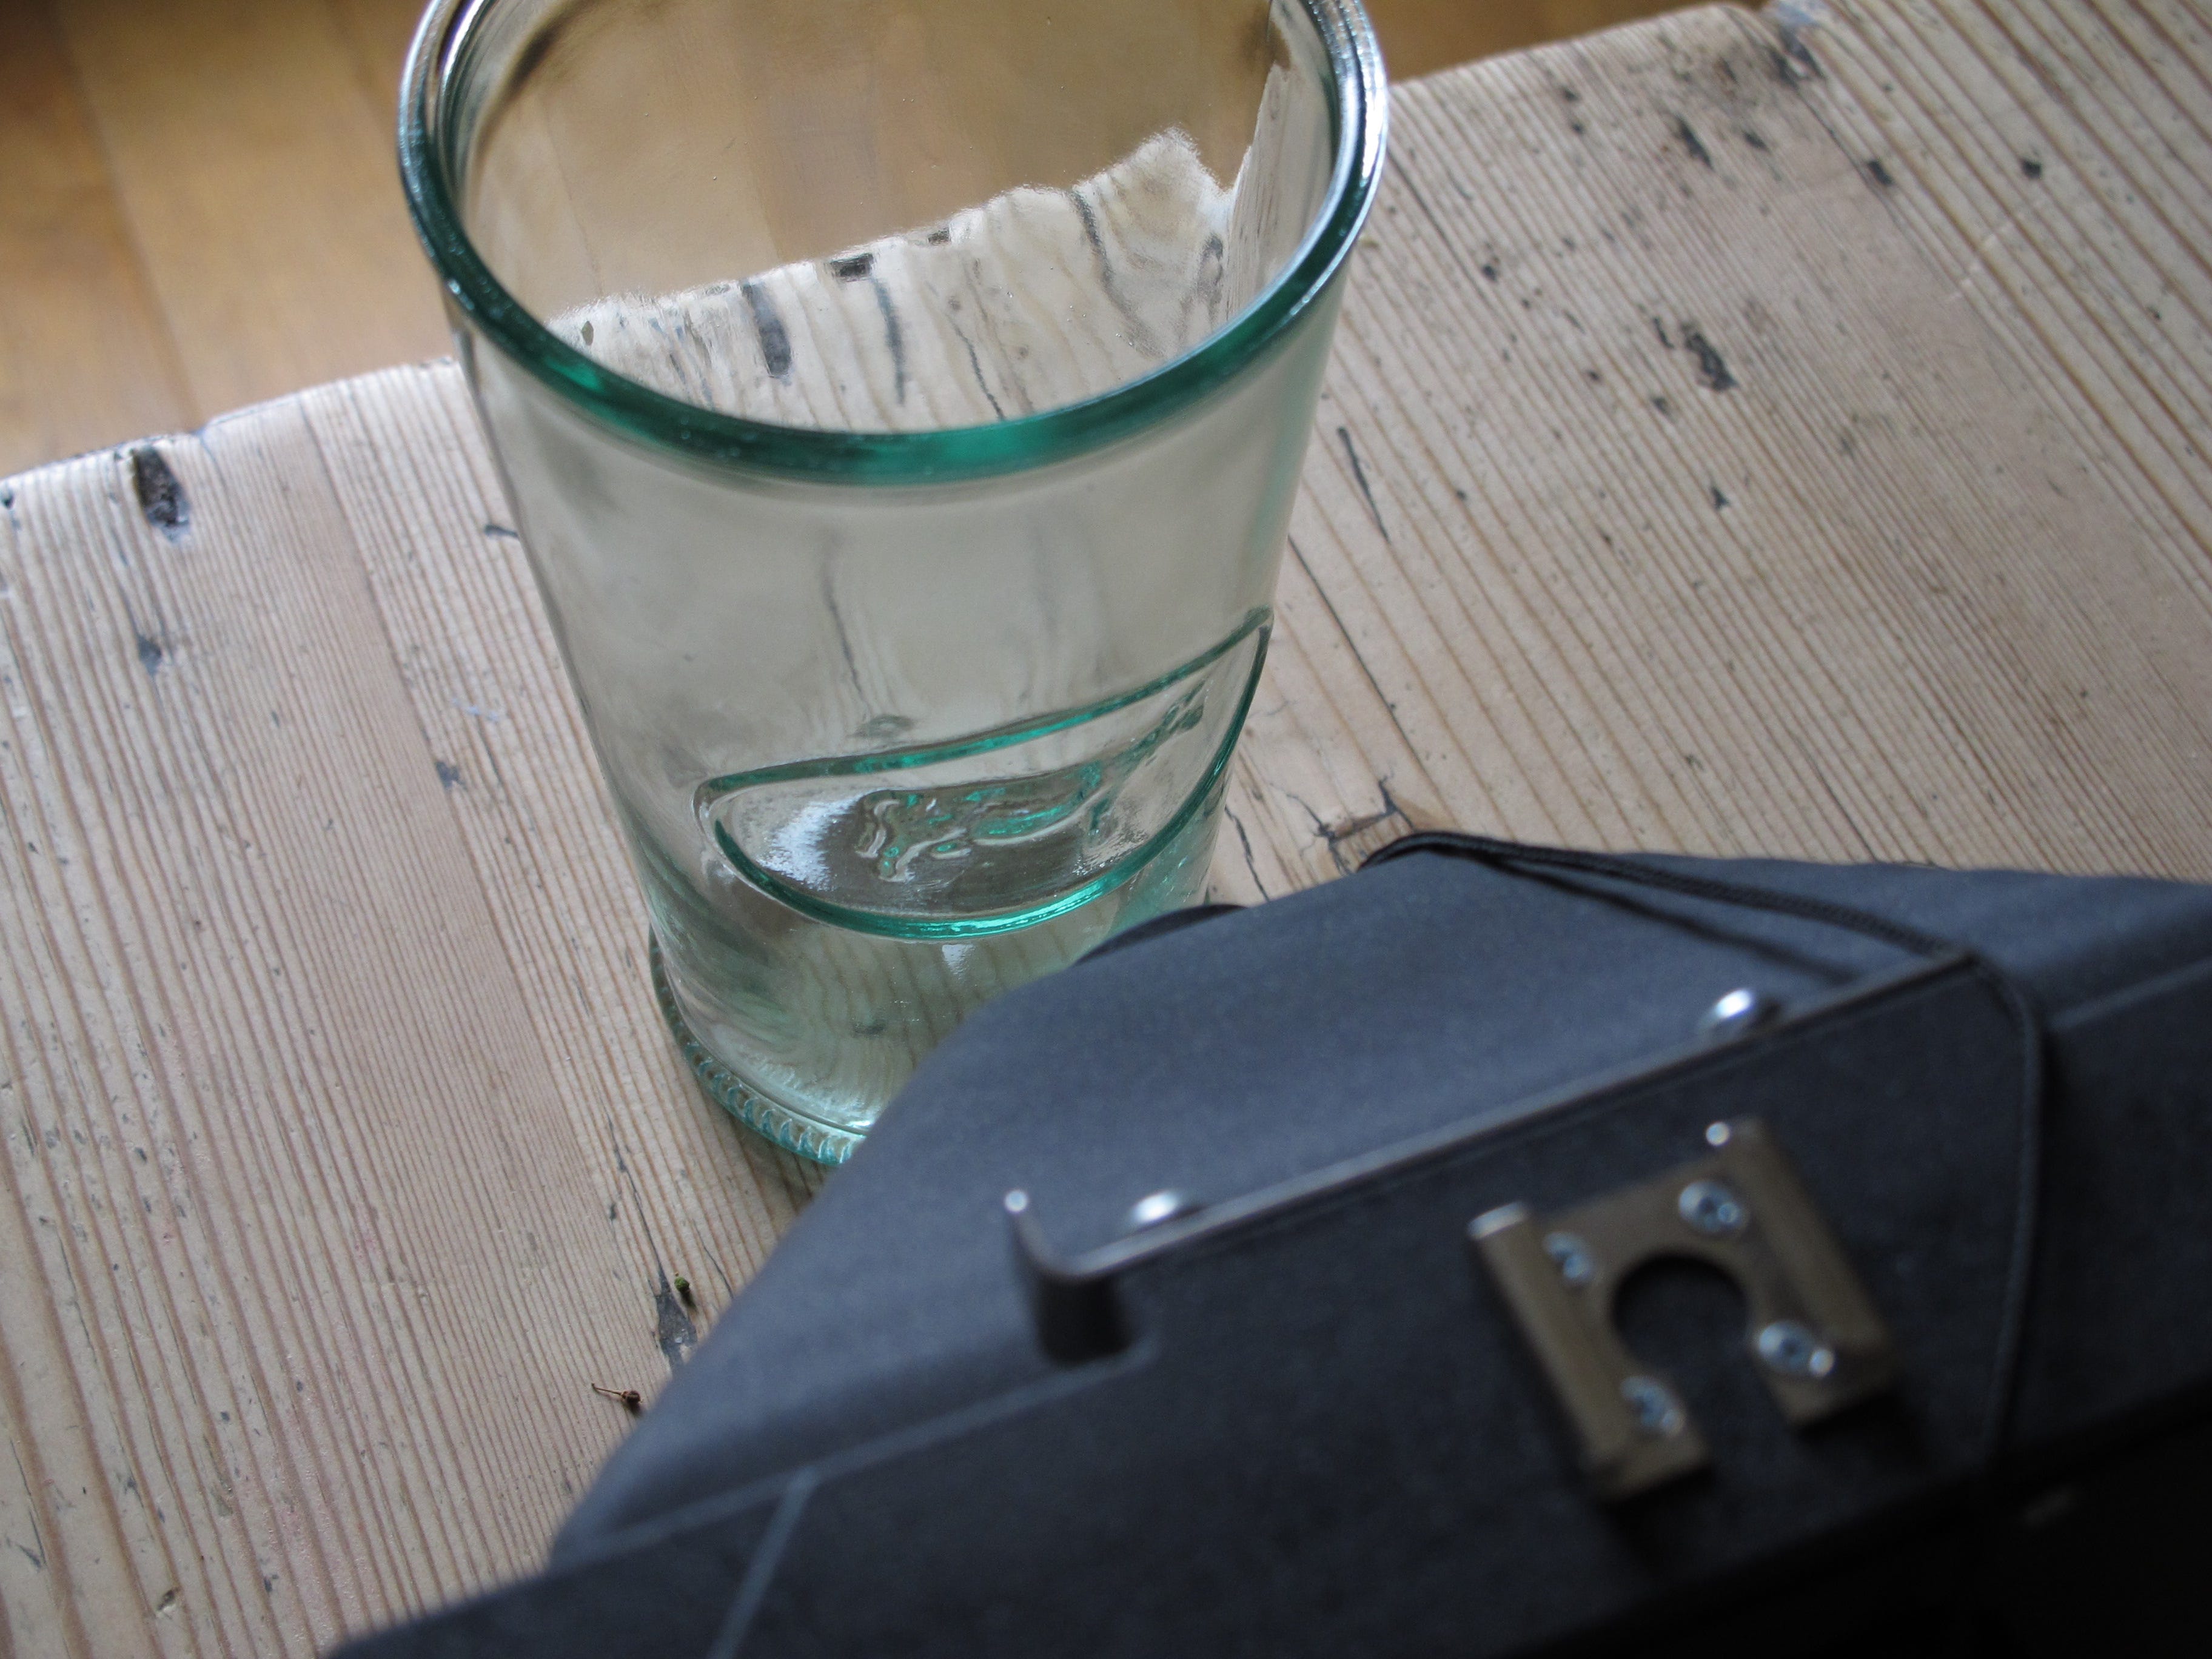
I made a few small cameras from black plastic film canisters with a hole cut in the side and tinfoil taped over. The graphic arts film (lith or ortho) was curved around inside. These tiny cameras could give me views from positions that were impossible to get a normal camera into; Inside a drinking glass, in a plant looking up etc.
Later I made them out of empty 5x7 paper boxes, tubular packaging for whisky bottles, cigar boxes and a presentation box for perfume. The perfume box took a sheet of 4x4 X-Ray film exactly and I loved using that one.

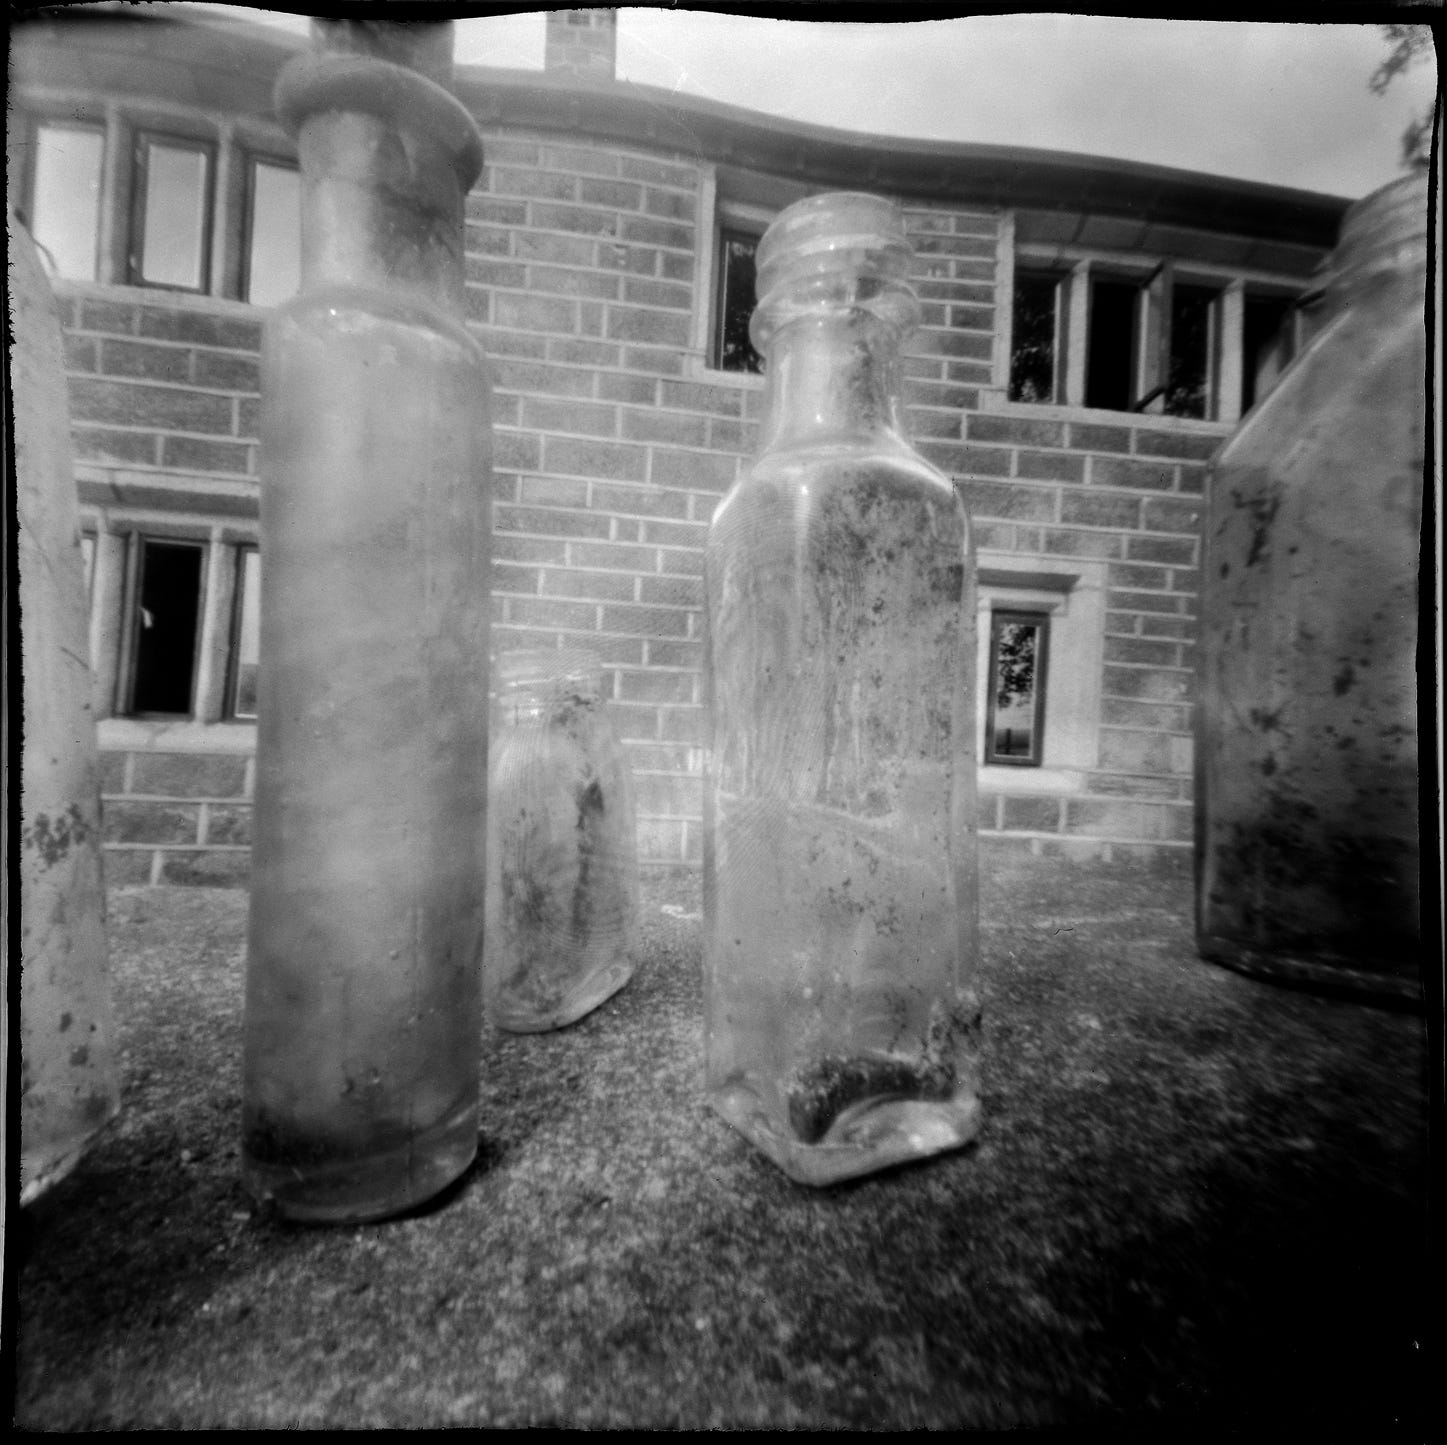
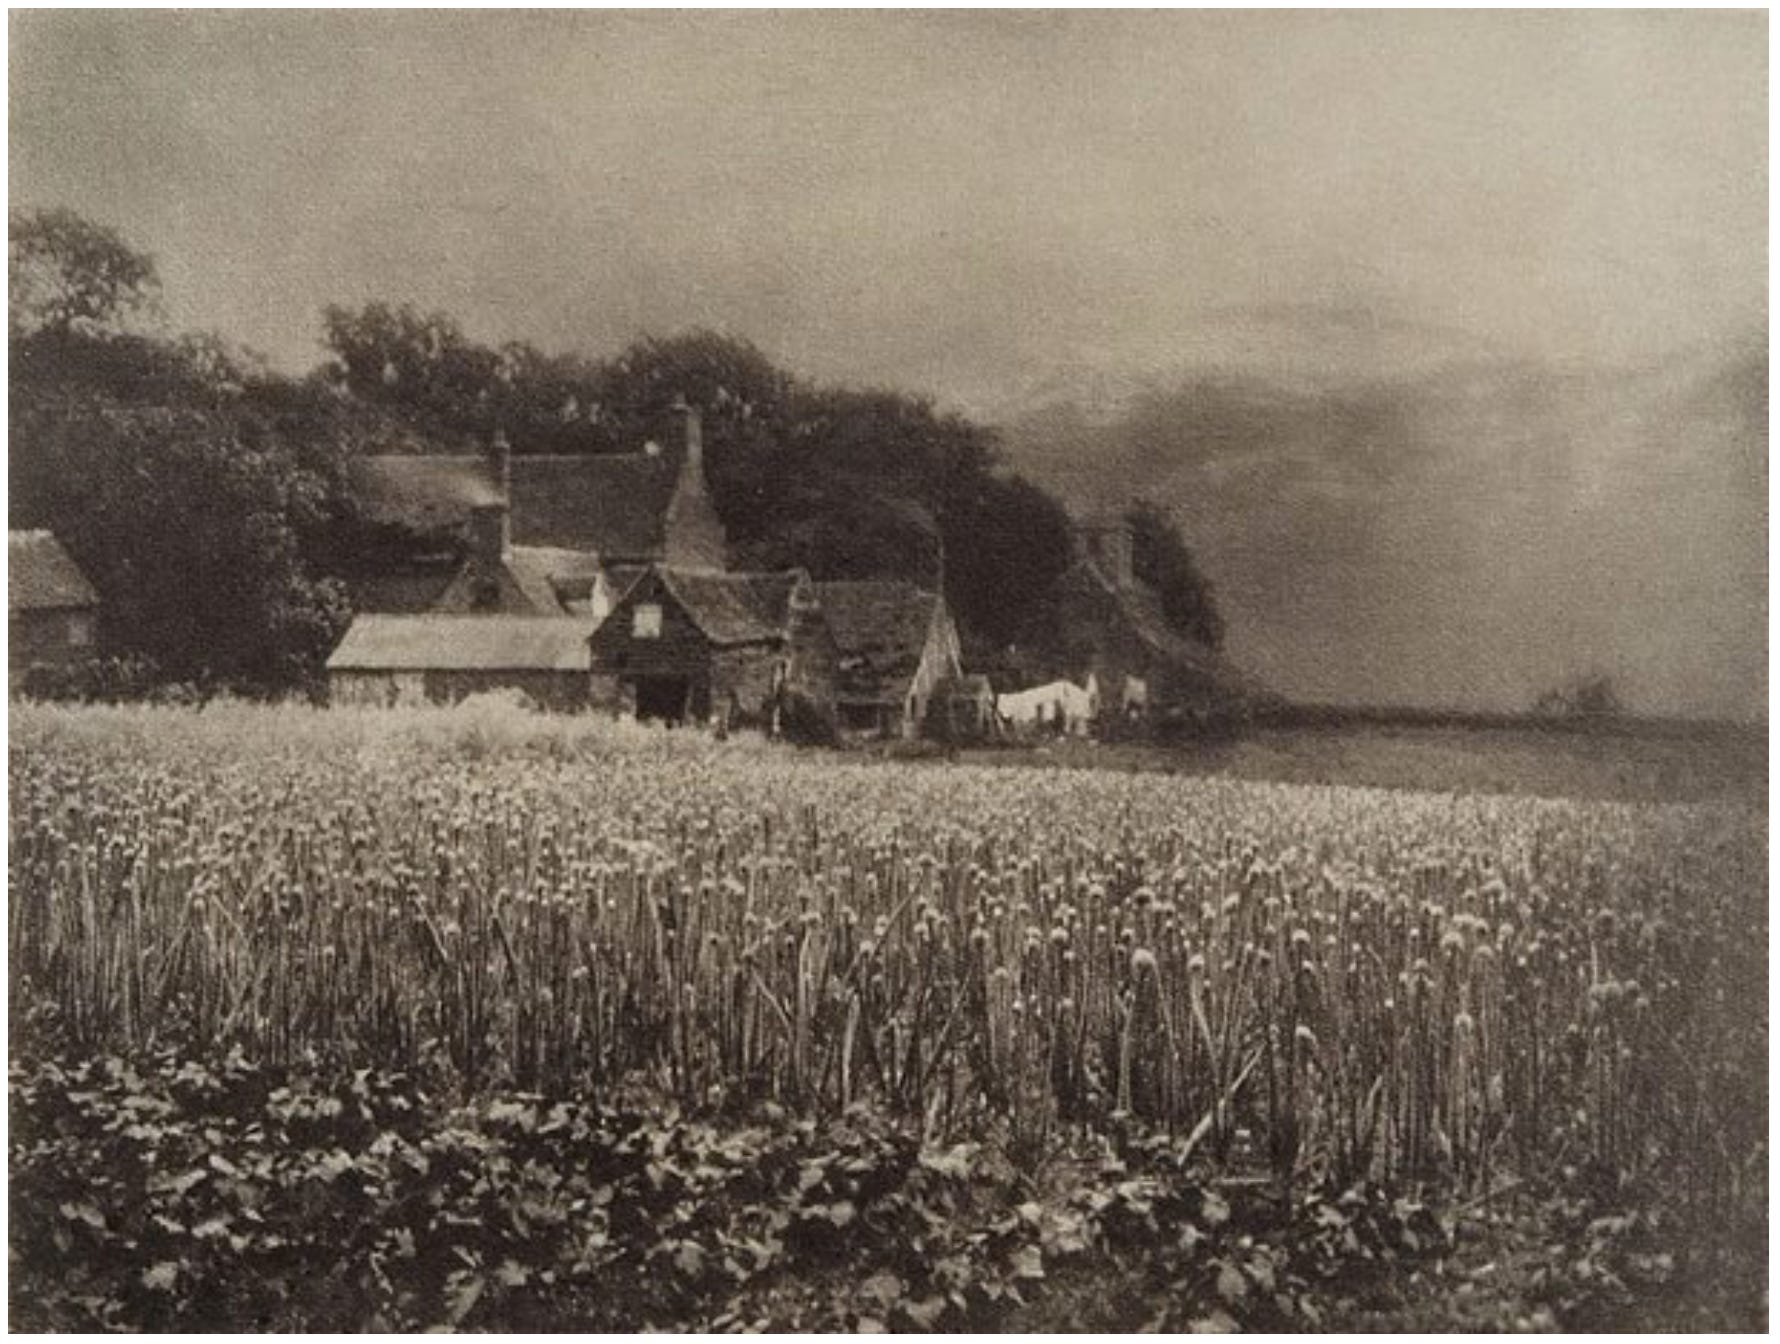
The full depth of field that pinhole cameras give, provides opportunities for playing with scale as in the image above. The bottles were about two or three inches high and I placed them on a wall in front of this old farmhouse. Putting the camera close to them gave the impression that they were as big as the house.
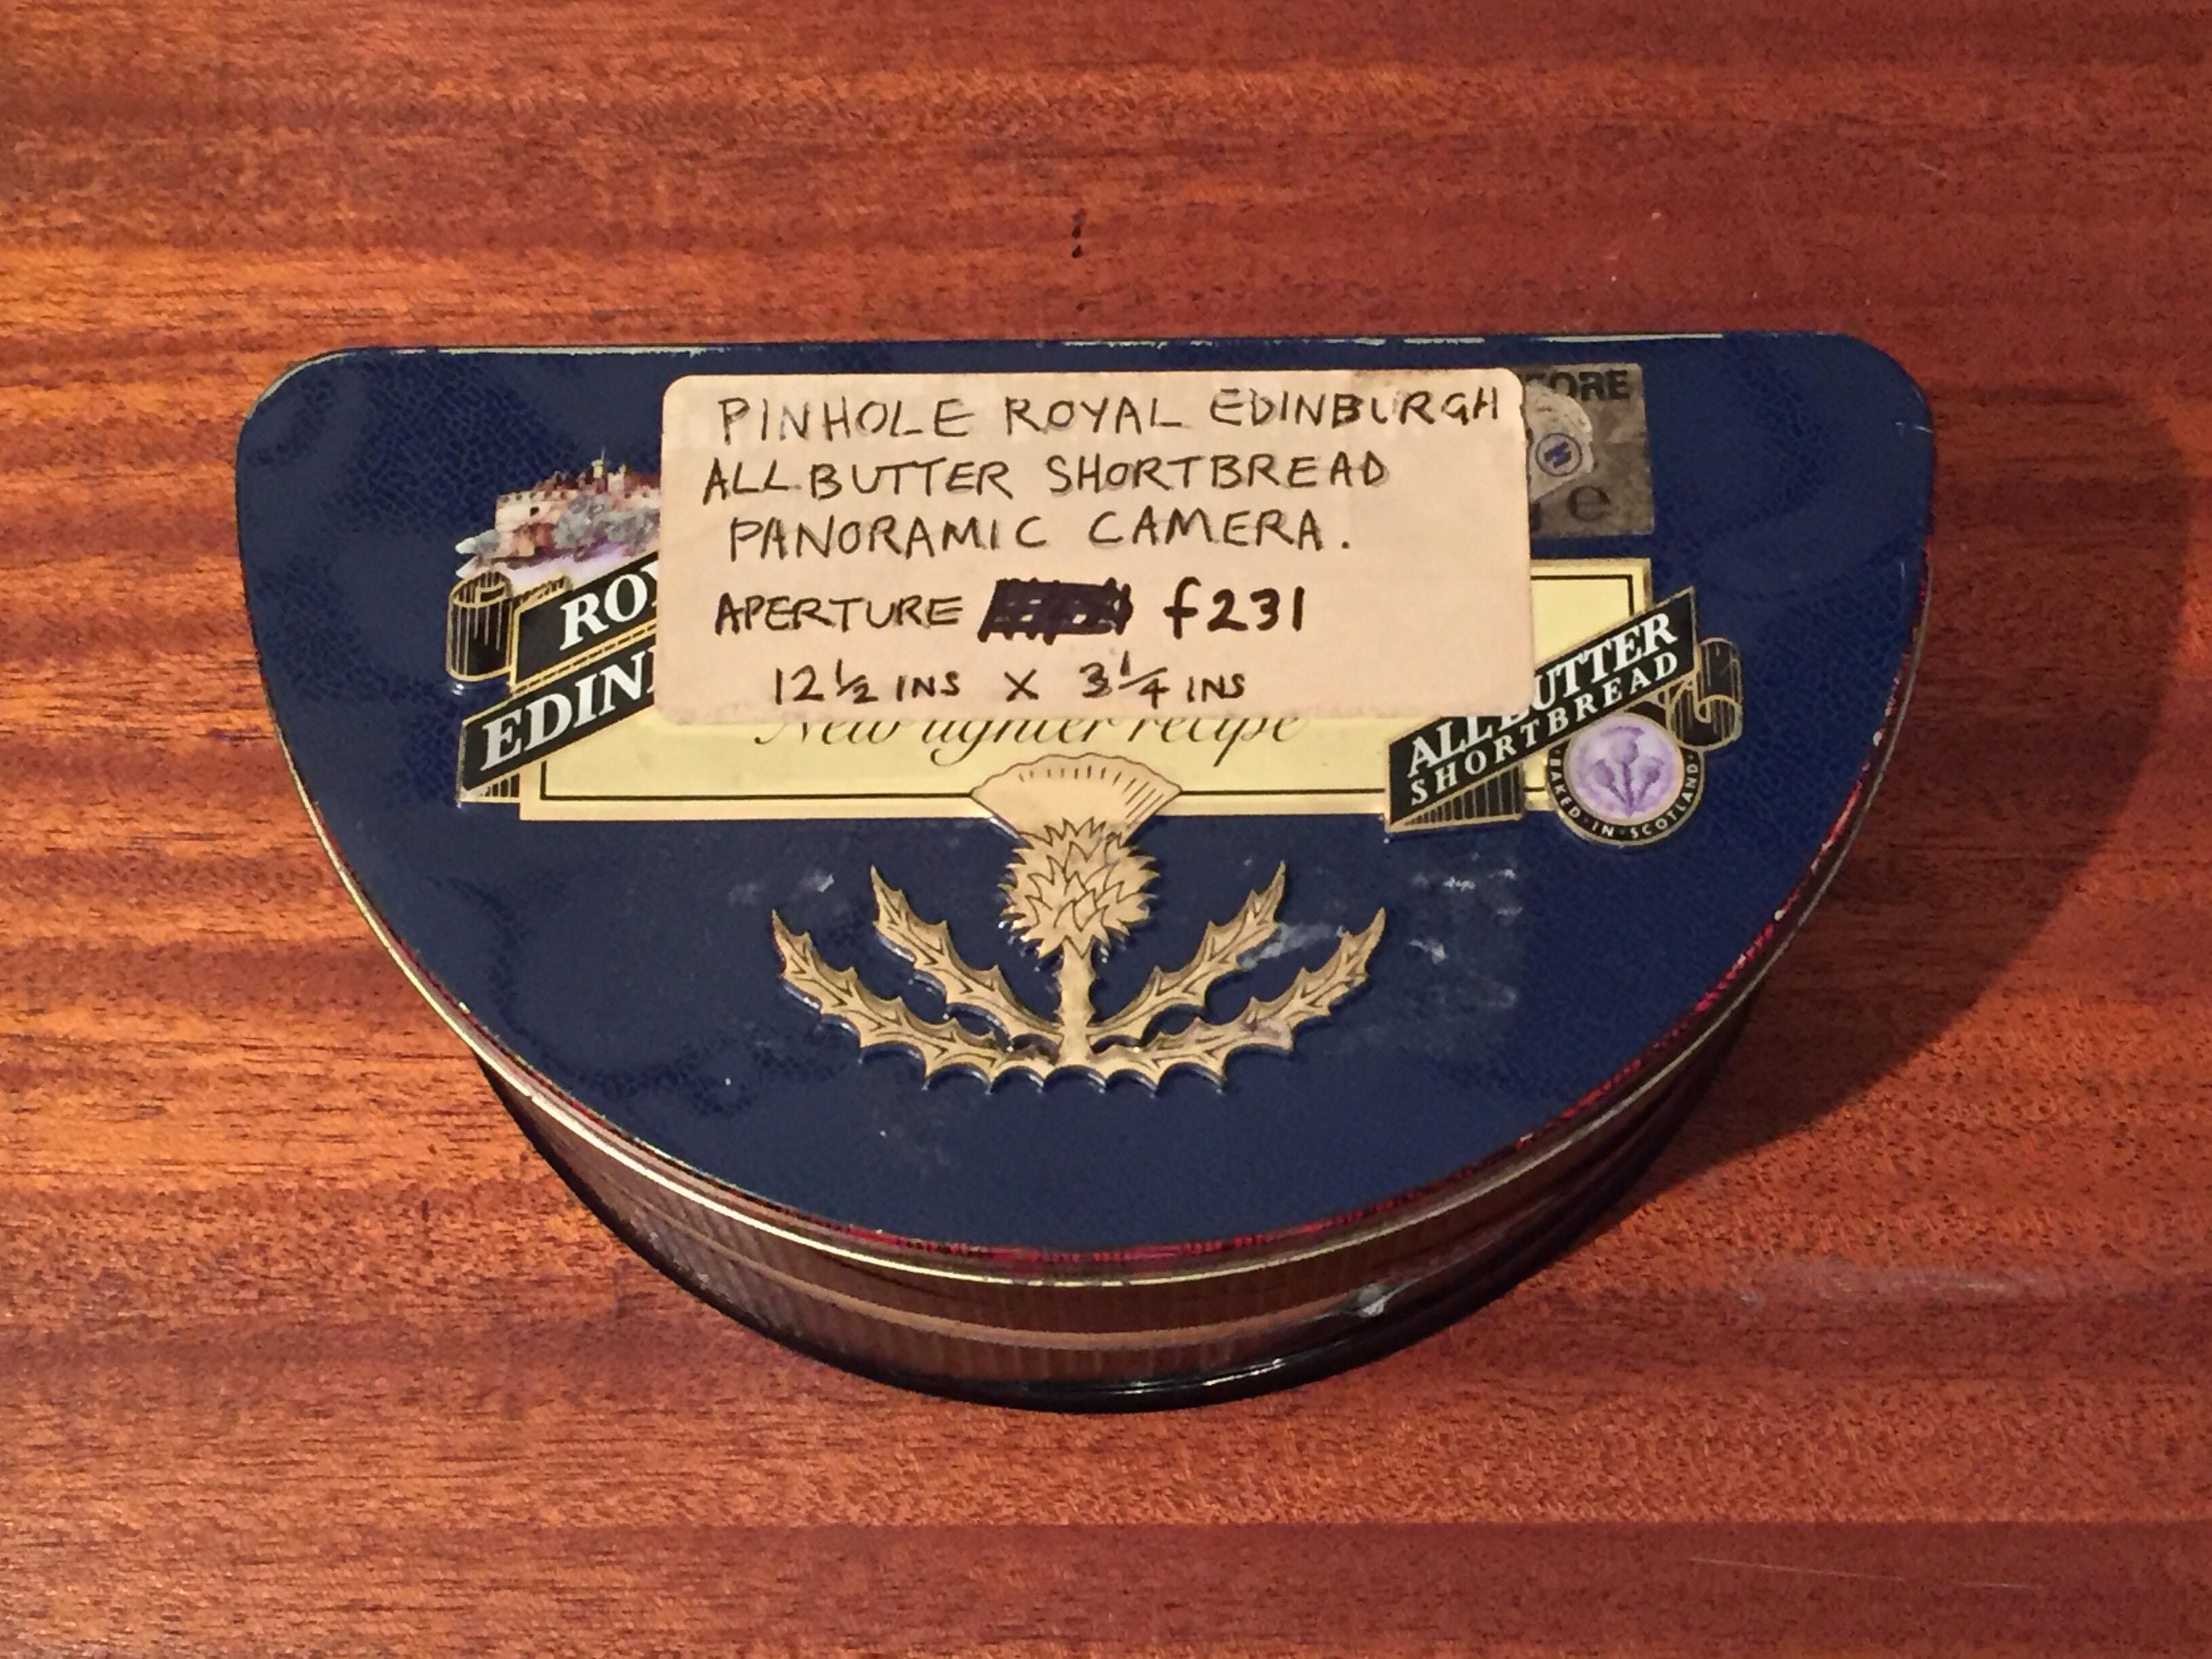
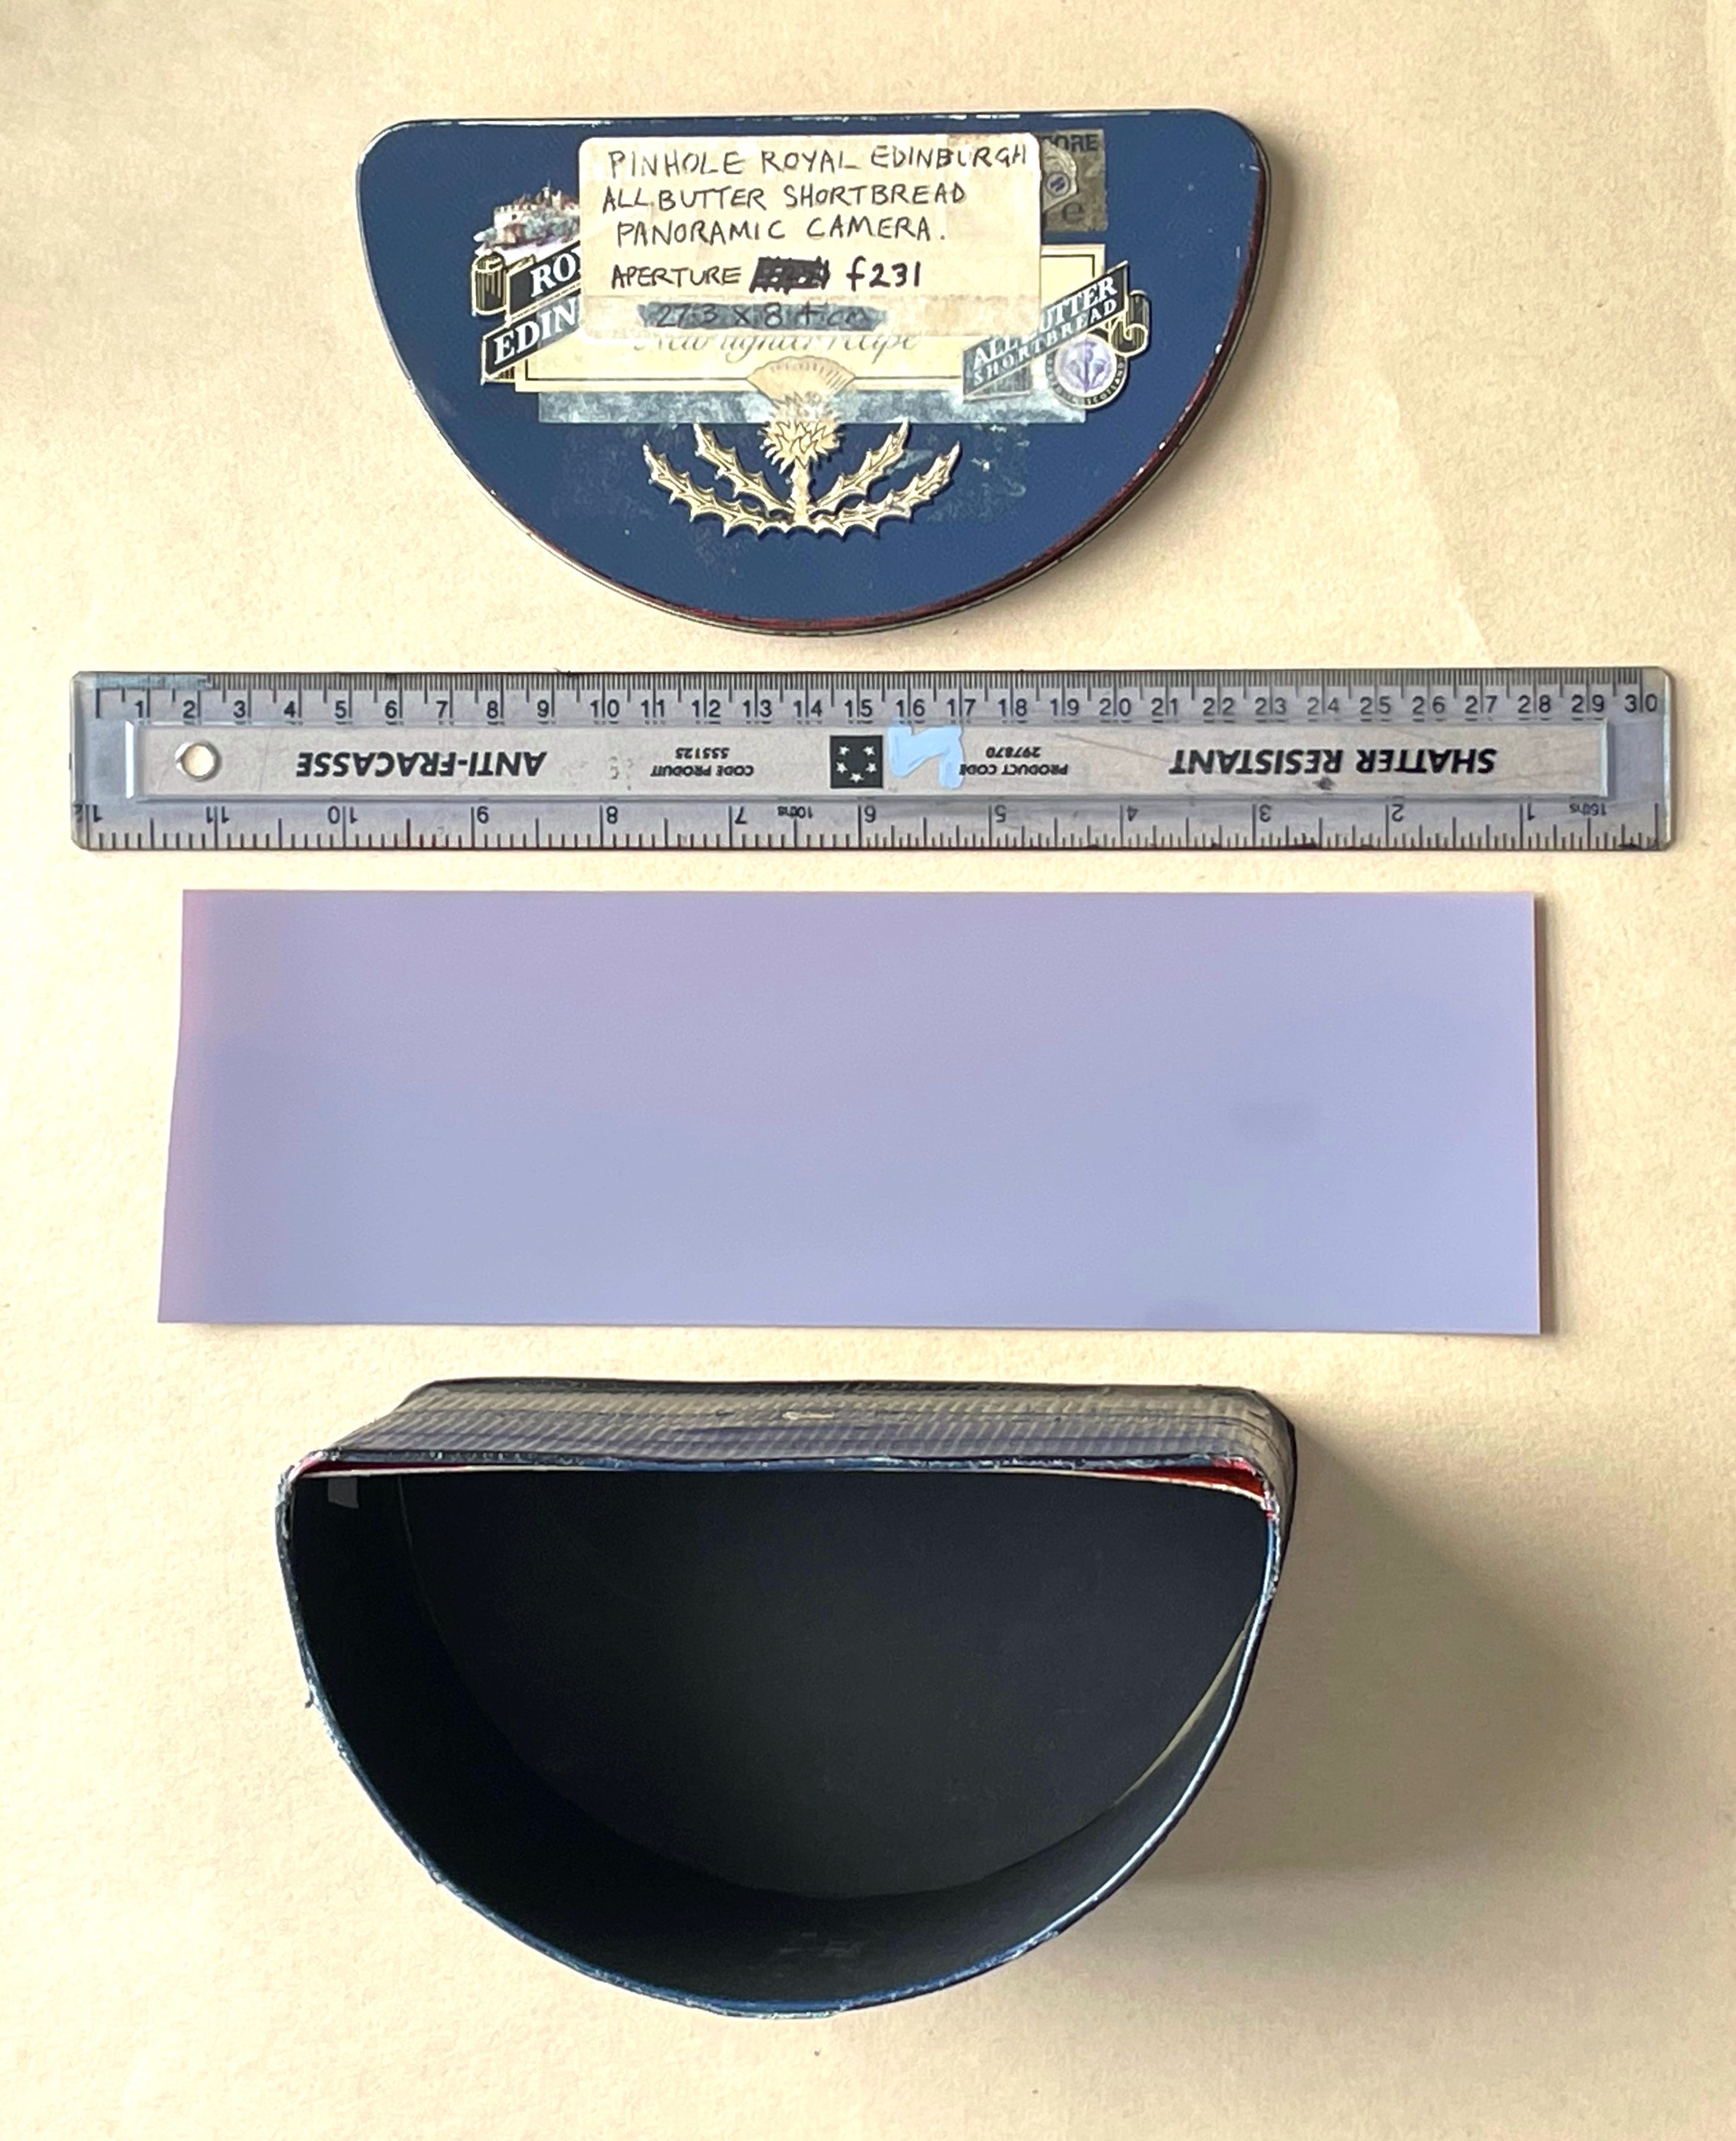
One of my favourite cameras was made out of a half moon shaped biscuit tin. I noticed the tin one day when out shopping and immediately realised its potential. It takes a 12.5x3.25 inch piece of film around the curved side of the tin and the wonderful thing about it is that there is no fall off of exposure at the ends because all parts of the strip of film are at an equal distance from the pinhole.

I love the surprise element of a home made camera and the weird distortions that can arise. I like the freedom that these cameras bring: no need to focus and the minimum of technical preparation. I also love the infinite depth of field and the distortion of scale when using super wide versions.
With home made pinholes, especially if made from tins or cardboard boxes, there is always the problem of positioning and stability. Unless you go to the trouble of gluing a threaded nut to the base of your tin (no point doing it with cardboard), you are limited to shooting from the ground or any place you can rest it, -this severely limits your compositional options. With a properly made camera you are provided with a tripod bush, so shooting from a tripod becomes the normal method and opens up all sorts of image making possibilities.
Commercially available pinhole cameras.
These days there are a lot available, so my list will not be complete, though it will give you a few names to investigate. There are plastic ones from Ilford and Walker cameras, and wooden ones from Vermeer, Ondu and Zero Image.
Links;
Ilford https://www.harmantechnology.com/obscura-by-ilford-pinhole-camera
Ondu. https://ondupinhole.com/
Vermeer https://vermeercamera.com/
Walker https://www.walkercameras.com/pinhole_cameras.html
Zero Image. https://www.zeroimage.com/

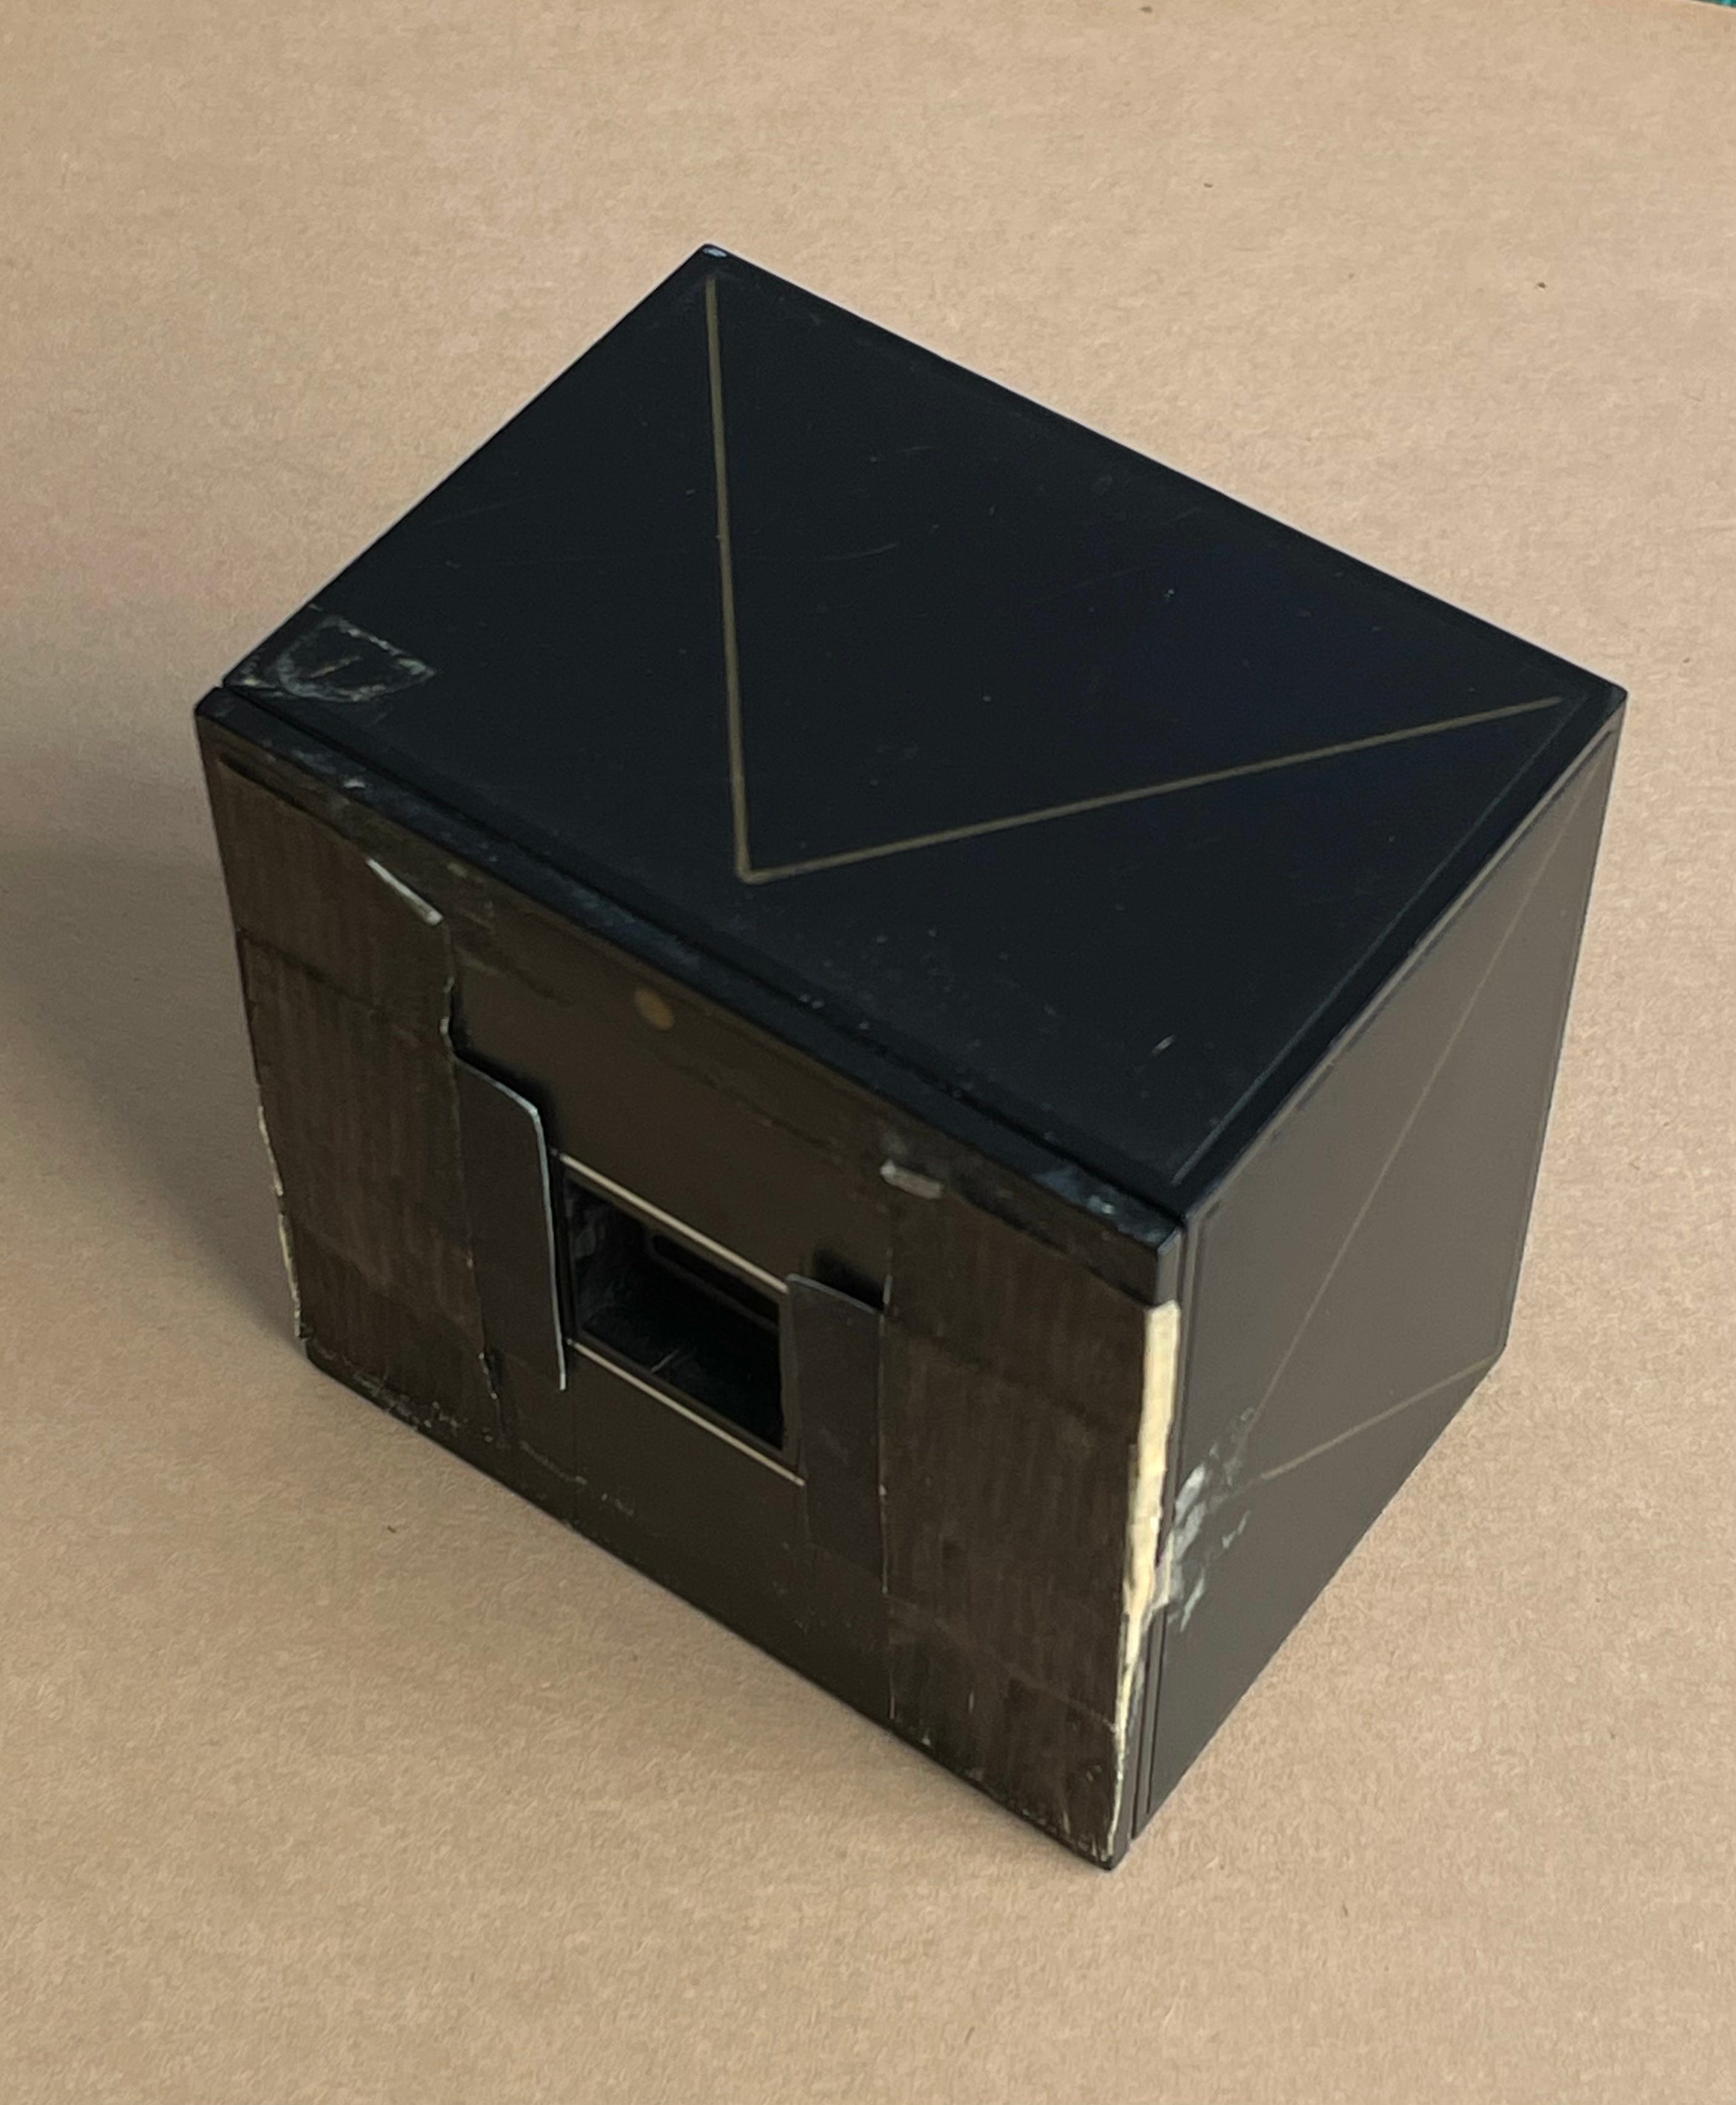
Some of the commercially available cameras above are quite expensive, so you may wish to have a go at making one yourself. Whether you make it from a box at home, a coffee tin, or a whisky bottle tube, you need to make it light tight and the inside should be black. This is to stop light reflecting around inside the camera. iPhone boxes are ideal for home made pinhole cameras, the outer shell fits so far over the inner, that light is unlikely to get in.
Tinfoil is great for the actual pinholes, but it helps if you make it black on both sides with a marker pen before making the hole. This reduces light from bouncing around inside.
If you want some maths, the f stop is calculated by measuring the hole to film distance and dividing by the diameter of your hole.
How do you measure a tiny hole?
There are magnifying loupes that have an etched measuring scale on the front glass, though this is a bit hit and miss. Another method people use is to put the tinfoil on a scanner and enlarge it, working out the diameter that way.
If you don’t want to do the maths you can work out your aperture by trial and error exposures. This is how I worked out all of my early cameras. I can’t give you any numbers or possible exposures, because there are so many variables; Film speed, Depth of box, Size of pinhole and Light conditions. Assume an aperture of between f128 and f360.
The normal sequence of apertures beyond the f16 or f22 of your camera lens goes as follows; 16, 22, 32, 45, 64, 90, 128, 180, 250, 360, 500. The exposure difference between each one is obviously one stop, which is a halving or doubling of exposure, depending on which direction you are moving along the scale.
When you have made your pinhole camera, work out the exposure for the film you are using and the light conditions and pick one of the apertures in the middle of this range. If your negative is overexposed your aperture is probably a smaller number. If your shot is underexposed, you have a smaller hole than you thought, so it may be a larger number. Play around with it and have fun, it’s not an exam.
I hope you are inspired to try pinhole photography if you have never done it before. It really is fun and it can be done very cheaply, so you can play around with it until you get images that work. Let me know how you get on.
If you find my articles interesting or useful, please spread the word to anyone you can think of who would be interested.
If you have enjoyed this post and the information here and elsewhere on my Substack and you would like to support me, you can subscribe or just buy me a coffee at Ko-fi.com/andrewsandersonphotography You can send as little as £3.00, or more if you are feeling generous. This money goes towards materials used for the tests and printing for these articles. Alternatively you can be a paid subscriber.
Thank you for reading, please let me know your thoughts.
Andrew Sanderson August 2025.
I like the images from pinholes, feels so diffrent to digital. Beautiful!
I have never done it, but I sometimes make digital file to look like pinhole or film…
First thing we do with Year 10 photographers is get them to construct a camera obscura followed by a pinhole camera. It’s a great way to begin our project on the ‘Language of Light’.