Let’s get close.
Exploring close up and macro photography.

I was thinking about a subject for this week which might inspire some new photography over the Christmas period. In the UK where I am, the weather is not good for landscape or street photography and I have covered portraits already. If you are stuck in the house and are itching to do some form of photography, why not look closely at the things you have around you?
So this week I wanted to explore an area of photography that has been around for a long time, but isn’t practised very widely, in fact I think it is rather out of fashion and looked down upon by most photographers. The technique I am referring to is Macro, or Close up. The term Macro is used where the image on a piece of film is exactly the same size as the original. There is also a branch of macro known as Ultra Macro, which is used for the photography of micro fossils and anything which you might view through a microscope. That isn’t necessary for the purposes of this article, so I will be mainly referring to close up.
When we think of examples close up photography that we may have seen in magazines, books or online, the first subjects that come to mind are stamps, coins and insects. Flowers have also been a common subject.
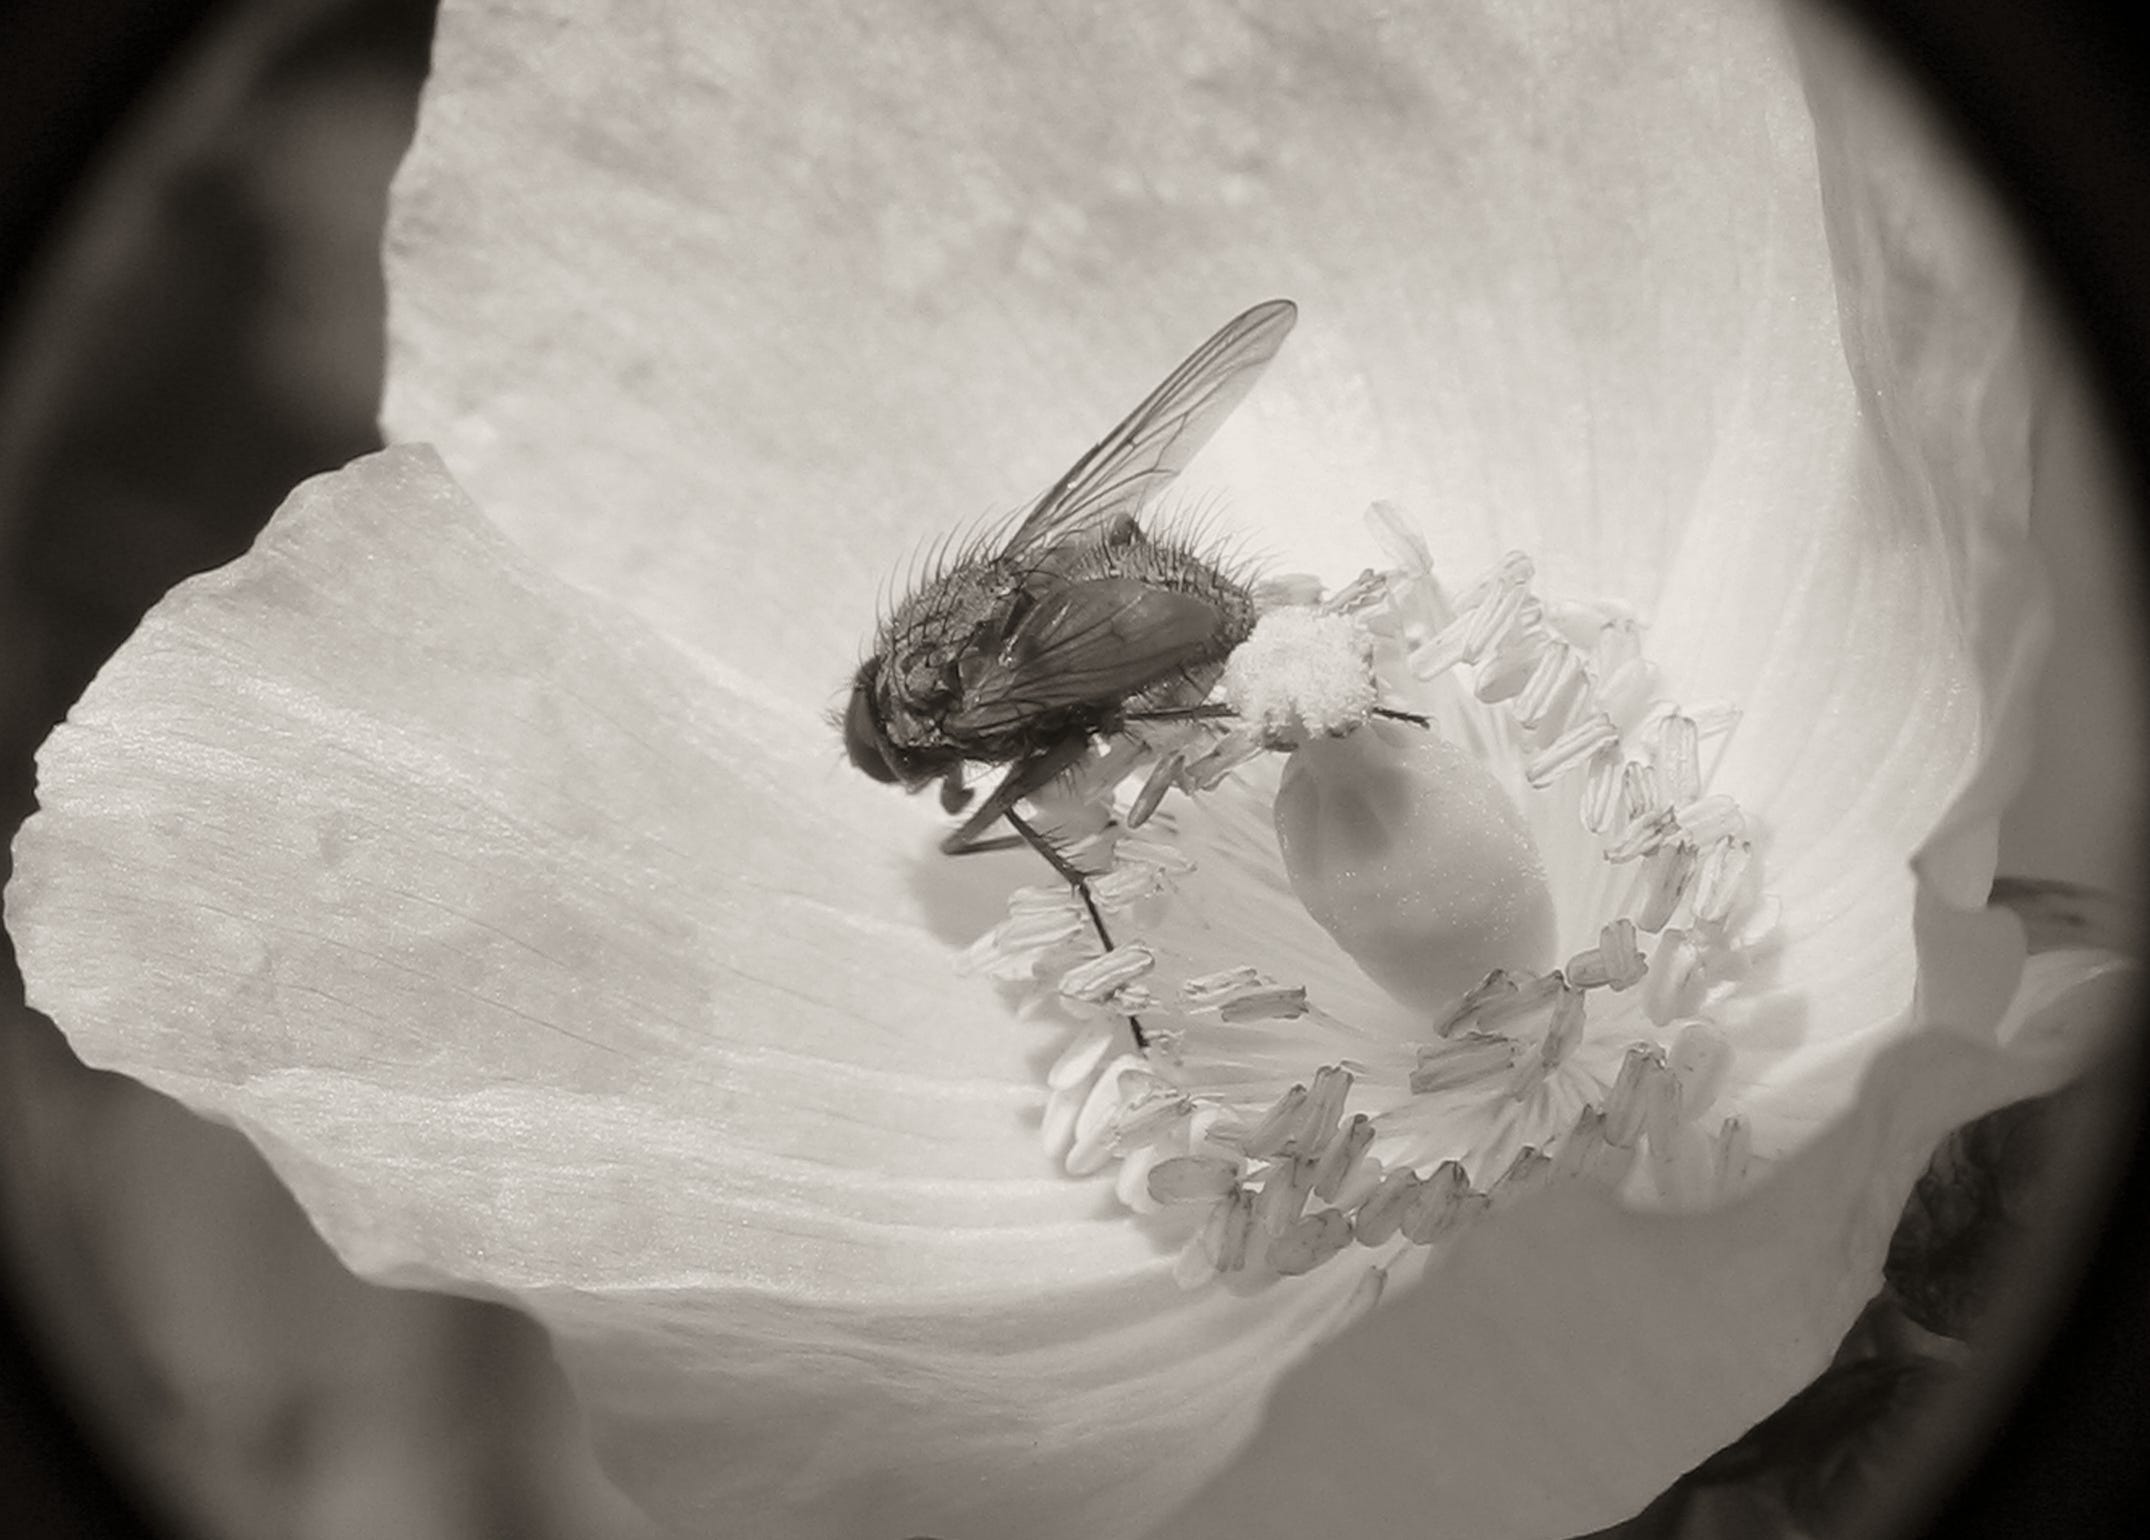
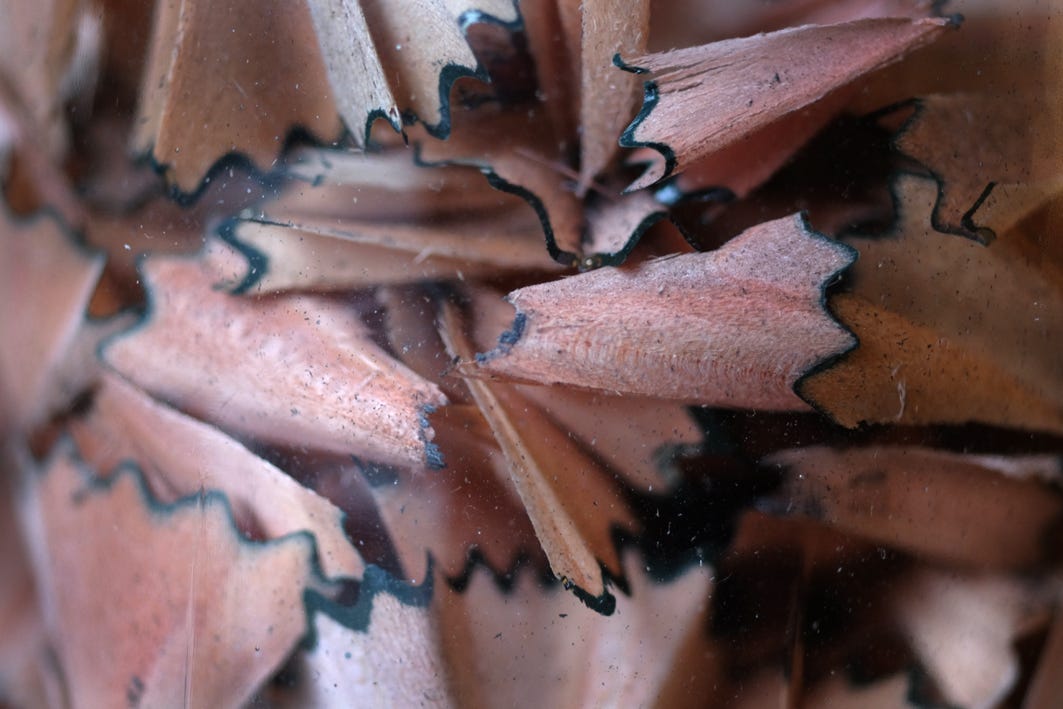
I play around with it occasionally as a diversion, never really taking it seriously, and it can be an interesting technique to try. These days, very high quality close up work can be achieved utilising the method of focus stacking. This is a technique where a number of shots are taken at slightly different distances from the subject, then combined in software to give the impression of great depth of field. This is an amazing method, but it requires specialist equipment and software. If you just fancy exploring the world of close up, you can do it relatively cheaply. The simplest method is to place a magnifying glass in front of your lens. This will get you close, but there will be a degradation of the image outside of the centre.

The image above was done with a hand held magnifying glass in front of the camera lens.
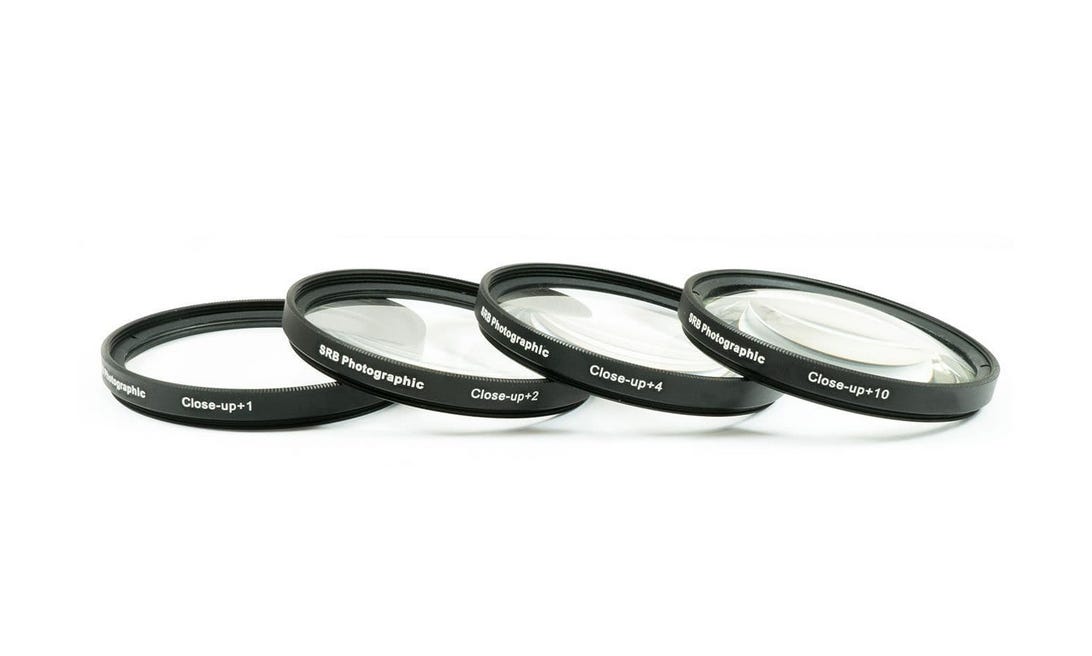
The second option is to use a supplementary lens screwed into the front of your lens. This is a more corrected version of the magnifying glass and will give quite good results. You can buy them very cheaply as a set of different strengths.
The third option is to have extension tubes of a set of bellows that go between the camera and the lens. This is because the lens focuses closer if it is moved further from the camera.
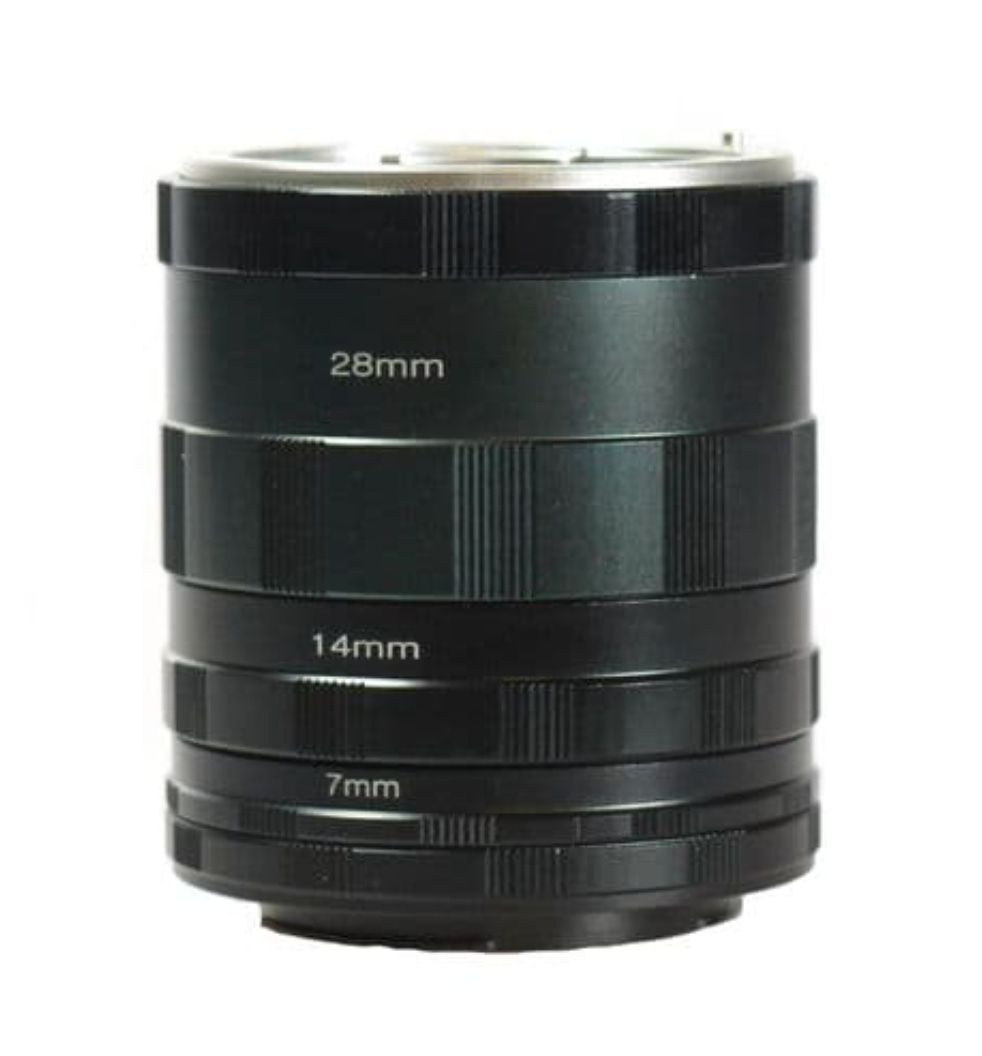
The number on the tube is not a focal length, it refers to how deep it is and therefore how much magnification is achieved. As the lens to camera distance increases, the camera focuses closer.
The more advanced version of these are specialist extension bellows.
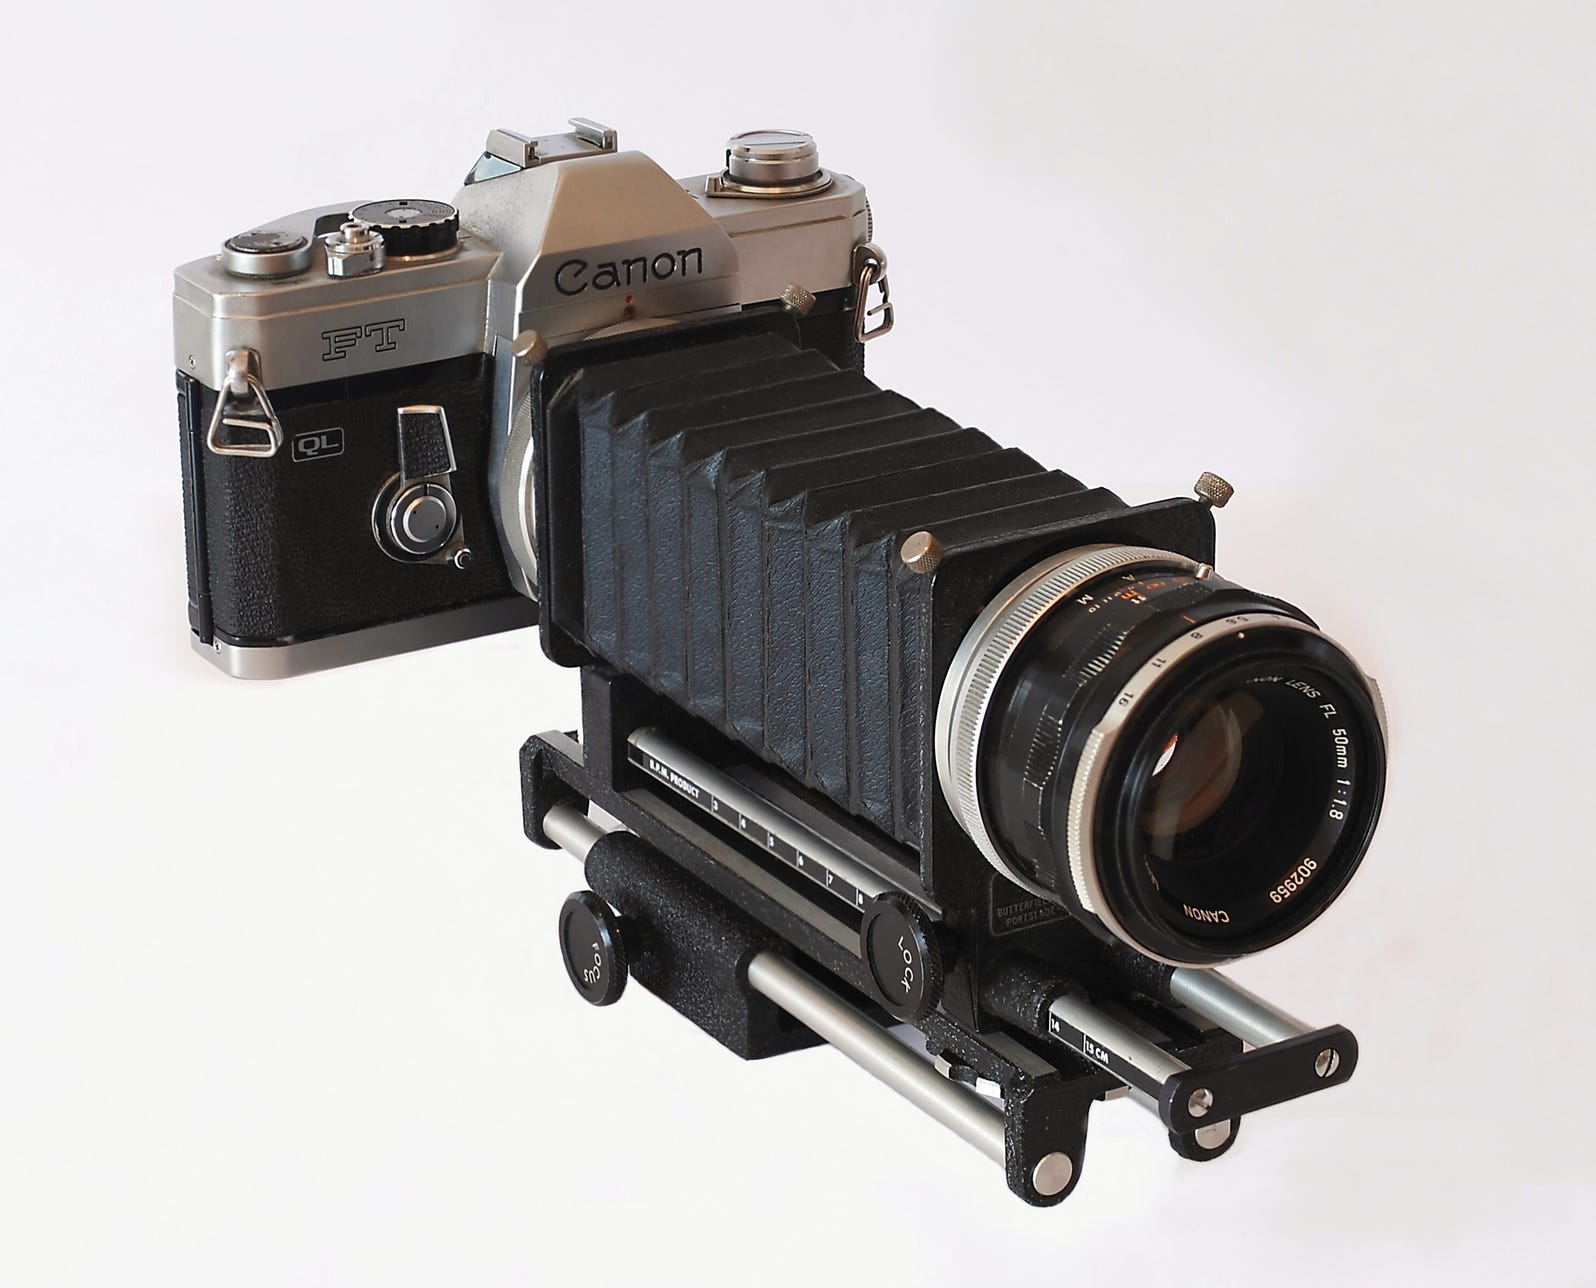
These will get you closer than anything else.
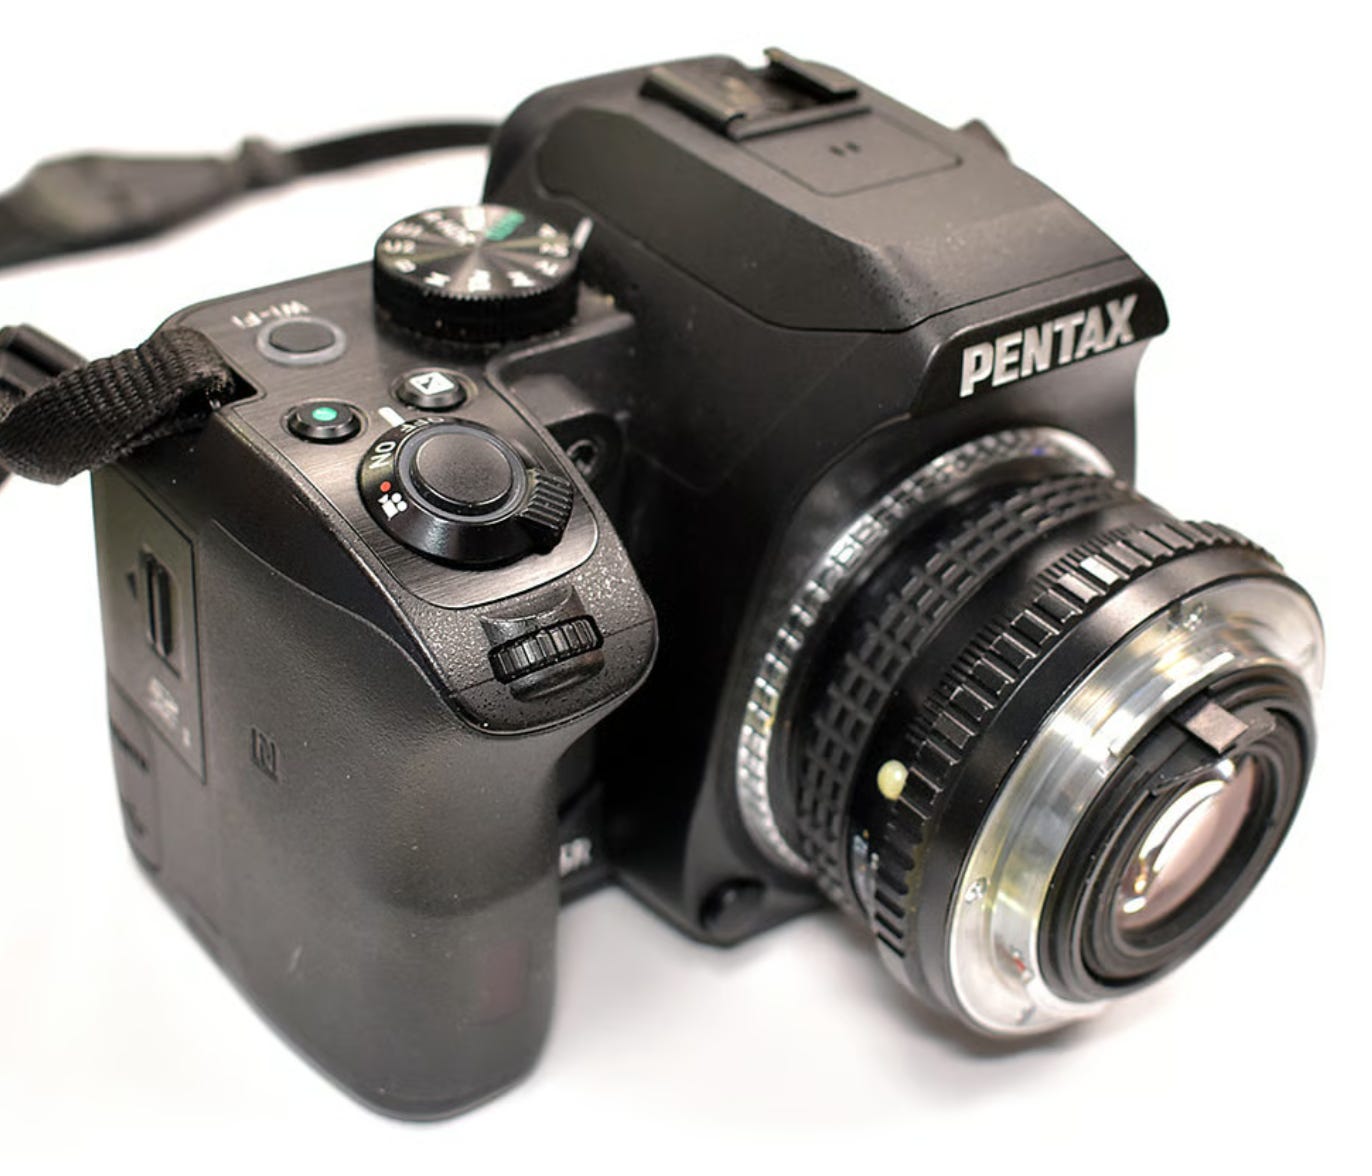
A simple and effective method of close up can be achieved by putting your standard lens on the camera in the reverse position. A special reverse mounting ring adapter can be bought for this.
Specialist macro lenses can also be used and produce very good image quality. I often use a Tamron Adaptall 90mm f2.5 lens which currently costs around £100, though I found mine at a car boot sale for £5.
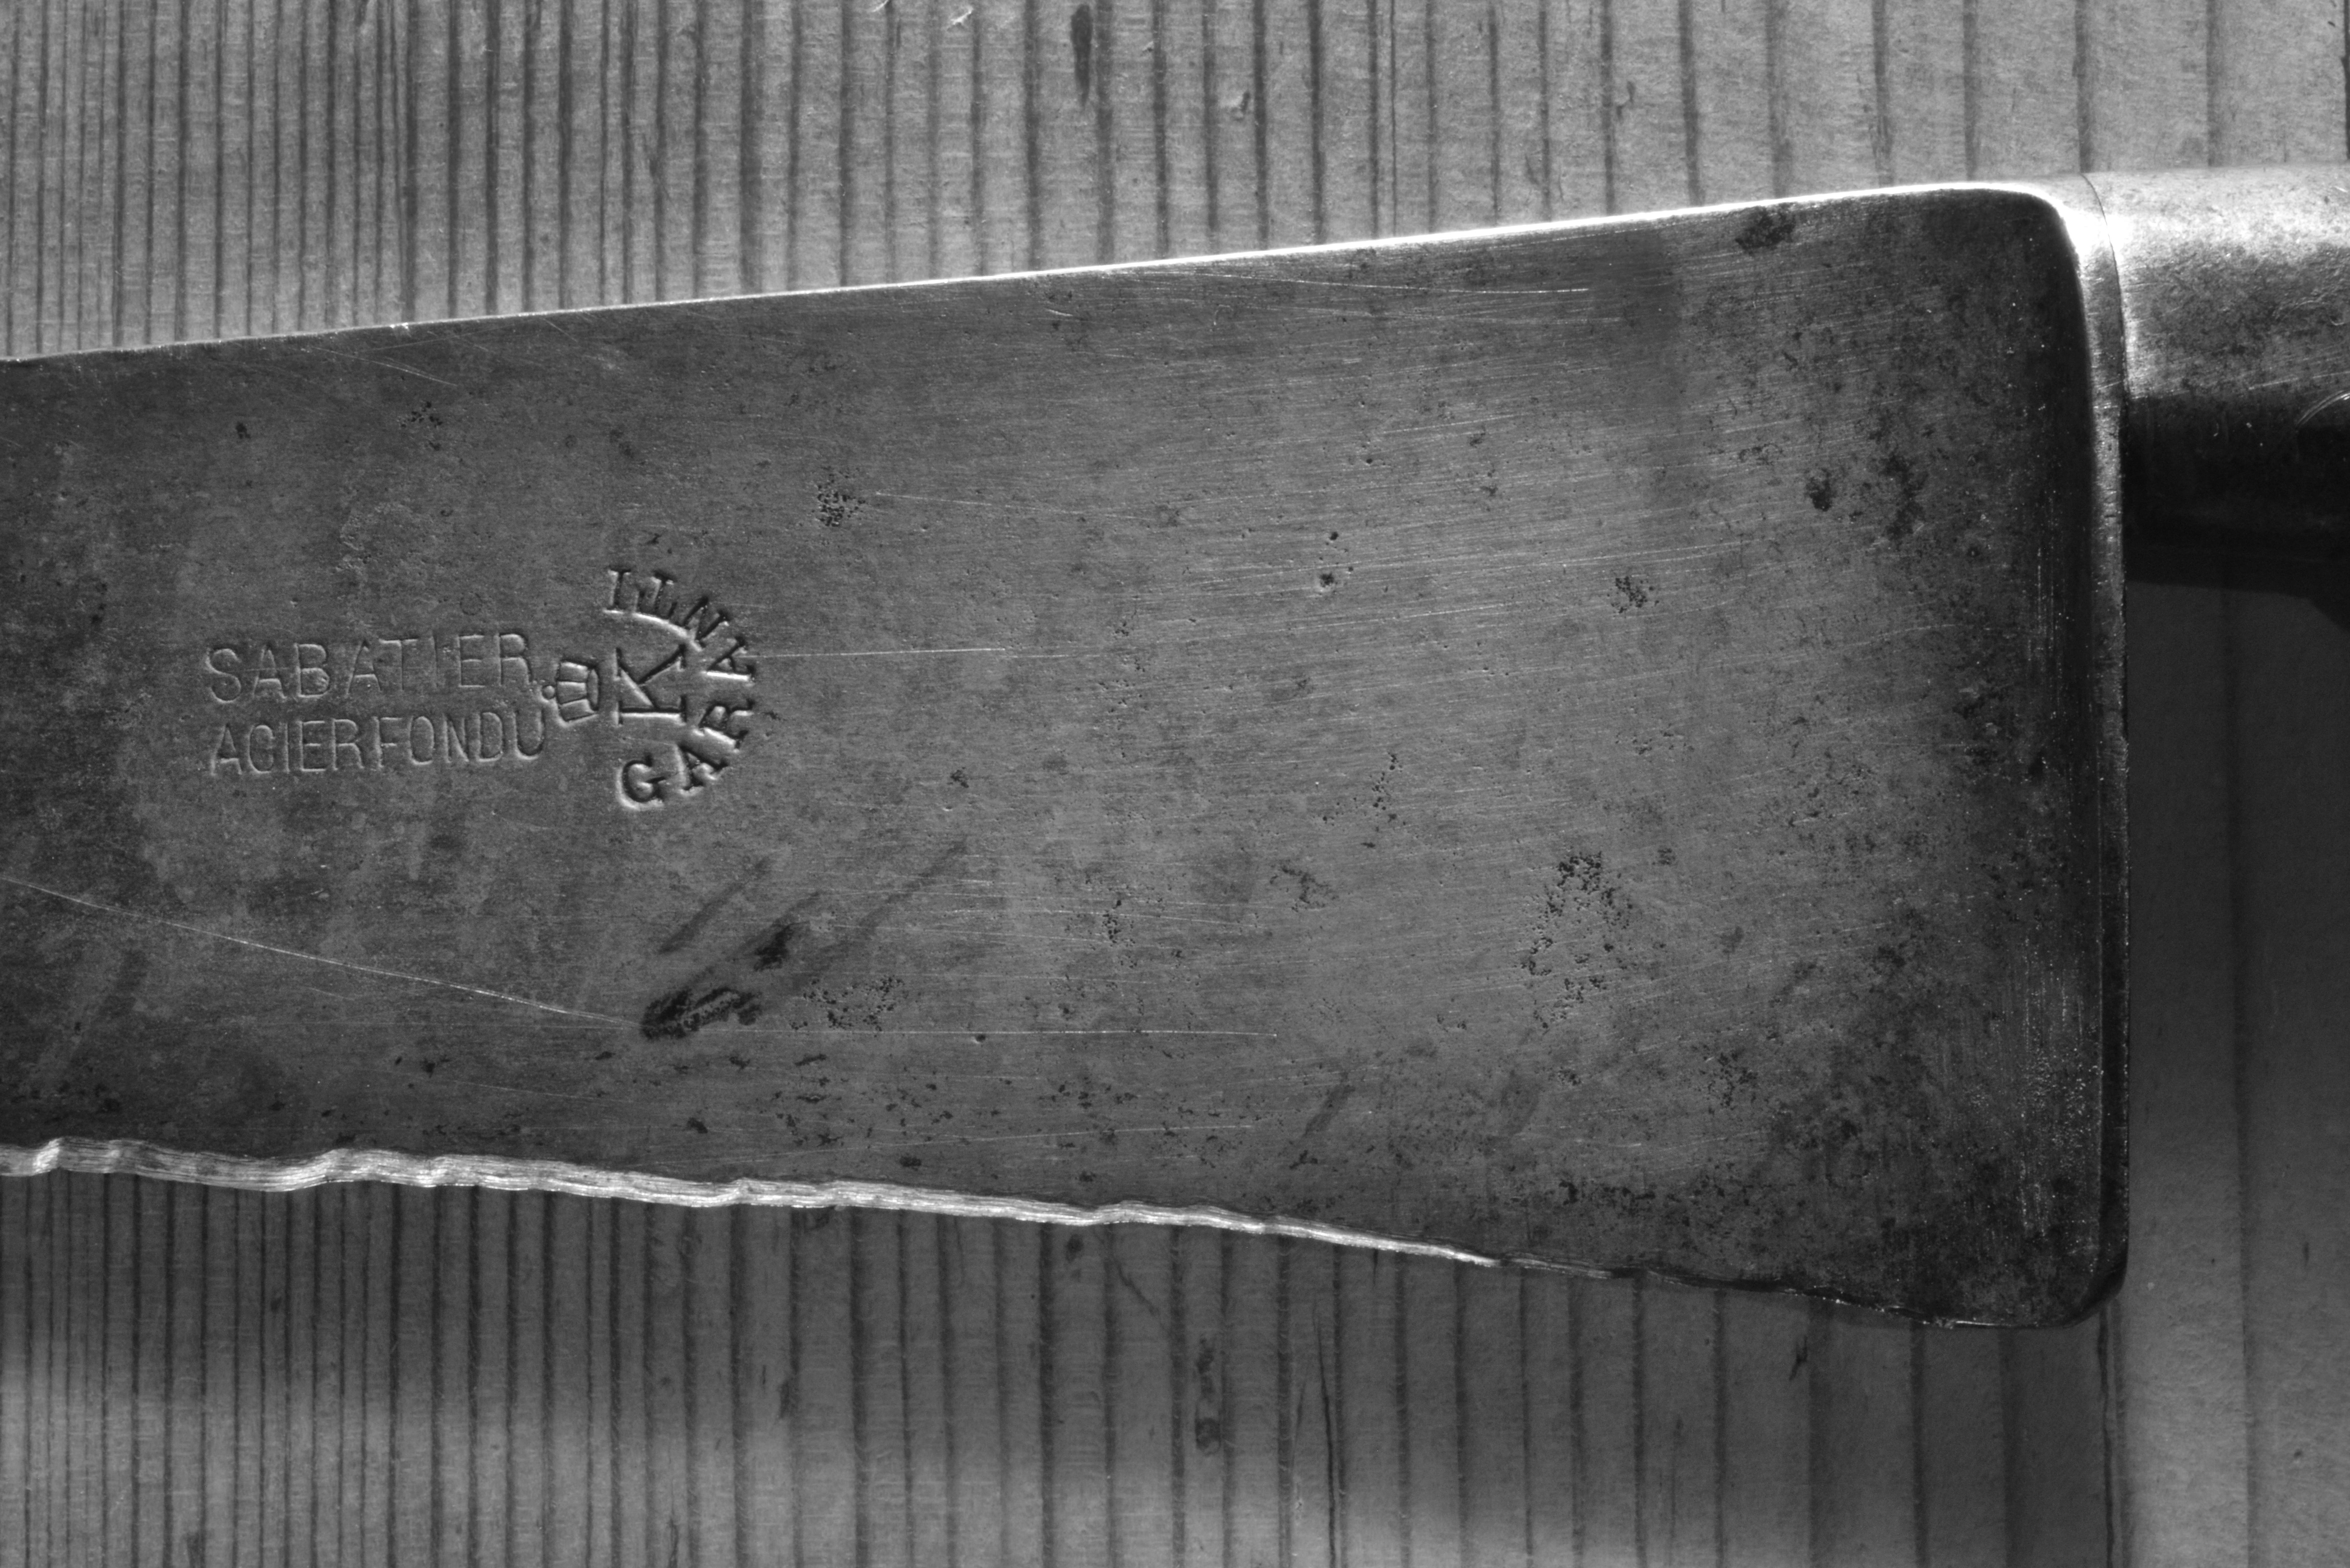
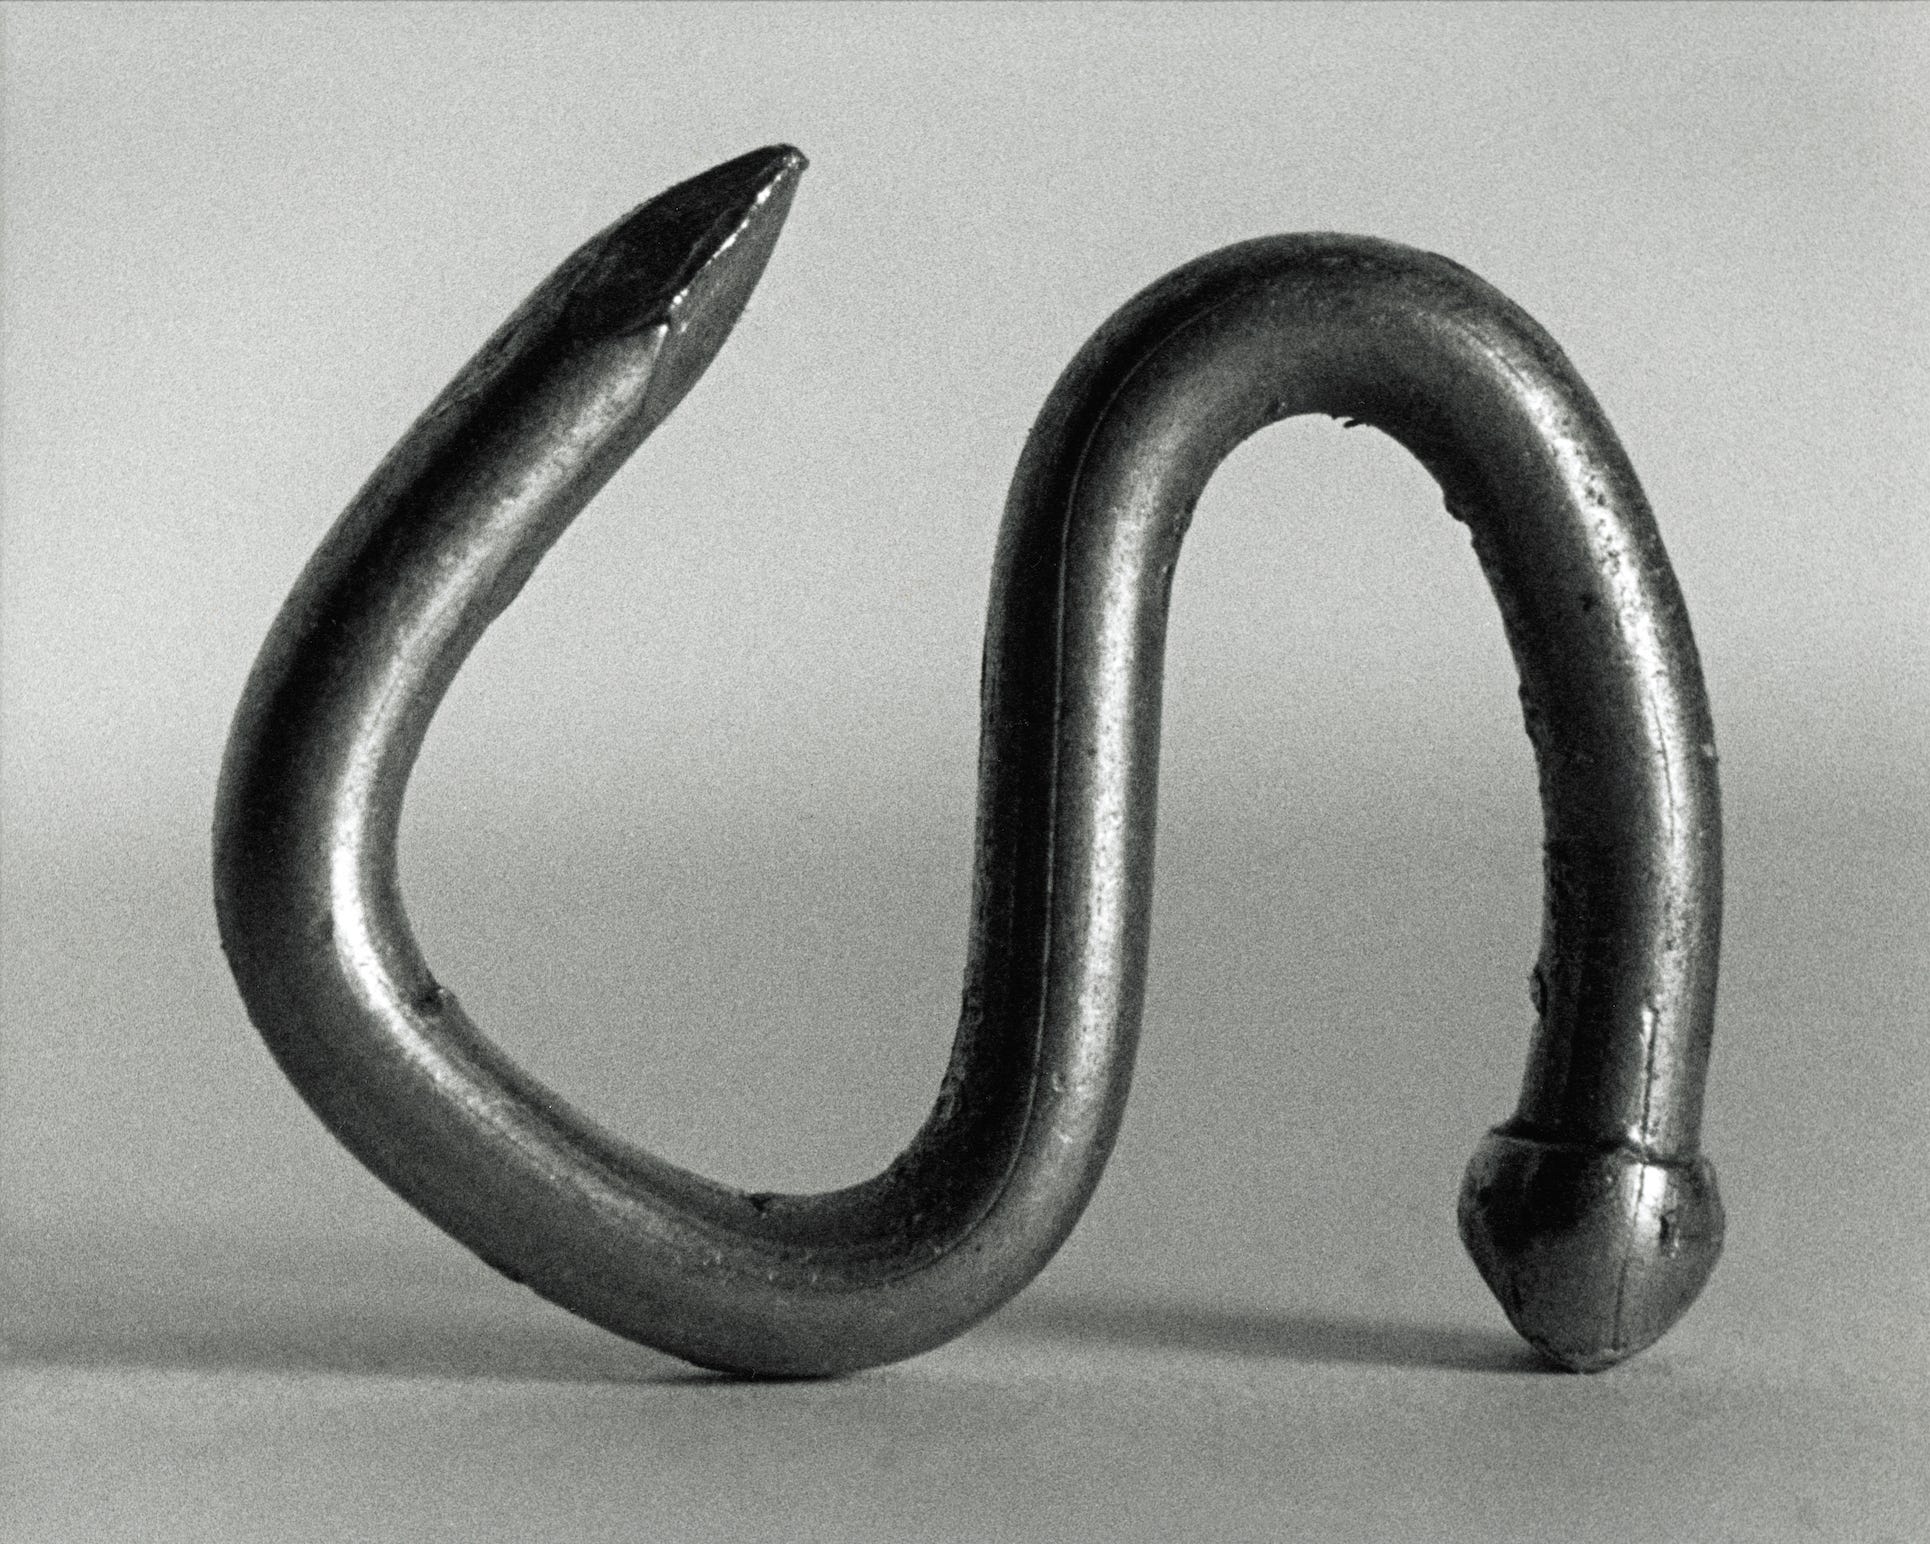
Macro and close up photography opens up a world that is often overlooked. Just photographing an old breadknife can reveal fine scratches and marks that are not usually noticed. The multitude of fine damage marks speak of an objects long history. This one used to belong to my wife’s grandmother. I love the uneven cutting edge caused by a crude sharpener.
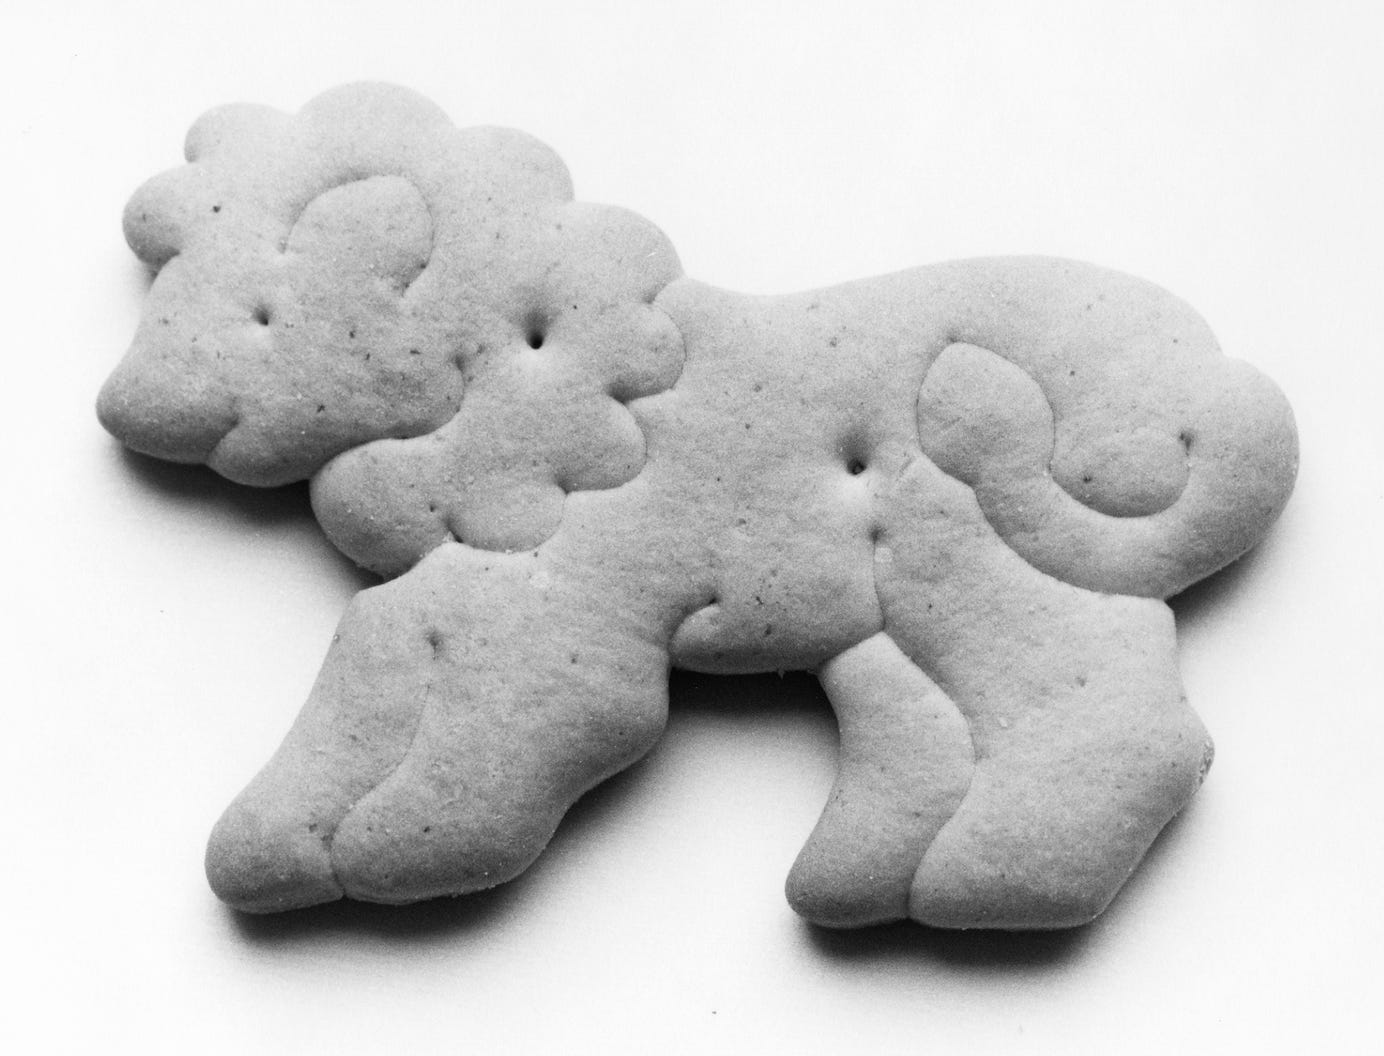
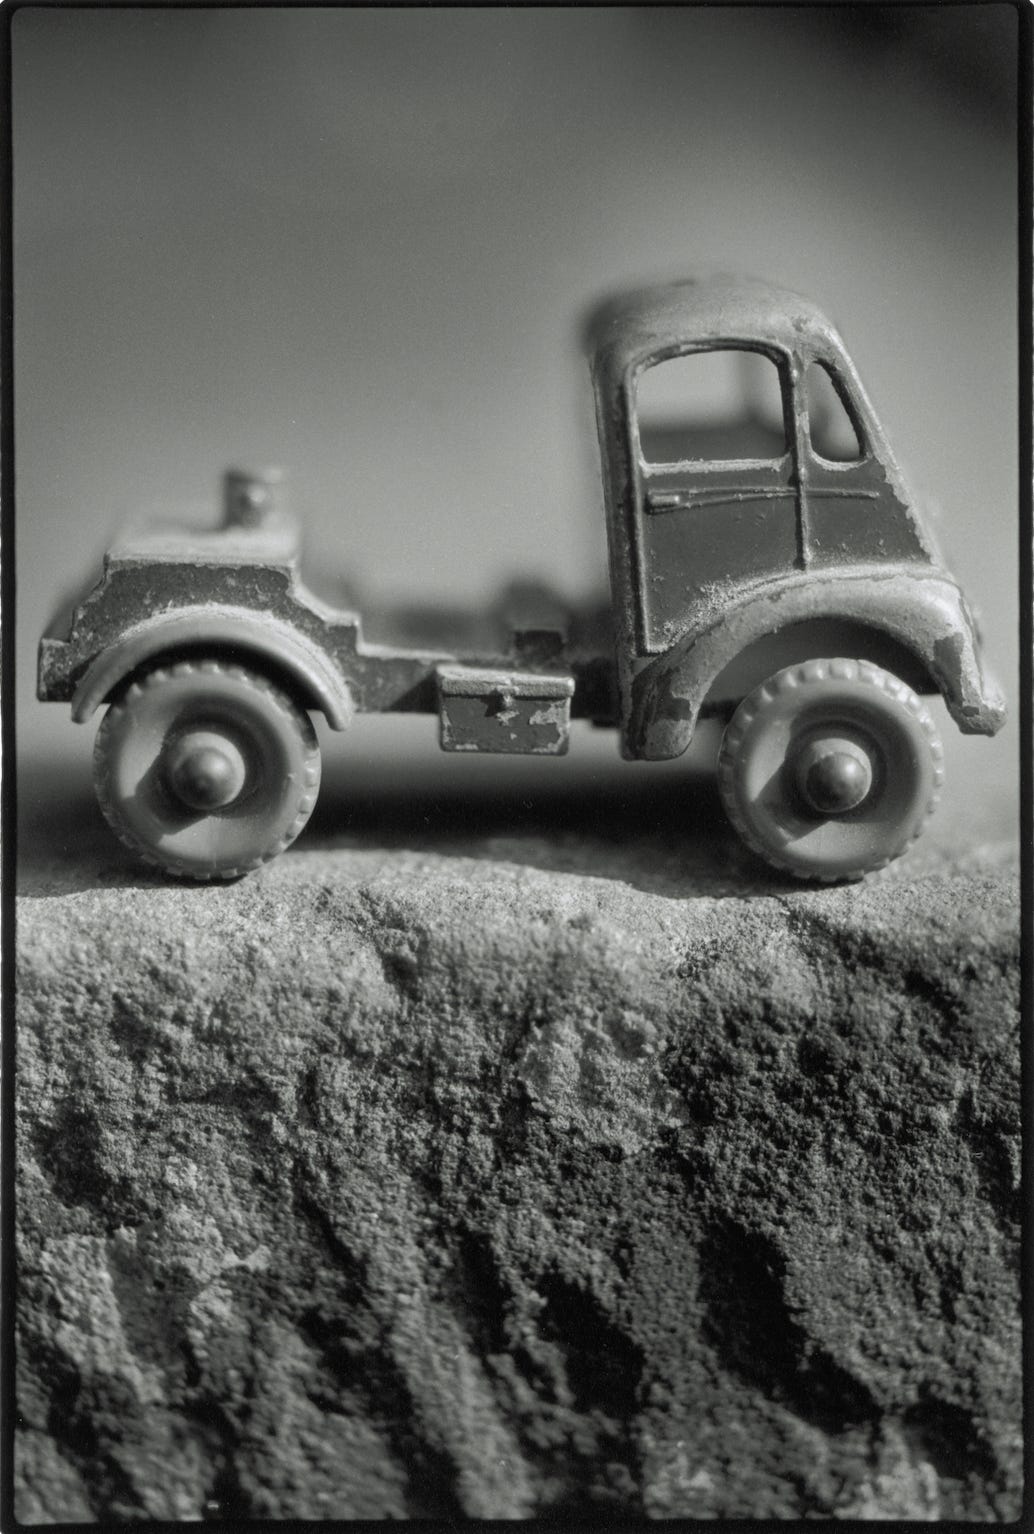
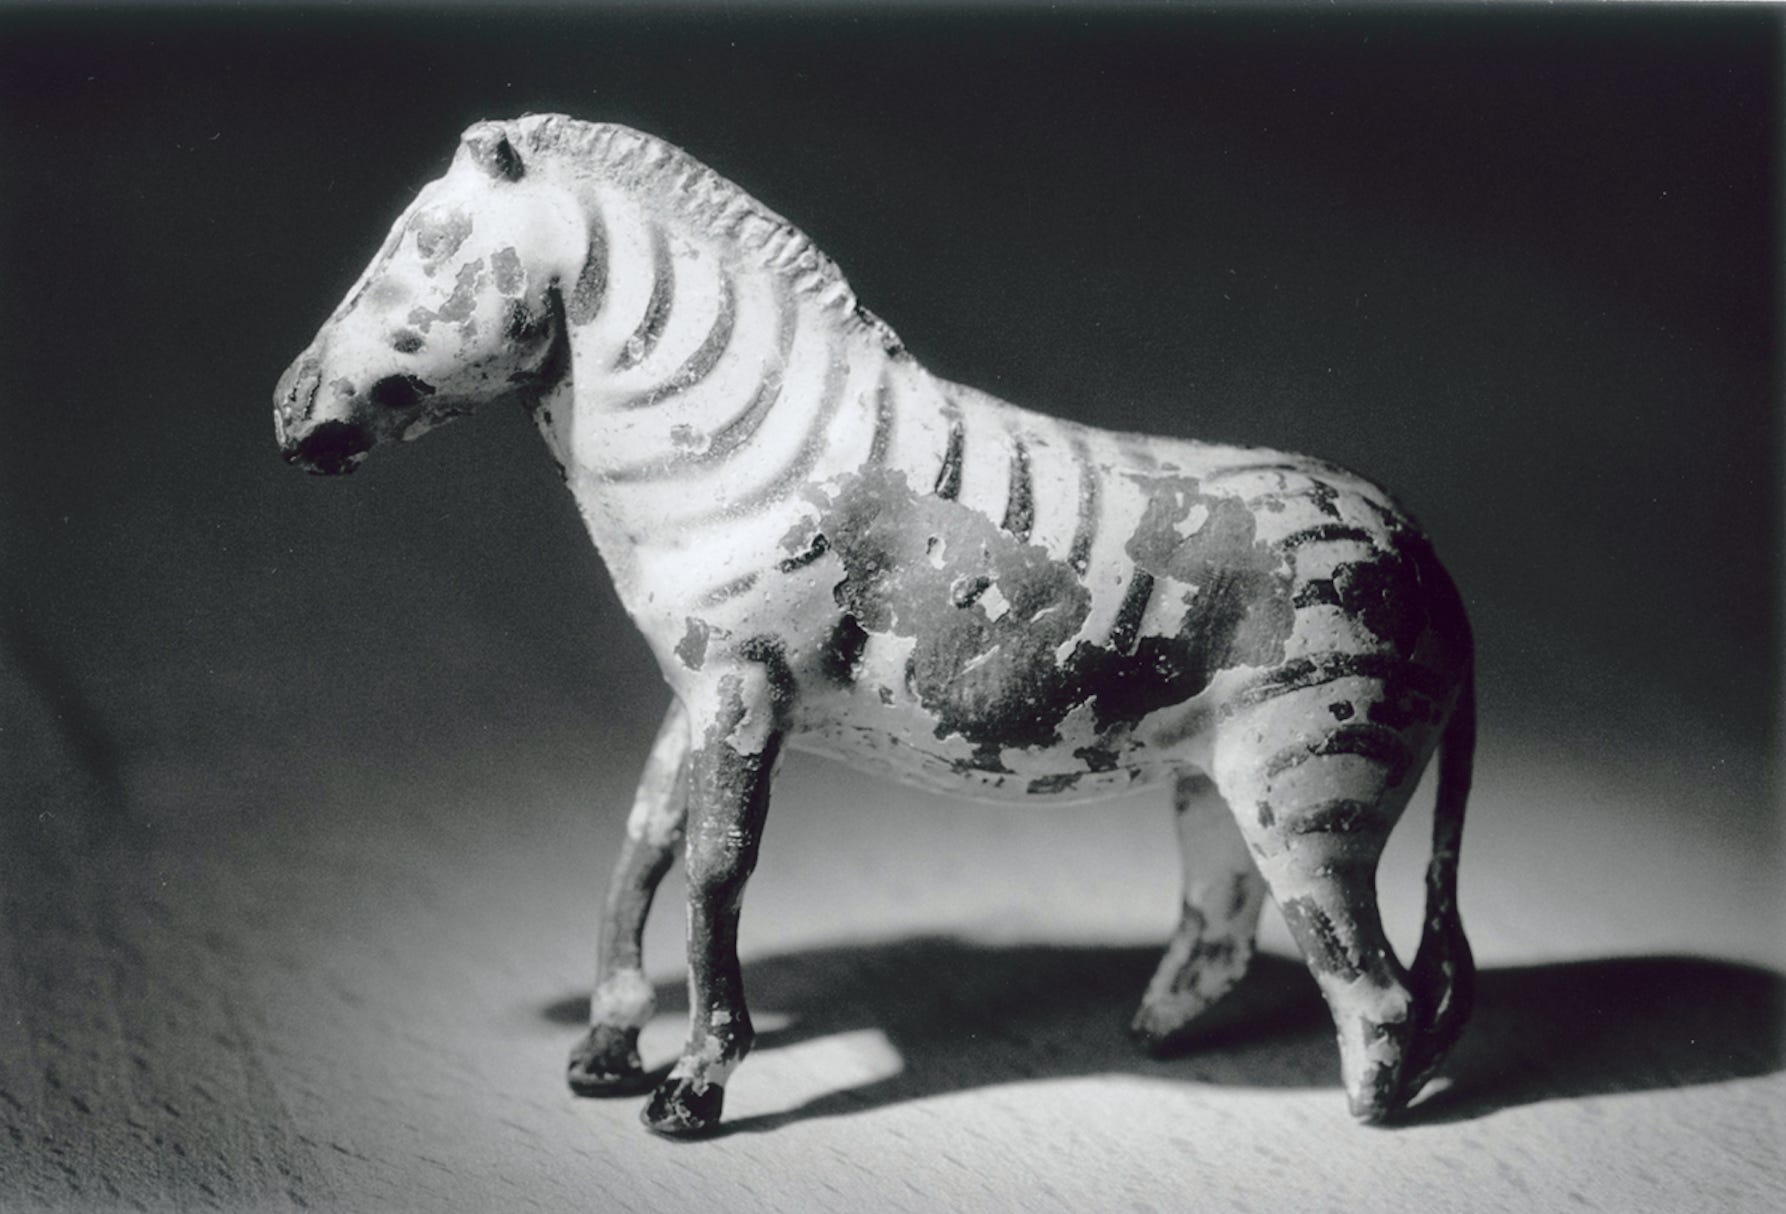
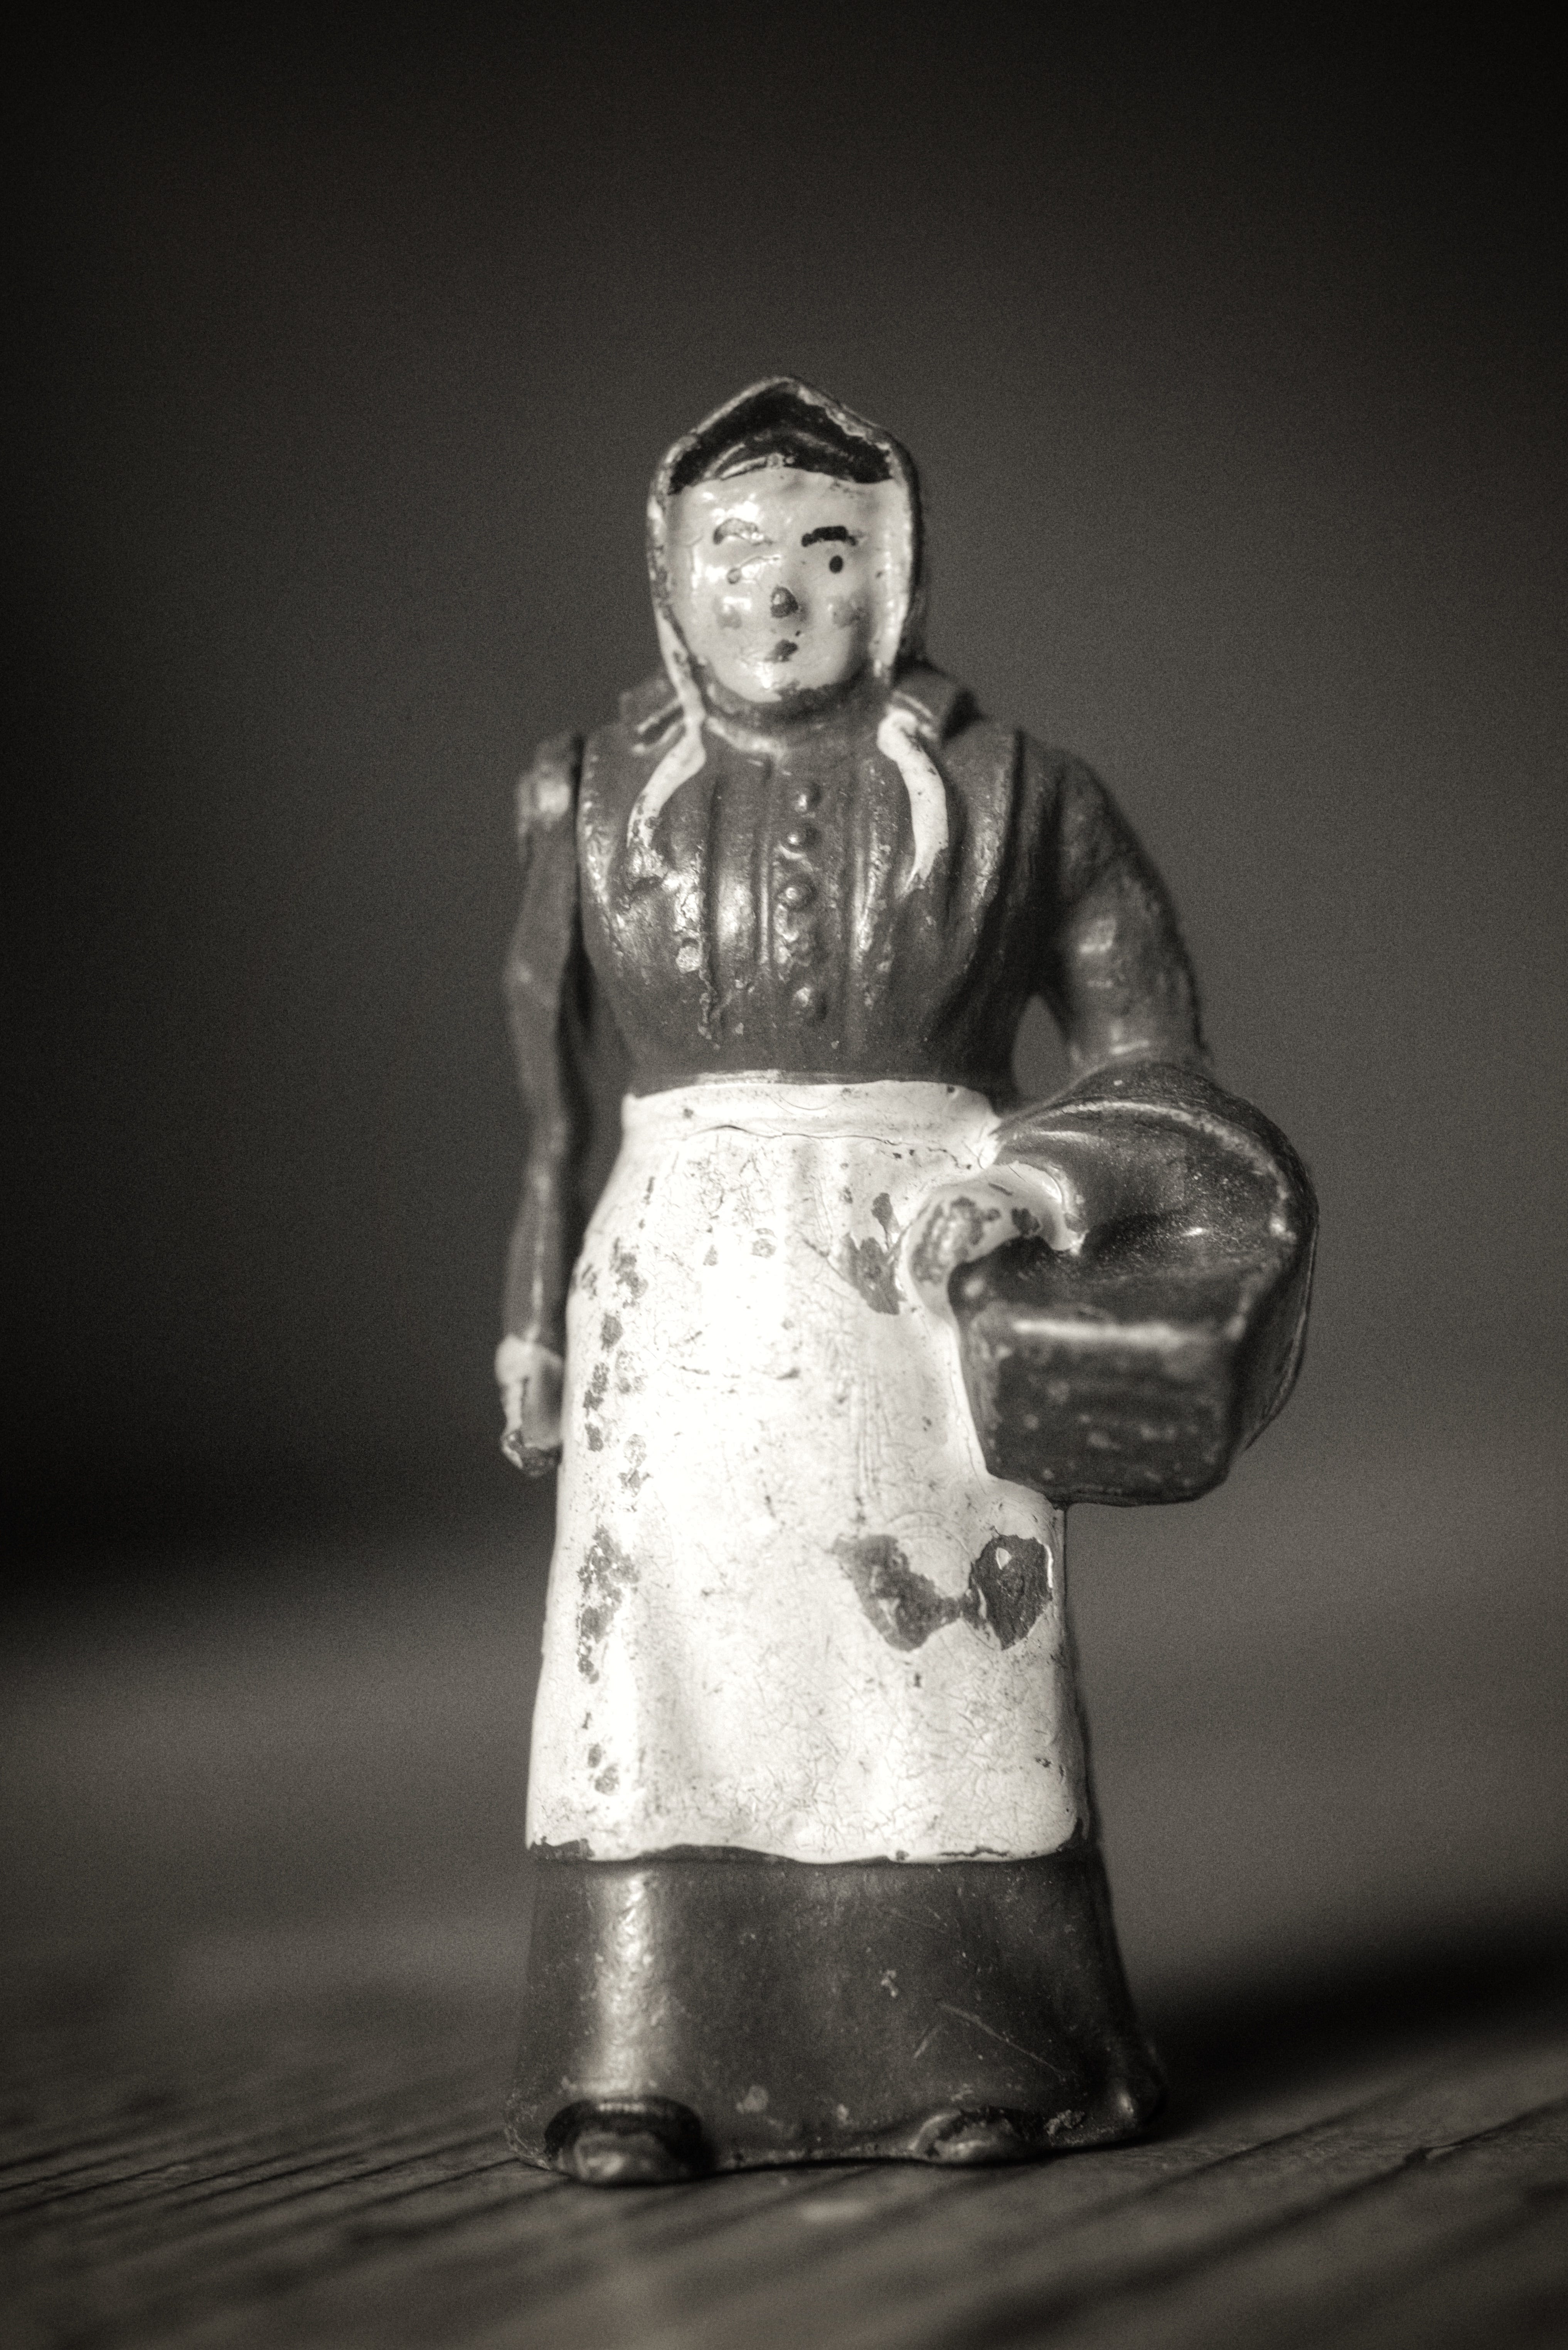
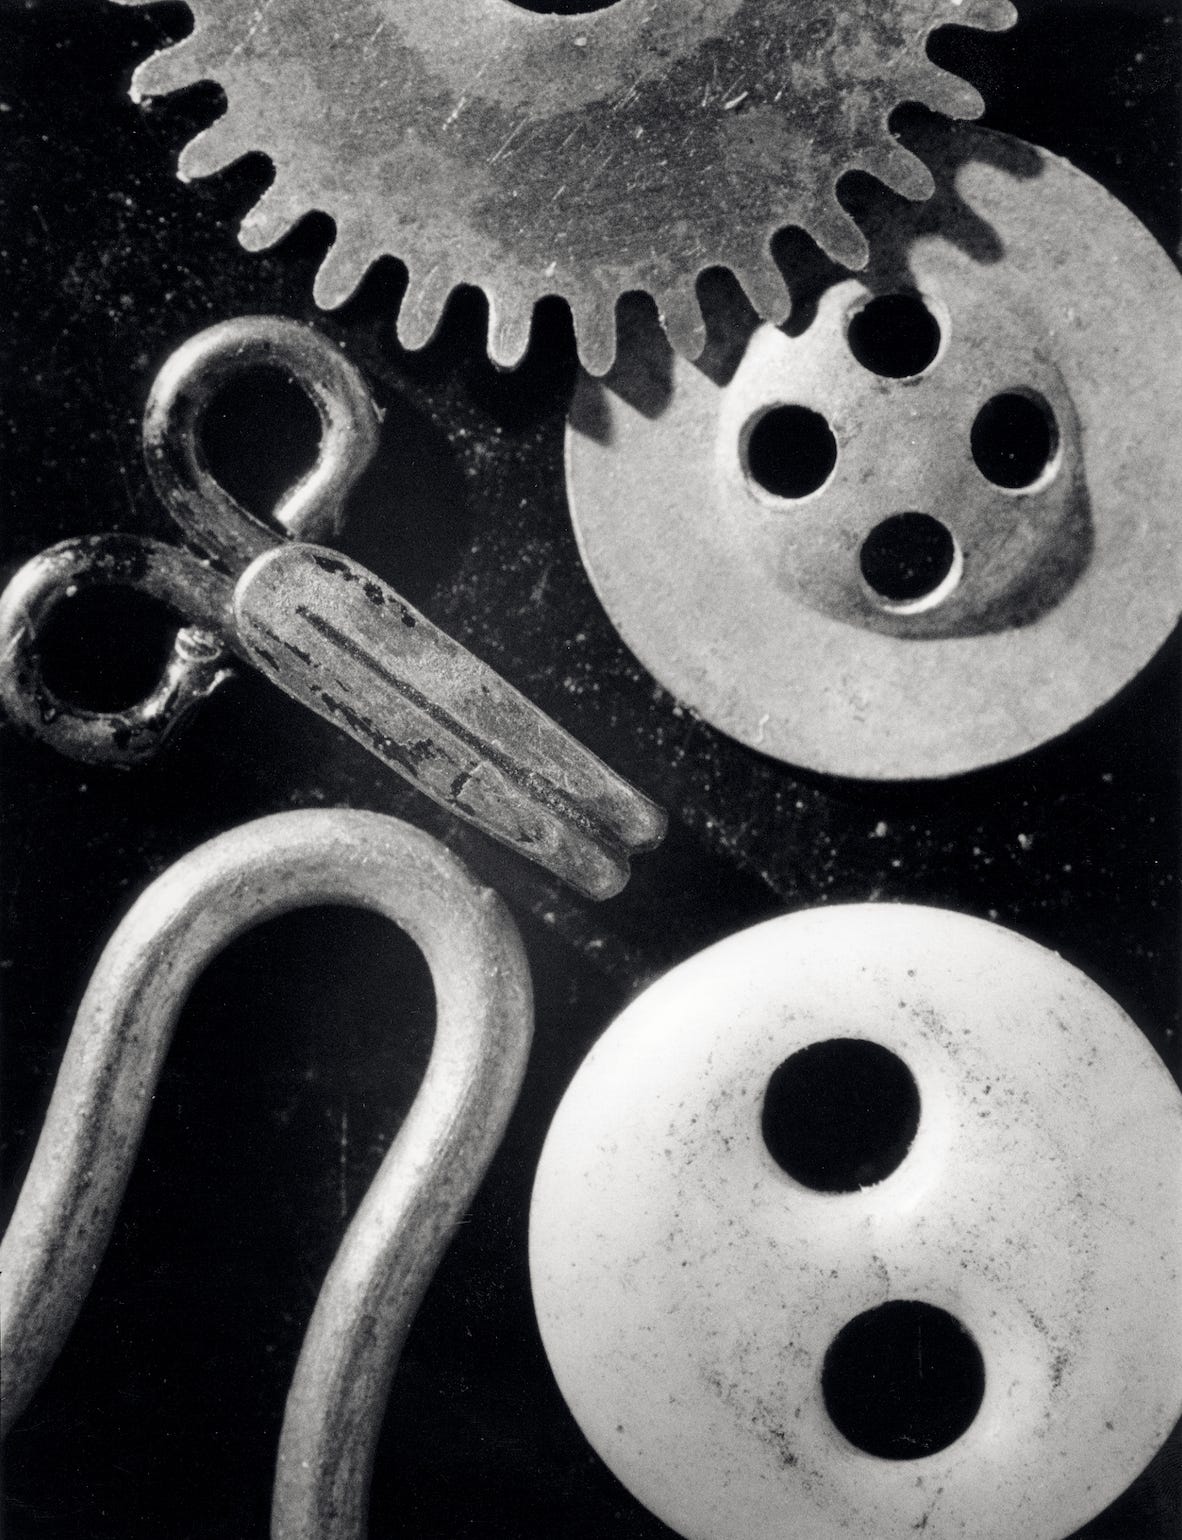
My own favourite subjects for close up are small cars, lead animals and figures.
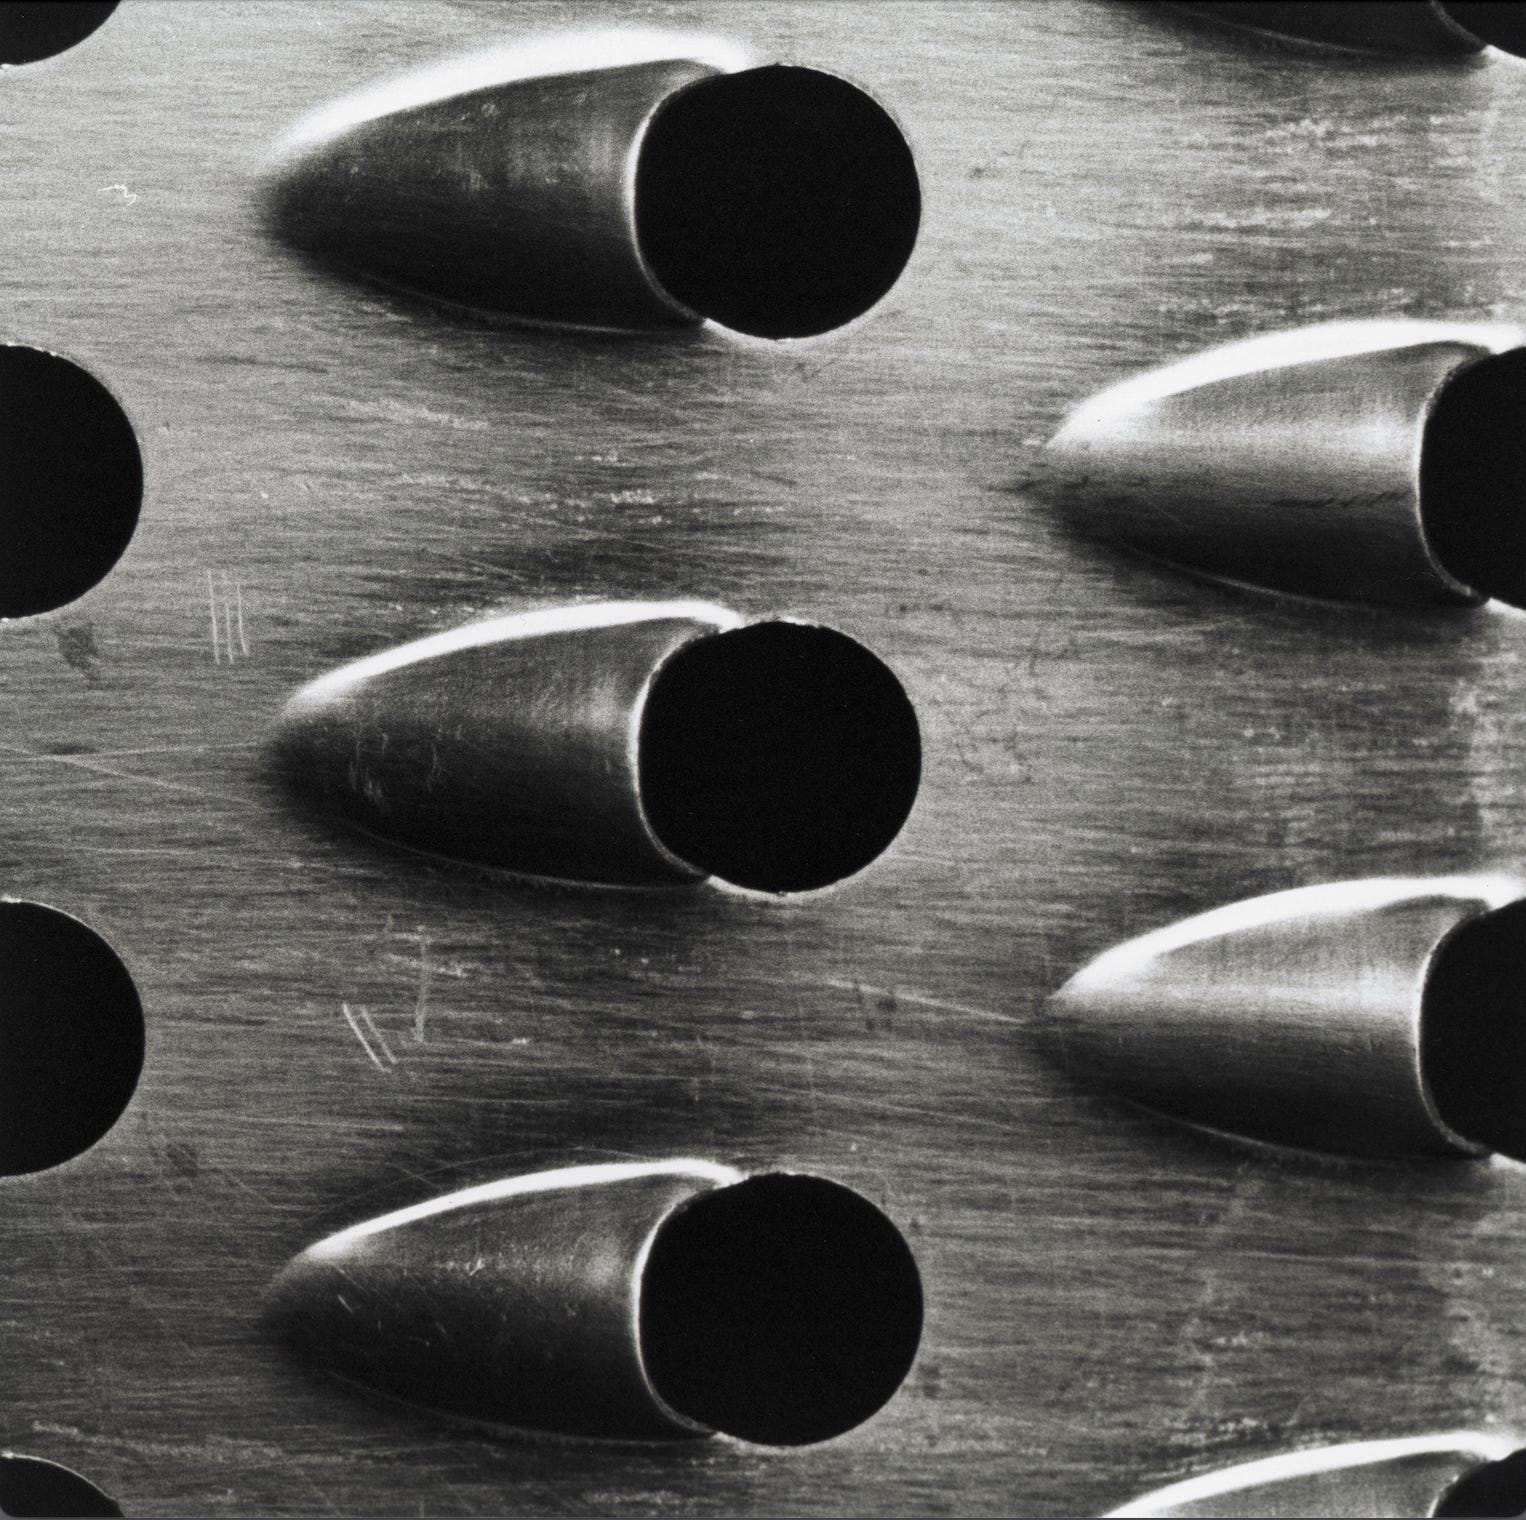
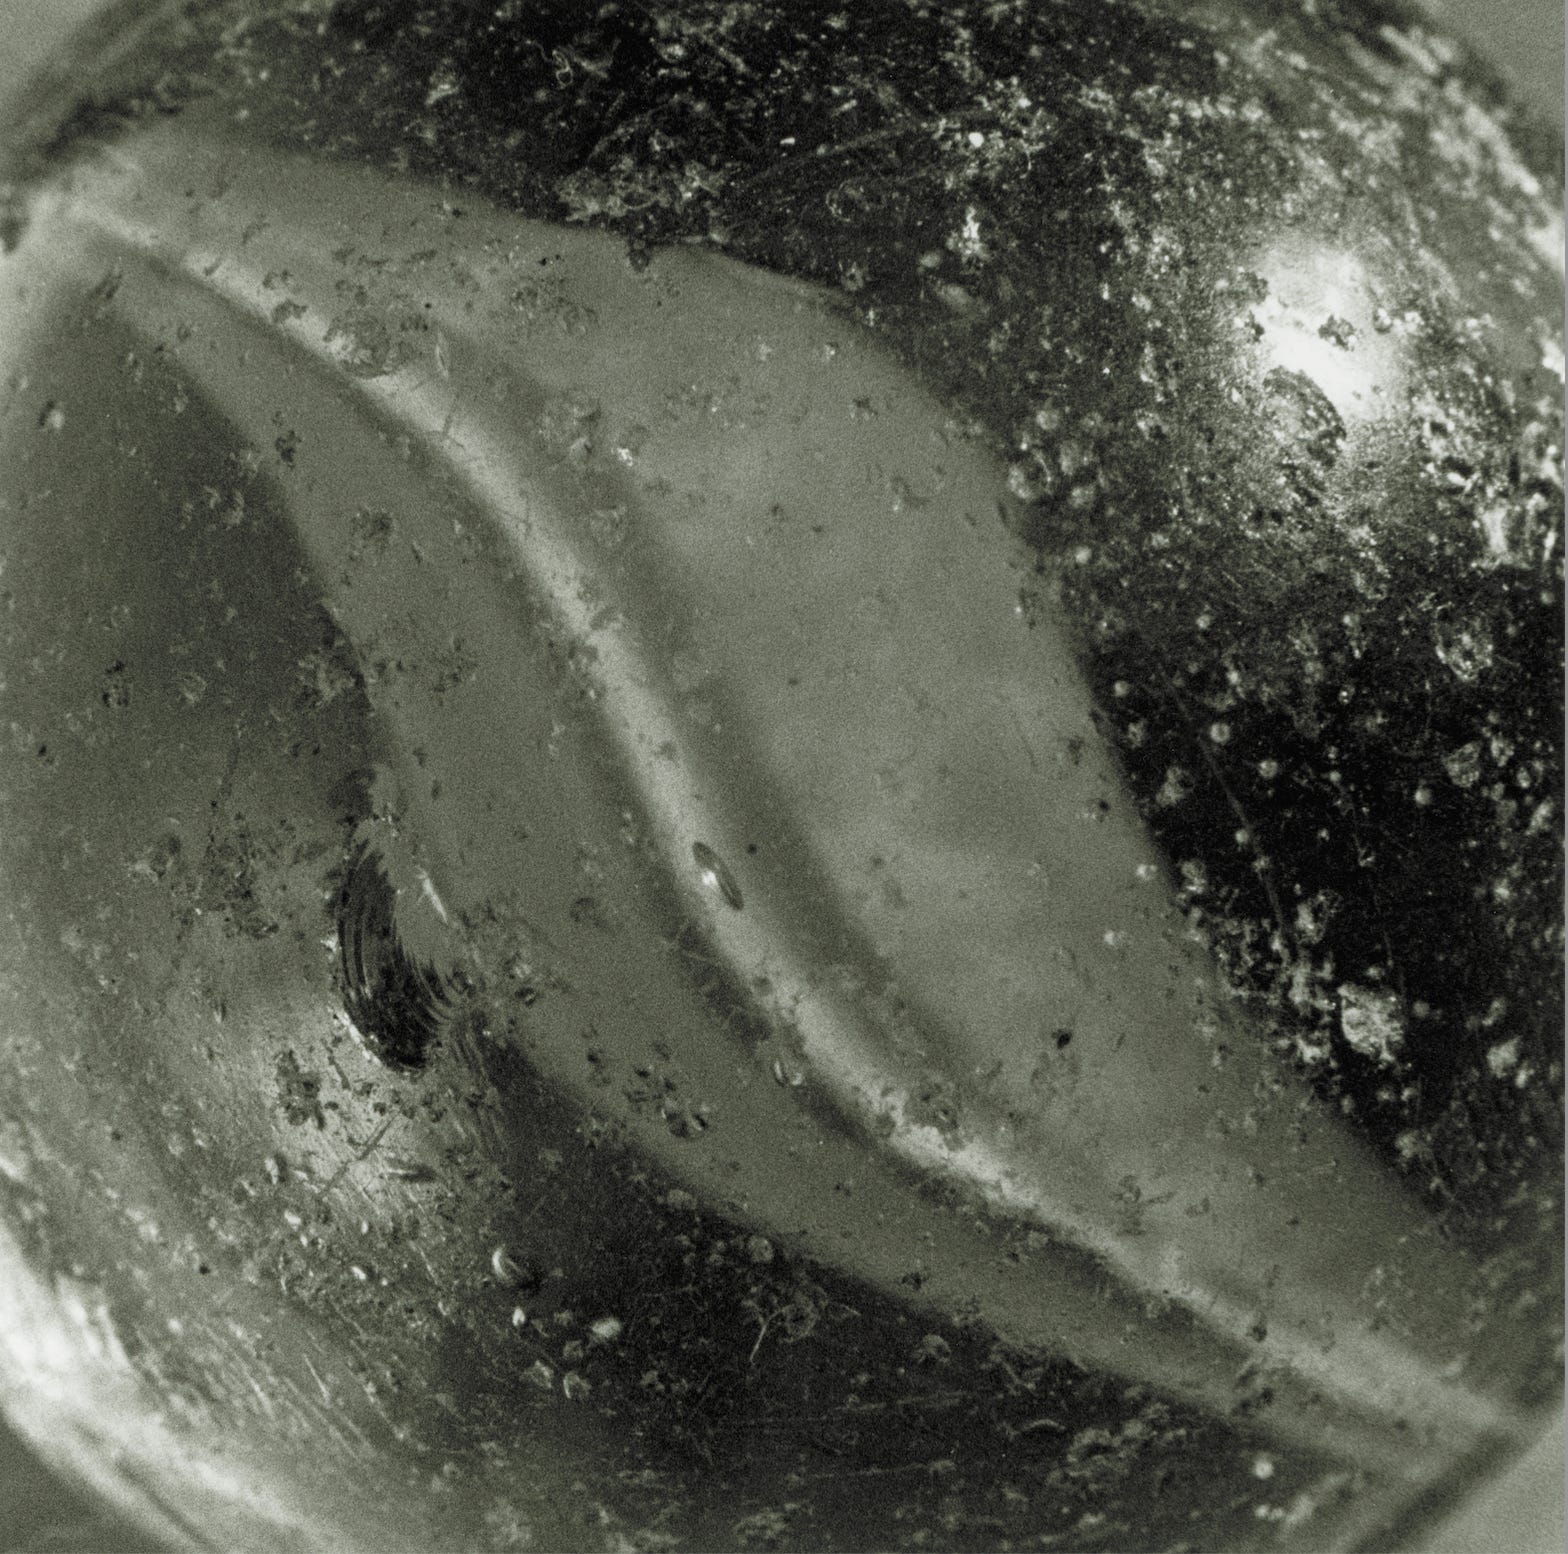
Once you start looking really closely at objects a whole new world opens up. This glass marble has had a few bumps and knocks.
There are so many possibilities with this technique, you may find that it becomes a new obsession. It could certainly be something that satisfies your need for photography when you can’t get out. Let me know if it is an area you have explored already.
If you find my articles interesting or useful, please spread the word to anyone you can think of who would be interested.
If you have enjoyed this post and the information here and elsewhere on my Substack and you would like to support me, you can subscribe or just buy me a coffee at Ko-fi.com/andrewsandersonphotography You can send as little as £5.00, or more if you are feeling generous. This money goes towards materials used for the tests and printing for these articles. Alternatively you can be a paid subscriber.
Thank you for reading, please let me know your thoughts.
Andrew Sanderson December 2025.
Other places to see my work;
Instagram; http://instagram.com/andrewsandersonphotography
Facebook; https://www.facebook.com/andrew.sanderson.96155/
Original hand made darkroom prints are available from my online shop; www.andrewsandersonphotography.bigcartel.com
Fantastic walkthrough of the macro toolkit. The point about reversing a standard lens is underappreciated because most people don't realise how good the optical correction is when lenses are flipped. Extension tubes provide a more elegant solution, but the reversed lens approach can actually yield sharper center detail at higher magnifications since the rear element was designed to face outward. One thing that might be worth exploring is the sweet spot between tube length and focal legnth for specific subjects.
Great summary of macro options. I have extension tubes and macro lens but need to use them more. Macro is easy to forget about at times of the year when there are few flowers about.