Family feet.
The story behind the picture.

This week I thought I would talk about a particular image from my portfolio and explain how/why it was taken, along with explanations of how the print was made.
Family feet
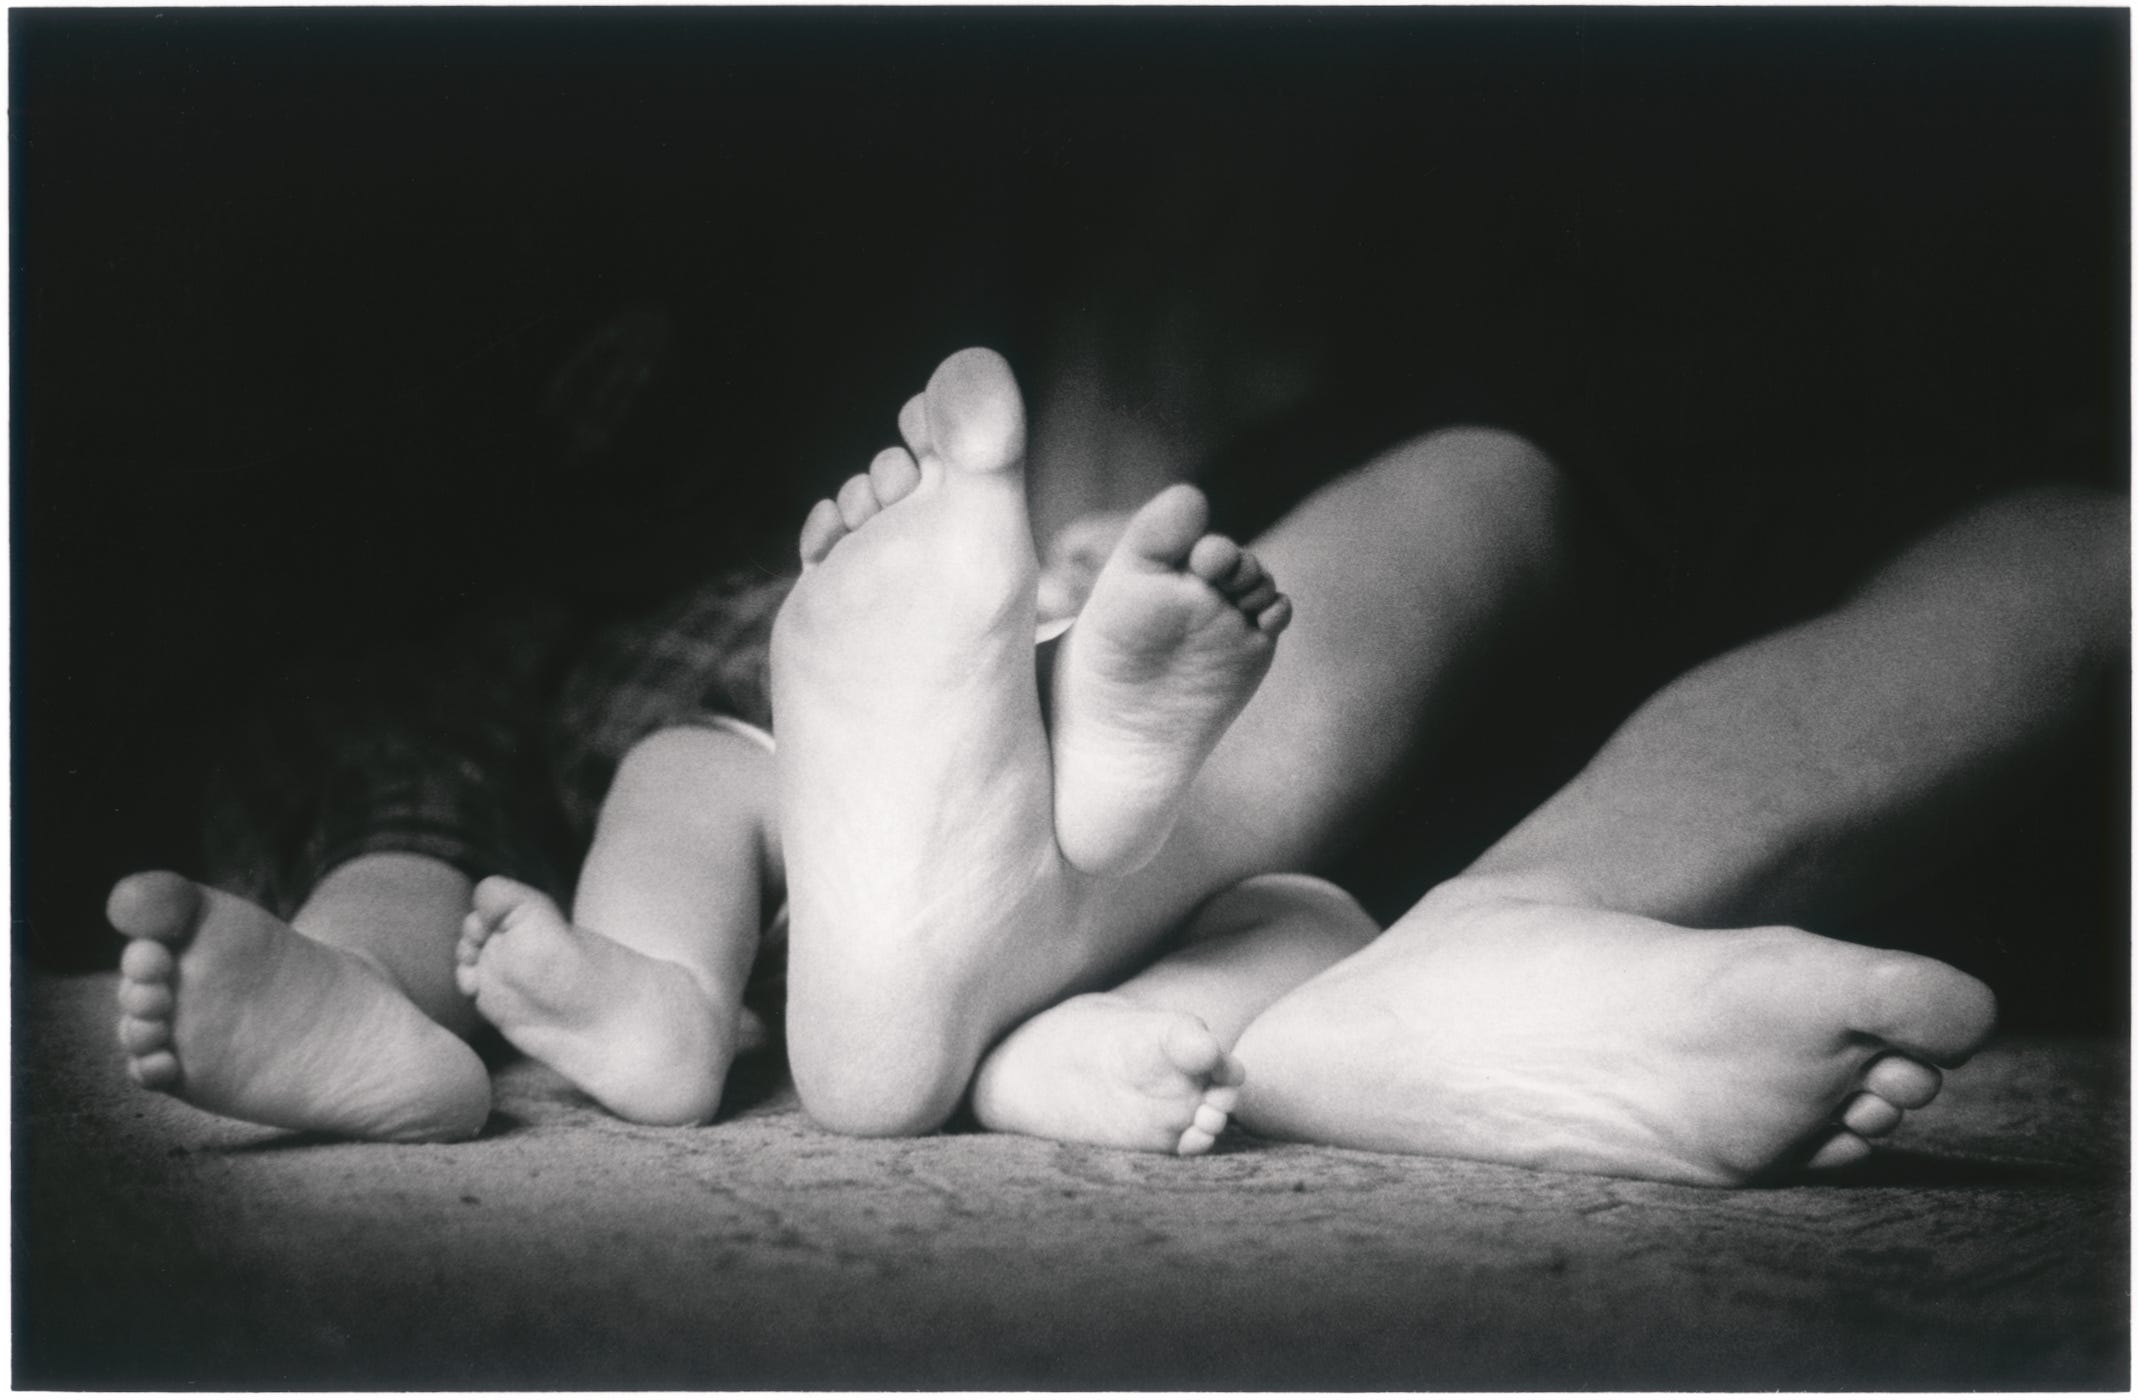
This is basically a snap from our family album, although in reality I can’t call it an album, as I haven’t got round to putting any of the prints in books yet, they are still overflowing the old paper boxes that I keep them in.
That aside, the image was only taken for a bit of fun, on the spur of the moment when I saw the enormous difference between my wife’s long feet and those of our youngest child, Will.
This photograph was taken around 1998, before my youngest daughter was born. My wife, son and eldest daughter were lying on the floor, just larking about. My son was two years old and my eldest daughter was four. The kids were climbing over my wife and as I watched them I thought there might be a picture here – something to do with the very different sizes of their bare feet.
Initially, I asked them to all line up in a row with the children’s feet arranged either side of my wife’s, but when I looked through the lens I thought it looked too regular. So instead I got them to jumble their feet up, which was visually more interesting and the picture just came together.
My wife’s upright foot in the middle of the frame forms the centre of the composition and holds it all together. The other feet are not placed in a perfectly symmetrical way, but they splay out in a kind of fan shape with horizontal feet at either end.
The only problem I had when taking the picture was that we lived in a particularly dark old house at the time and there was only a limited amount of natural light coming from one window. I prefer natural daylight in most situations and rarely use artificial light. I might occasionally use a bit of tungsten light or even a torch, but I don’t use flash.
The soles of my wife’s feet were facing the window and lying in a patch of natural light. As you can see, the rest of the room is quite dark and the illumination quickly falls away, along with focus.
Because I was snapping for fun, I didn’t take much care over the quality, the room was quite dark, so I used a 1.4 standard lens and shot wide open at around 1/30th. The film was Kodak T.Max 400.
Consequently, this is not a pin sharp picture, but it does have charm and I would rather have a slightly soft shot than no shot at all.
The making of the print
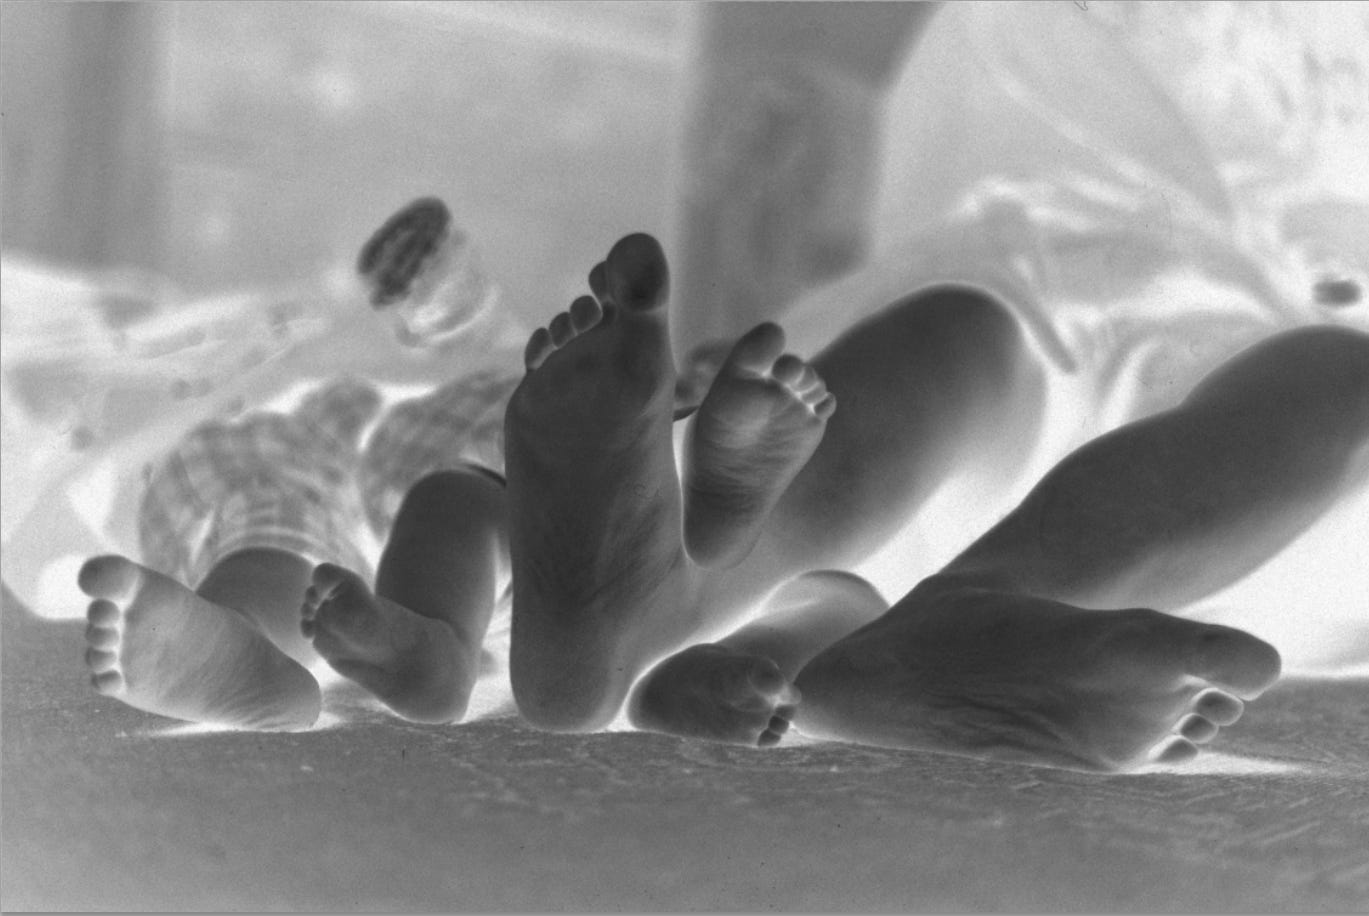
This apparently simple picture is not a straightforward negative to print, there is a distracting highlight in the left of the background, the foreground is too light and out of focus, and the legs look better if they fade out into darkness at the sides. A straight print looks pretty uninteresting due to the messy background. despite the shallow focus, there is still a lot there.
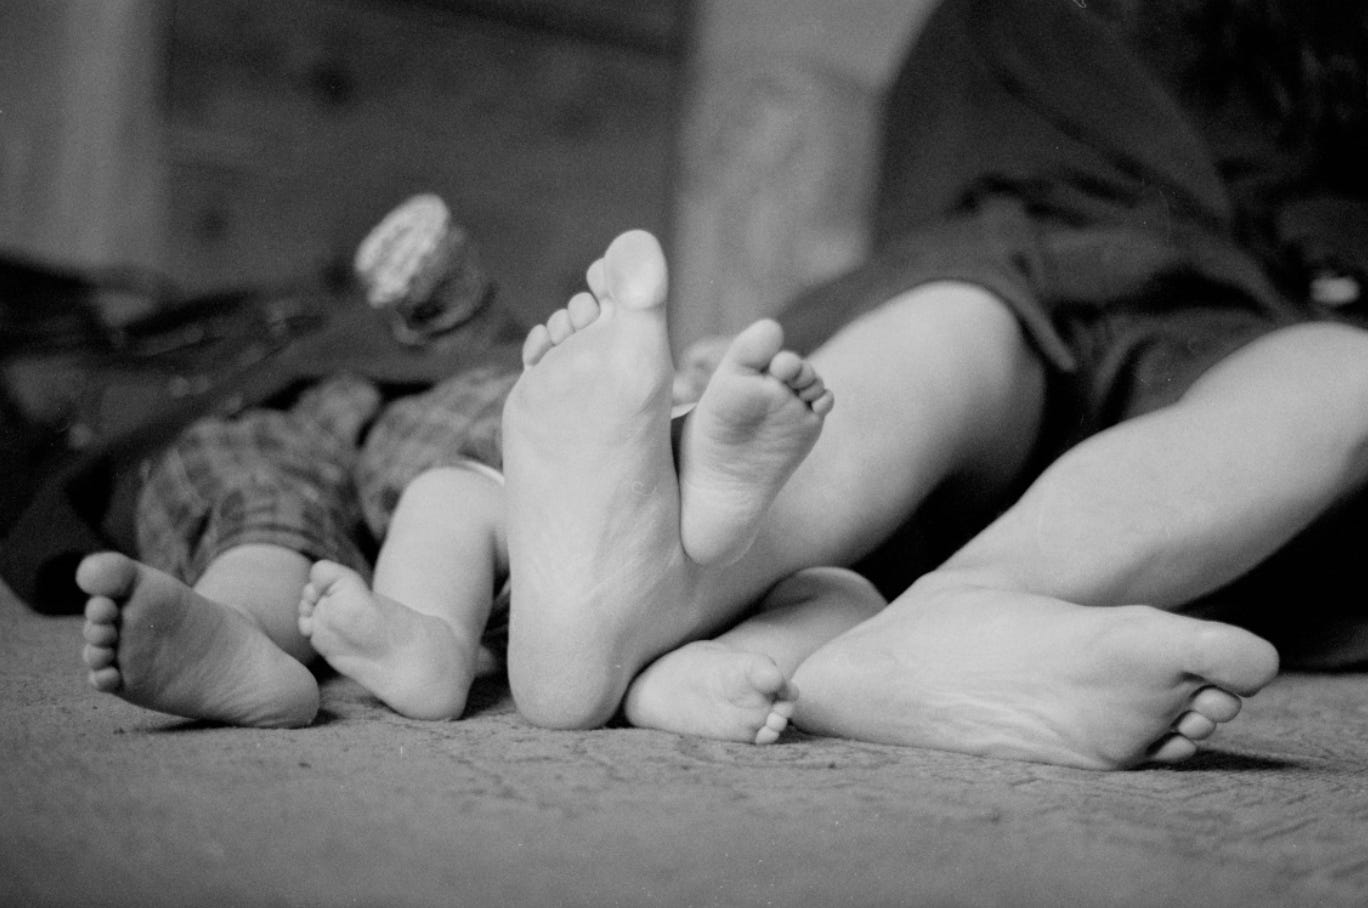
The first time I printed this negative, I arrived at the result I wanted by the second attempt (For some reason I had decided to make a huge print, so it’s a good job it didn’t take multiple attempts), but each time I have tried since, it has been really tricky and never quite had the quality of the first.
As the best print was over twenty inches long I had to do a smaller version for the purpose of this article. The small, later prints, as I mentioned were not brilliant, so I had to have a serious go at getting it right this time.
Some days in the darkroom everything works in your favour, the gremlins are away and nothing goes wrong. At other times it seems as though something is trying to tell you not to bother. In extreme cases absolutely everything goes wrong, -The negative pops out of focus between the test strips and the final print, the developer won’t give you the warm tone effect it usually does, newton rings appear on the finished print which were absent on the test strips, your spotless negs have cultivated dust and your beer has run out. Having had those days on many occasions, I have learned to spot the signals and walk away from the darkroom when things just don’t go right.
I needed it to be one of those easy days for this latest attempt at the print. If it was a gremlin day I would probably have never printed this shot ever again. Luckily, all went very well, I judged the negative to have normal contrast and chose a grade 3 to give me slightly brighter highlights.
The burning in was done without any filtration, this is equivalent to a grade 1.5 on my diffuser enlarger, -no filtration means shorter burning in times.
Darkening the foreground reduces the interest of the viewer, this makes the shallow focus and large area of softness much less obvious.
In a picture, the eye is drawn to the lighter parts of the image first. This simple phenomenon can be exploited to influence the way people see the things in your photographs, drawing attention to the important things in the shot and away from the less important parts.
Apologies for the shorter post this week, -holidays, kids and all that.
All of these words come out of my head. I never use AI in any form and I never will. I hope you appreciate the time and effort that goes into these articles. Let’s keep real photography and real writing alive.
If you find my articles interesting or useful, please spread the word to anyone you can think of who would be interested.
If you have enjoyed this post and the information here and elsewhere on my Substack and you would like to support me, you can subscribe or just buy me a coffee at Ko-fi.com/andrewsandersonphotography You can send as little as £5.00, or more if you are feeling generous. This money goes towards materials used for the tests and printing for these articles. Alternatively you can be a paid subscriber.
Thank you for reading, please let me know your thoughts.
Andrew Sanderson August 2026.
Other places to see my work;
Instagram; http://instagram.com/andrewsandersonphotography
Original hand made darkroom prints are available from my online shop; www.andrewsandersonphotography.bigcartel.com
I also offer one to one workshops at my darkroom/studio in West Yorkshire, UK. If you are interested please email me at sandyjottings@icloud.com
This is so much fun! Super image!!
What a beautiful memory.