Drawing on photographs 2.
An easy way to be an artist.

Have you ever wished that you could draw accurately? (apologies if you already can). There are many ways to draw, but I am thinking of line drawing specifically here. There is a simple old method that makes it pretty easy to create an impressive line drawing from a black and white darkroom print.
Line drawings in pen and ink were a regular thing in publications of the past:
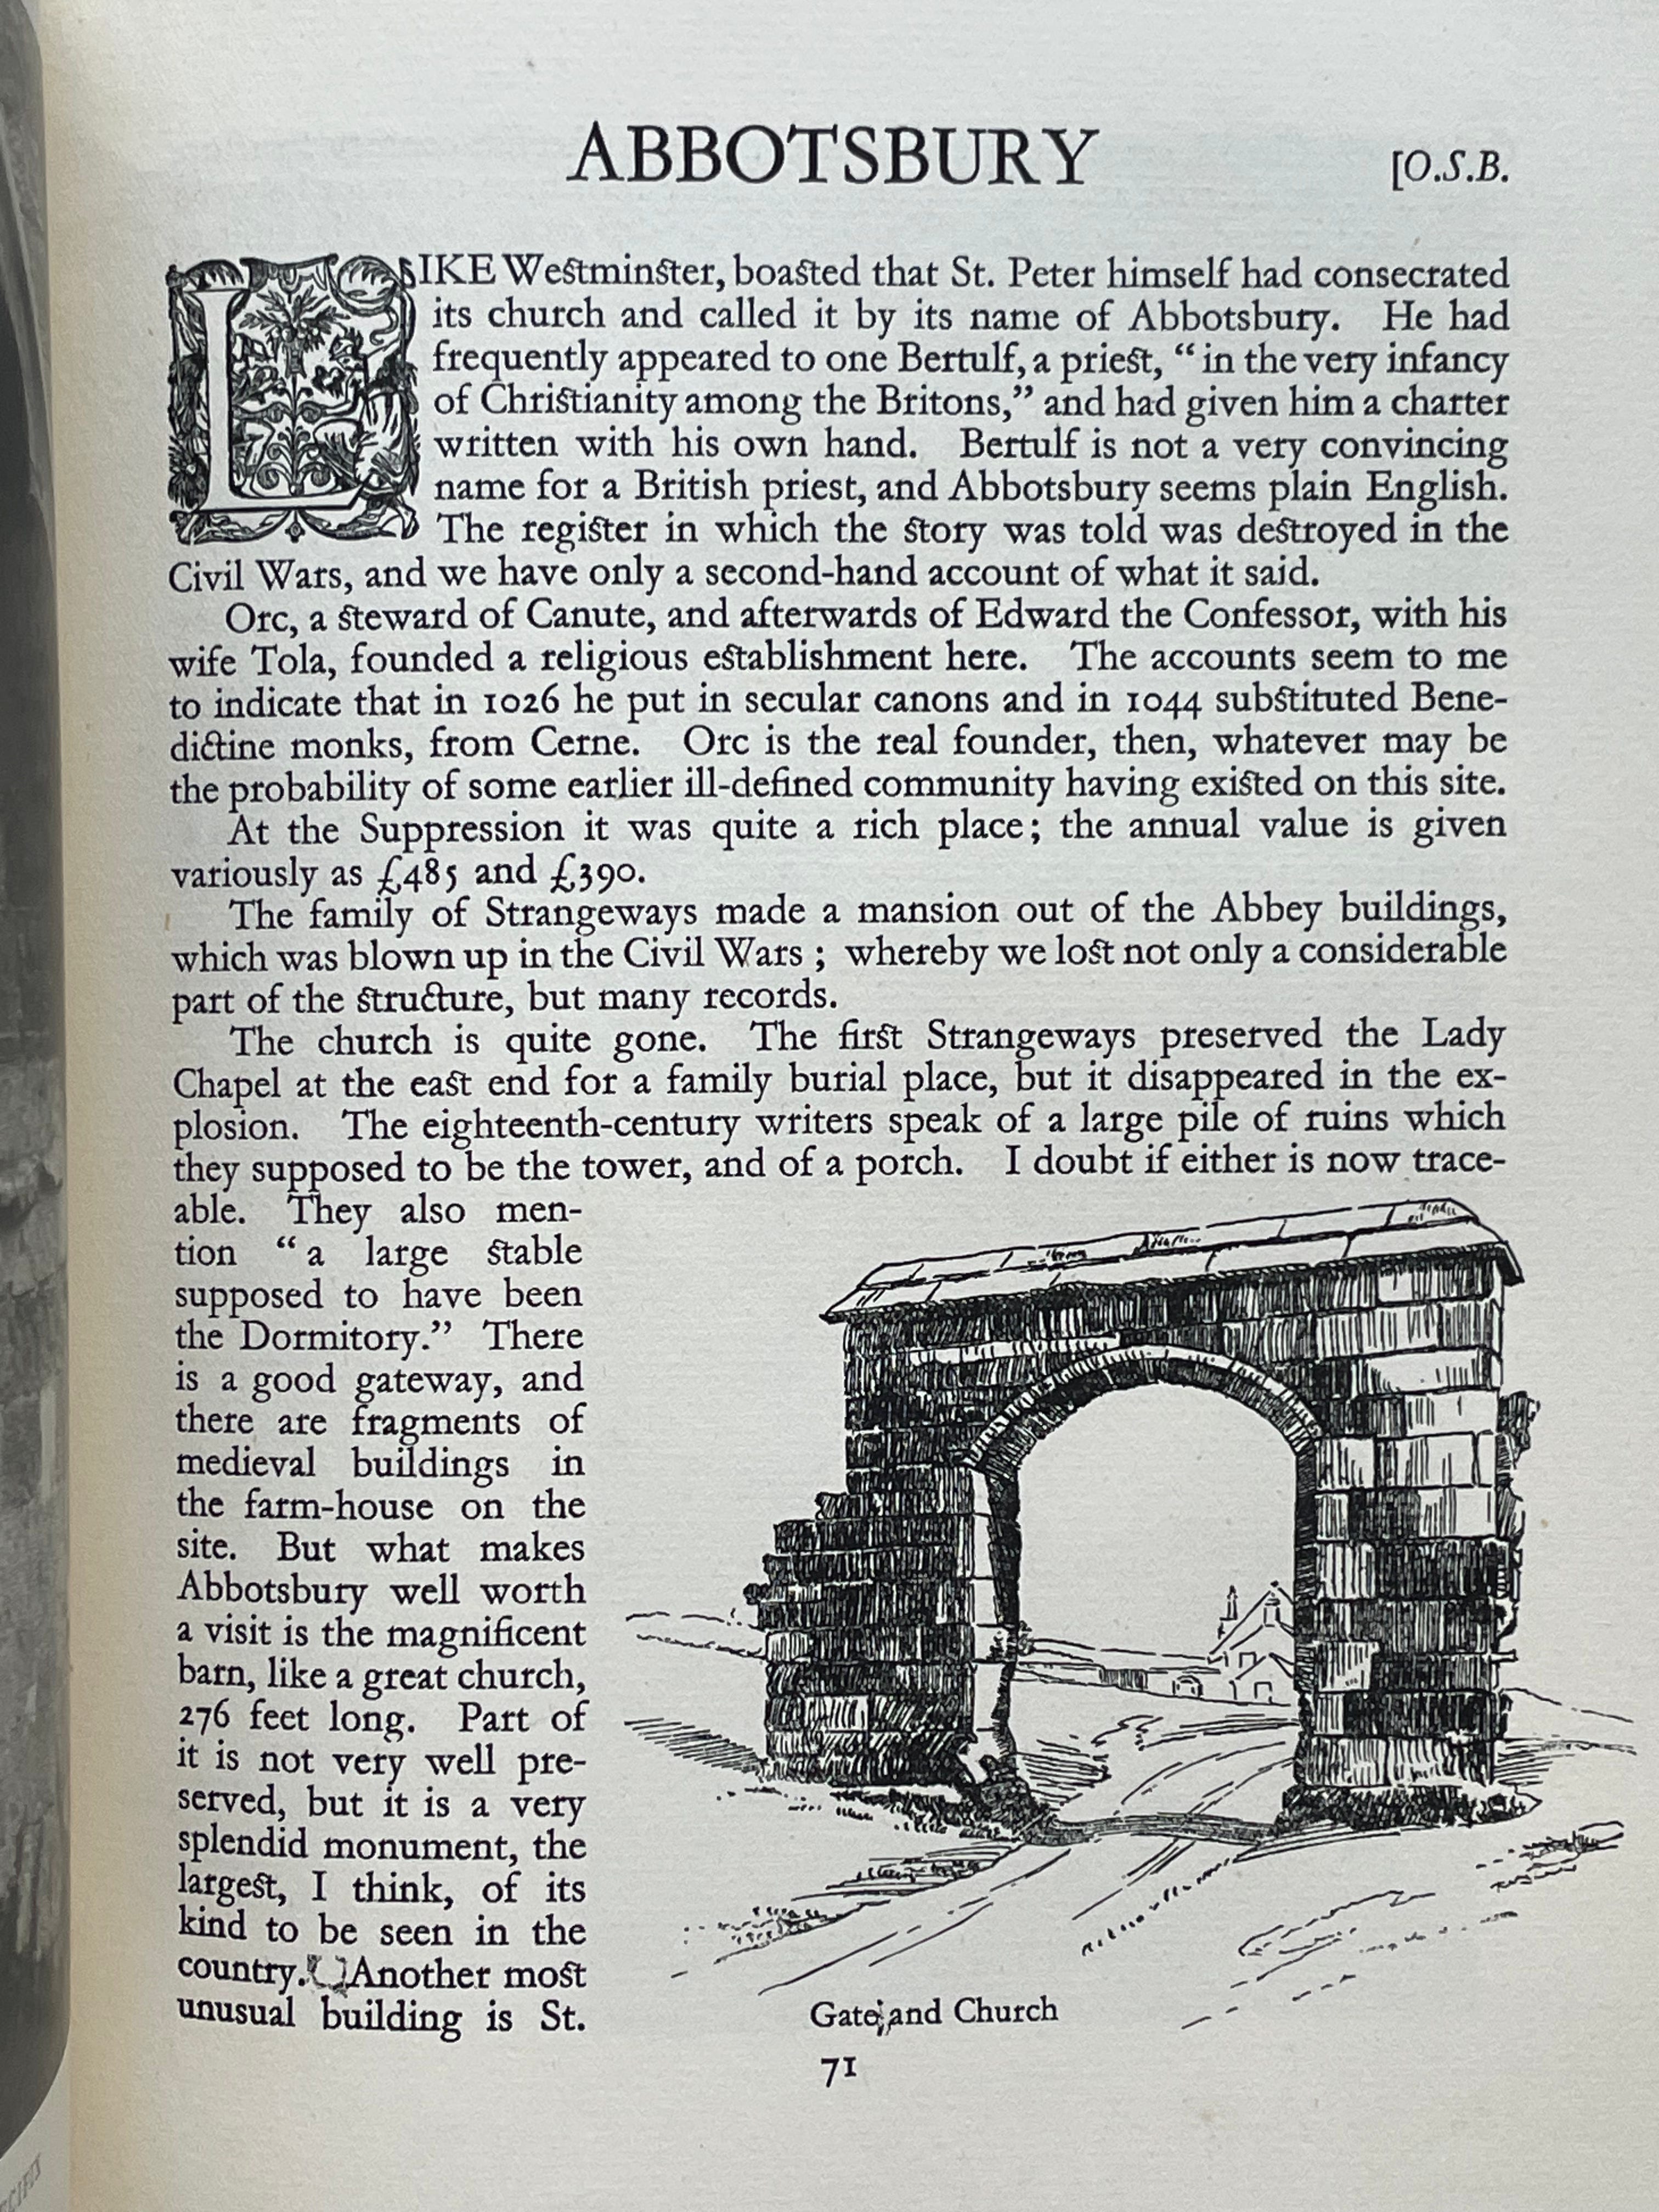
They were easy to reproduce and could be simple and informative, or beautifully expressive. There were some very good illustrators, some were stylised, and some were accurate. This is is a typical illustration:
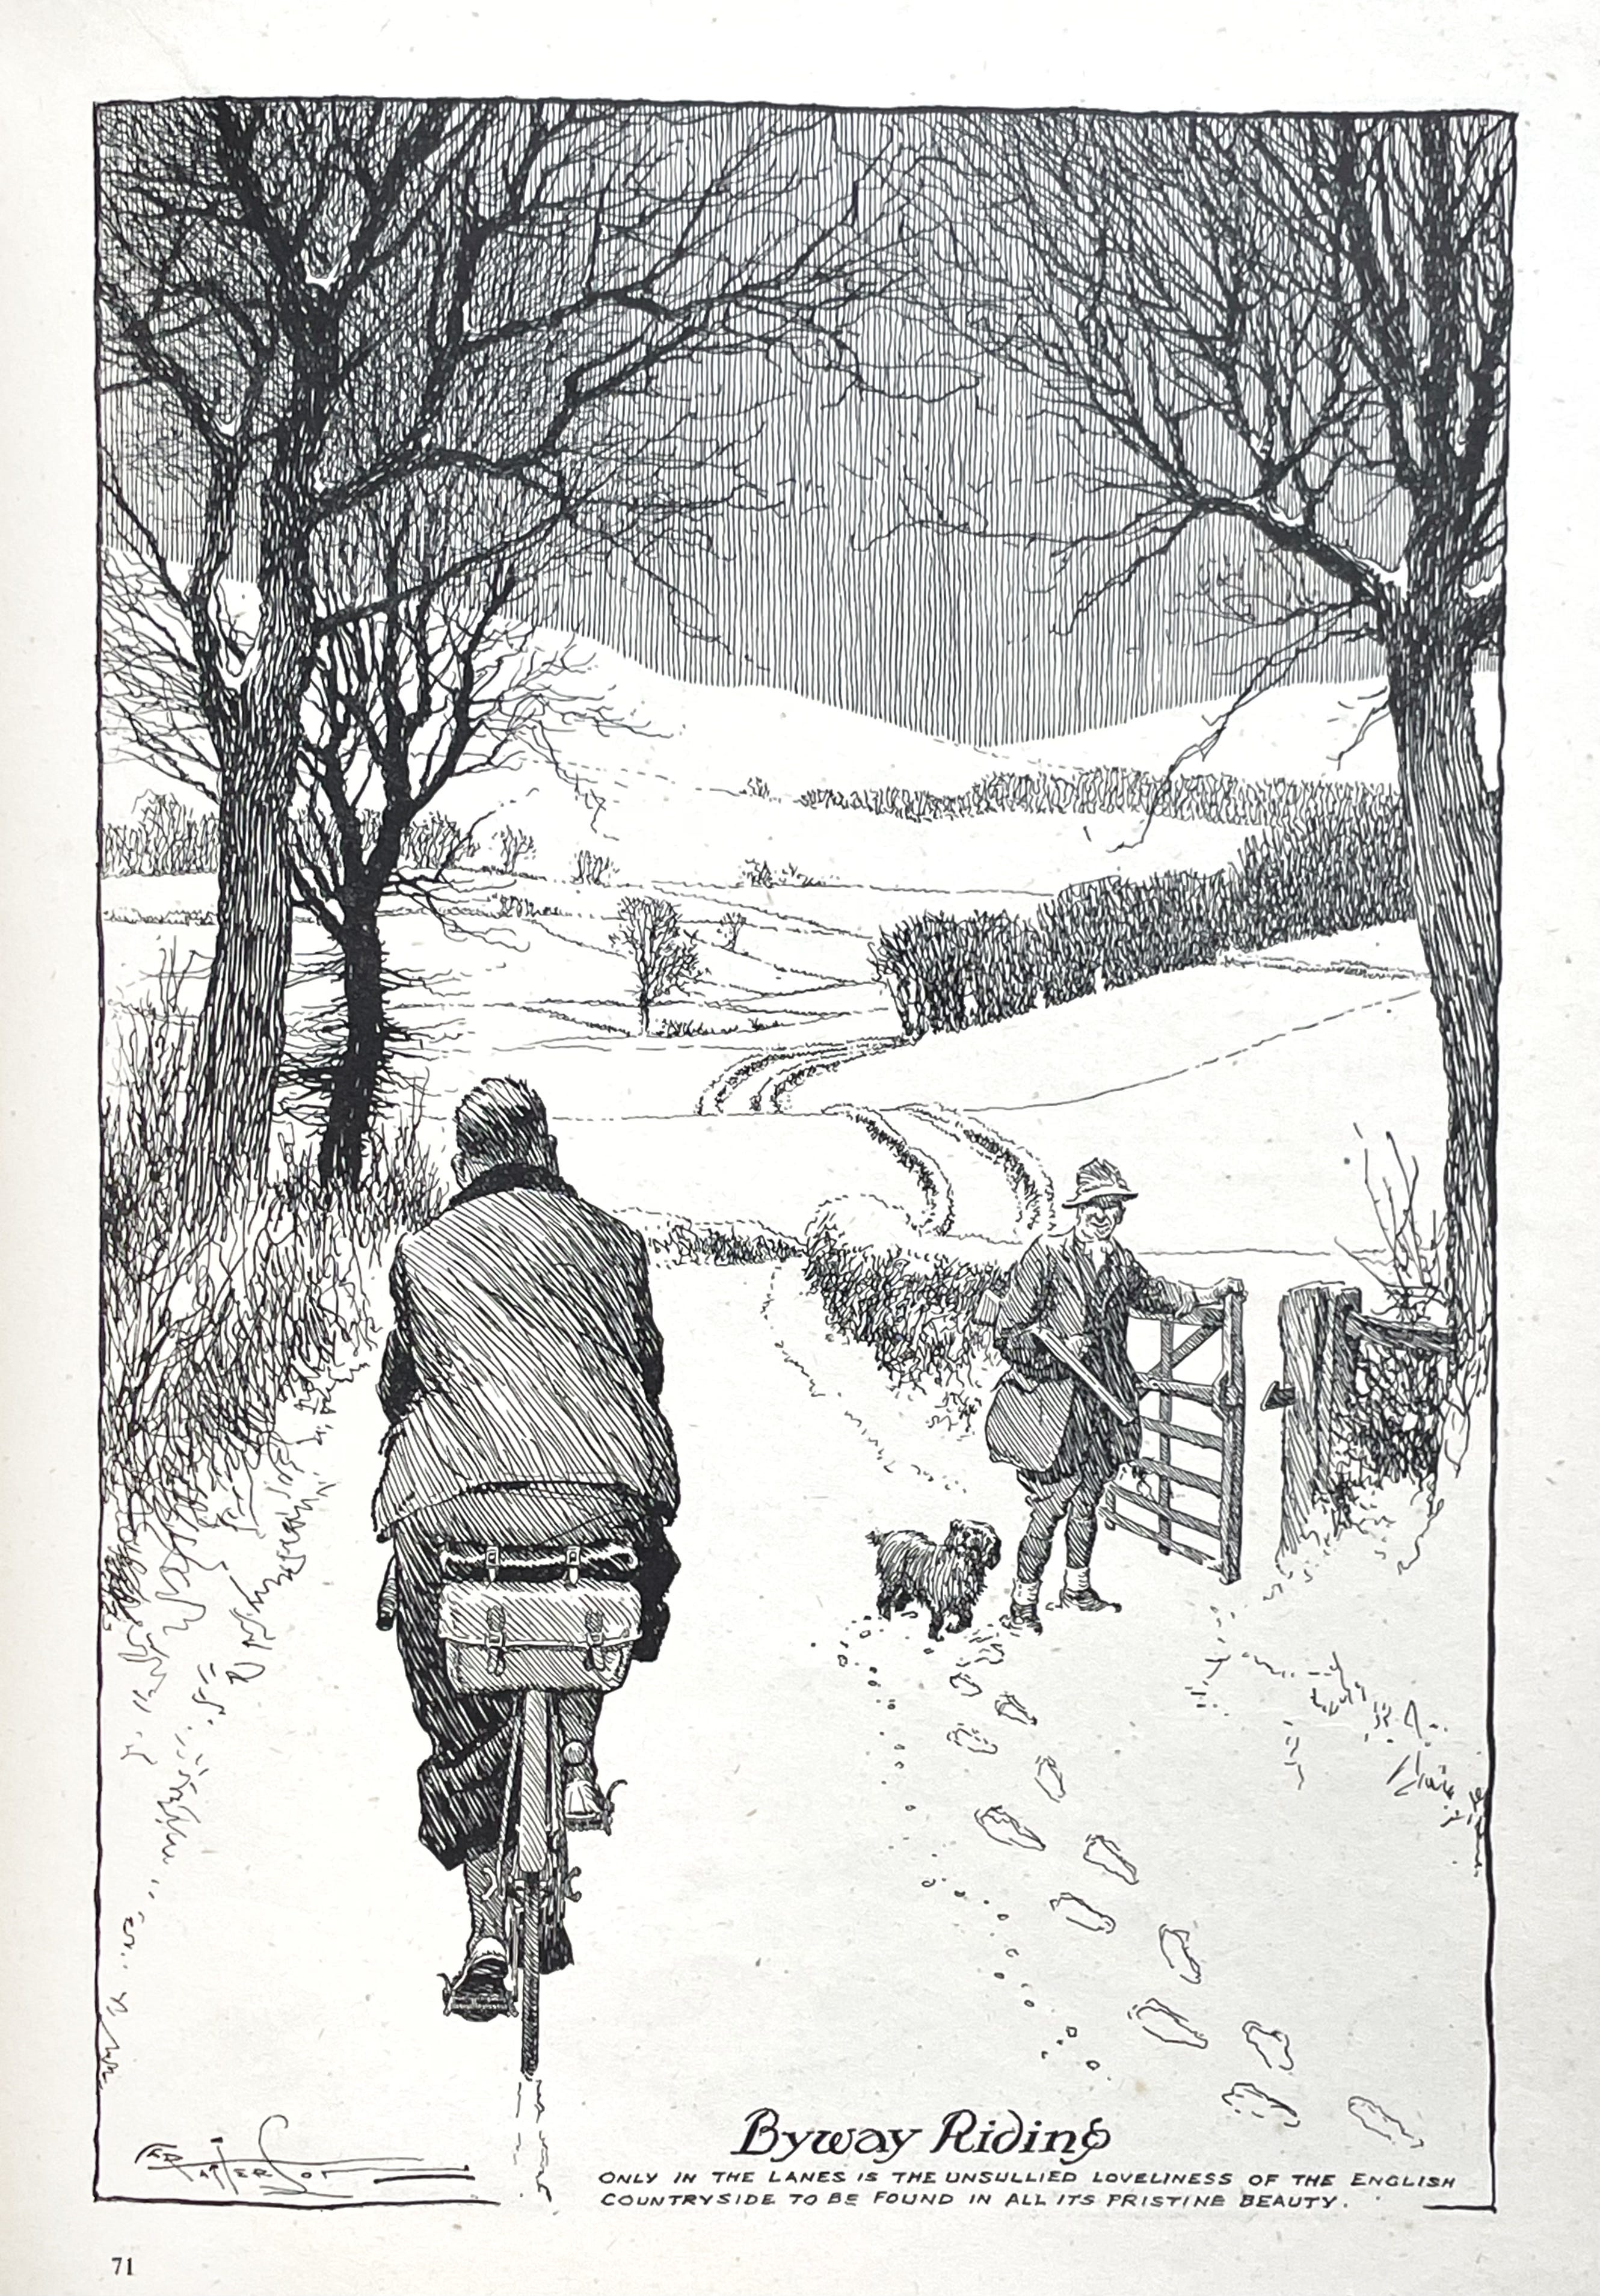
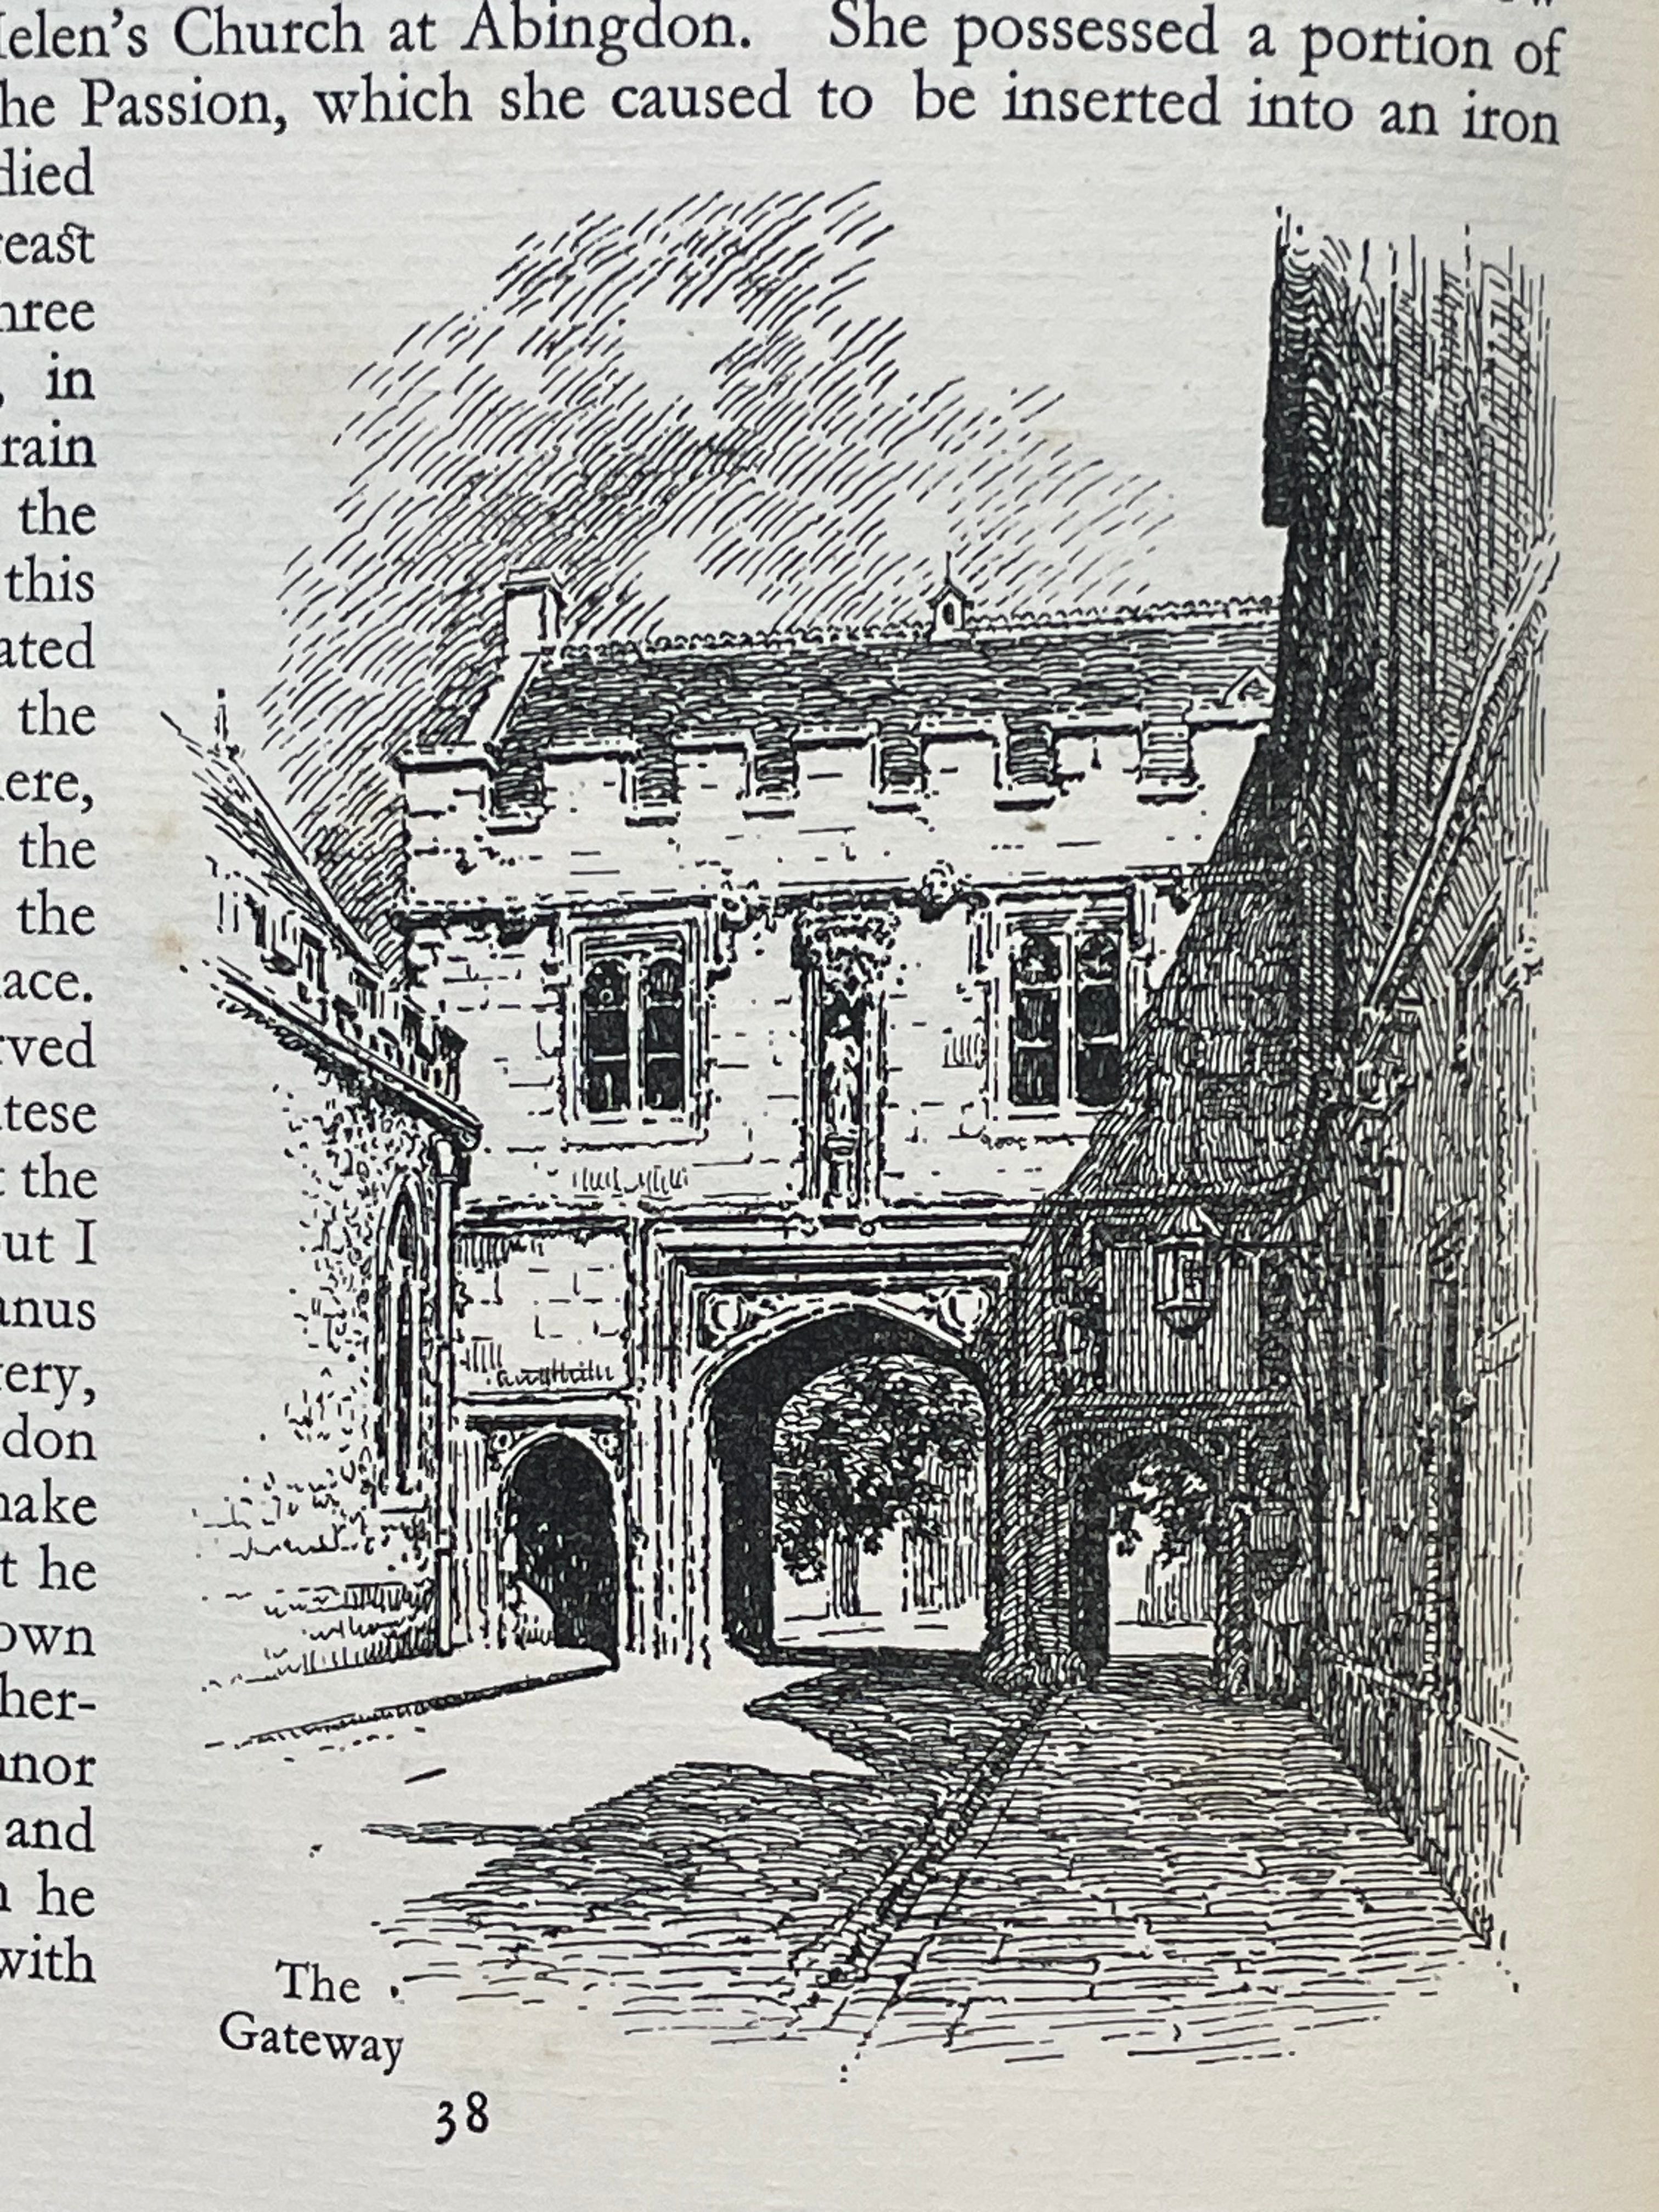
Frank Patterson’s work above, is lyrical and expressive, often because of the bits he leaves blank. Other illustrators went for a more accurate representation:
I’ve done a fair bit of line drawing in the past. I used to make little thumbnail illustrations of my favourite images with the negative page number underneath. It was my way of finding important negatives before phones, digital cameras and computers.
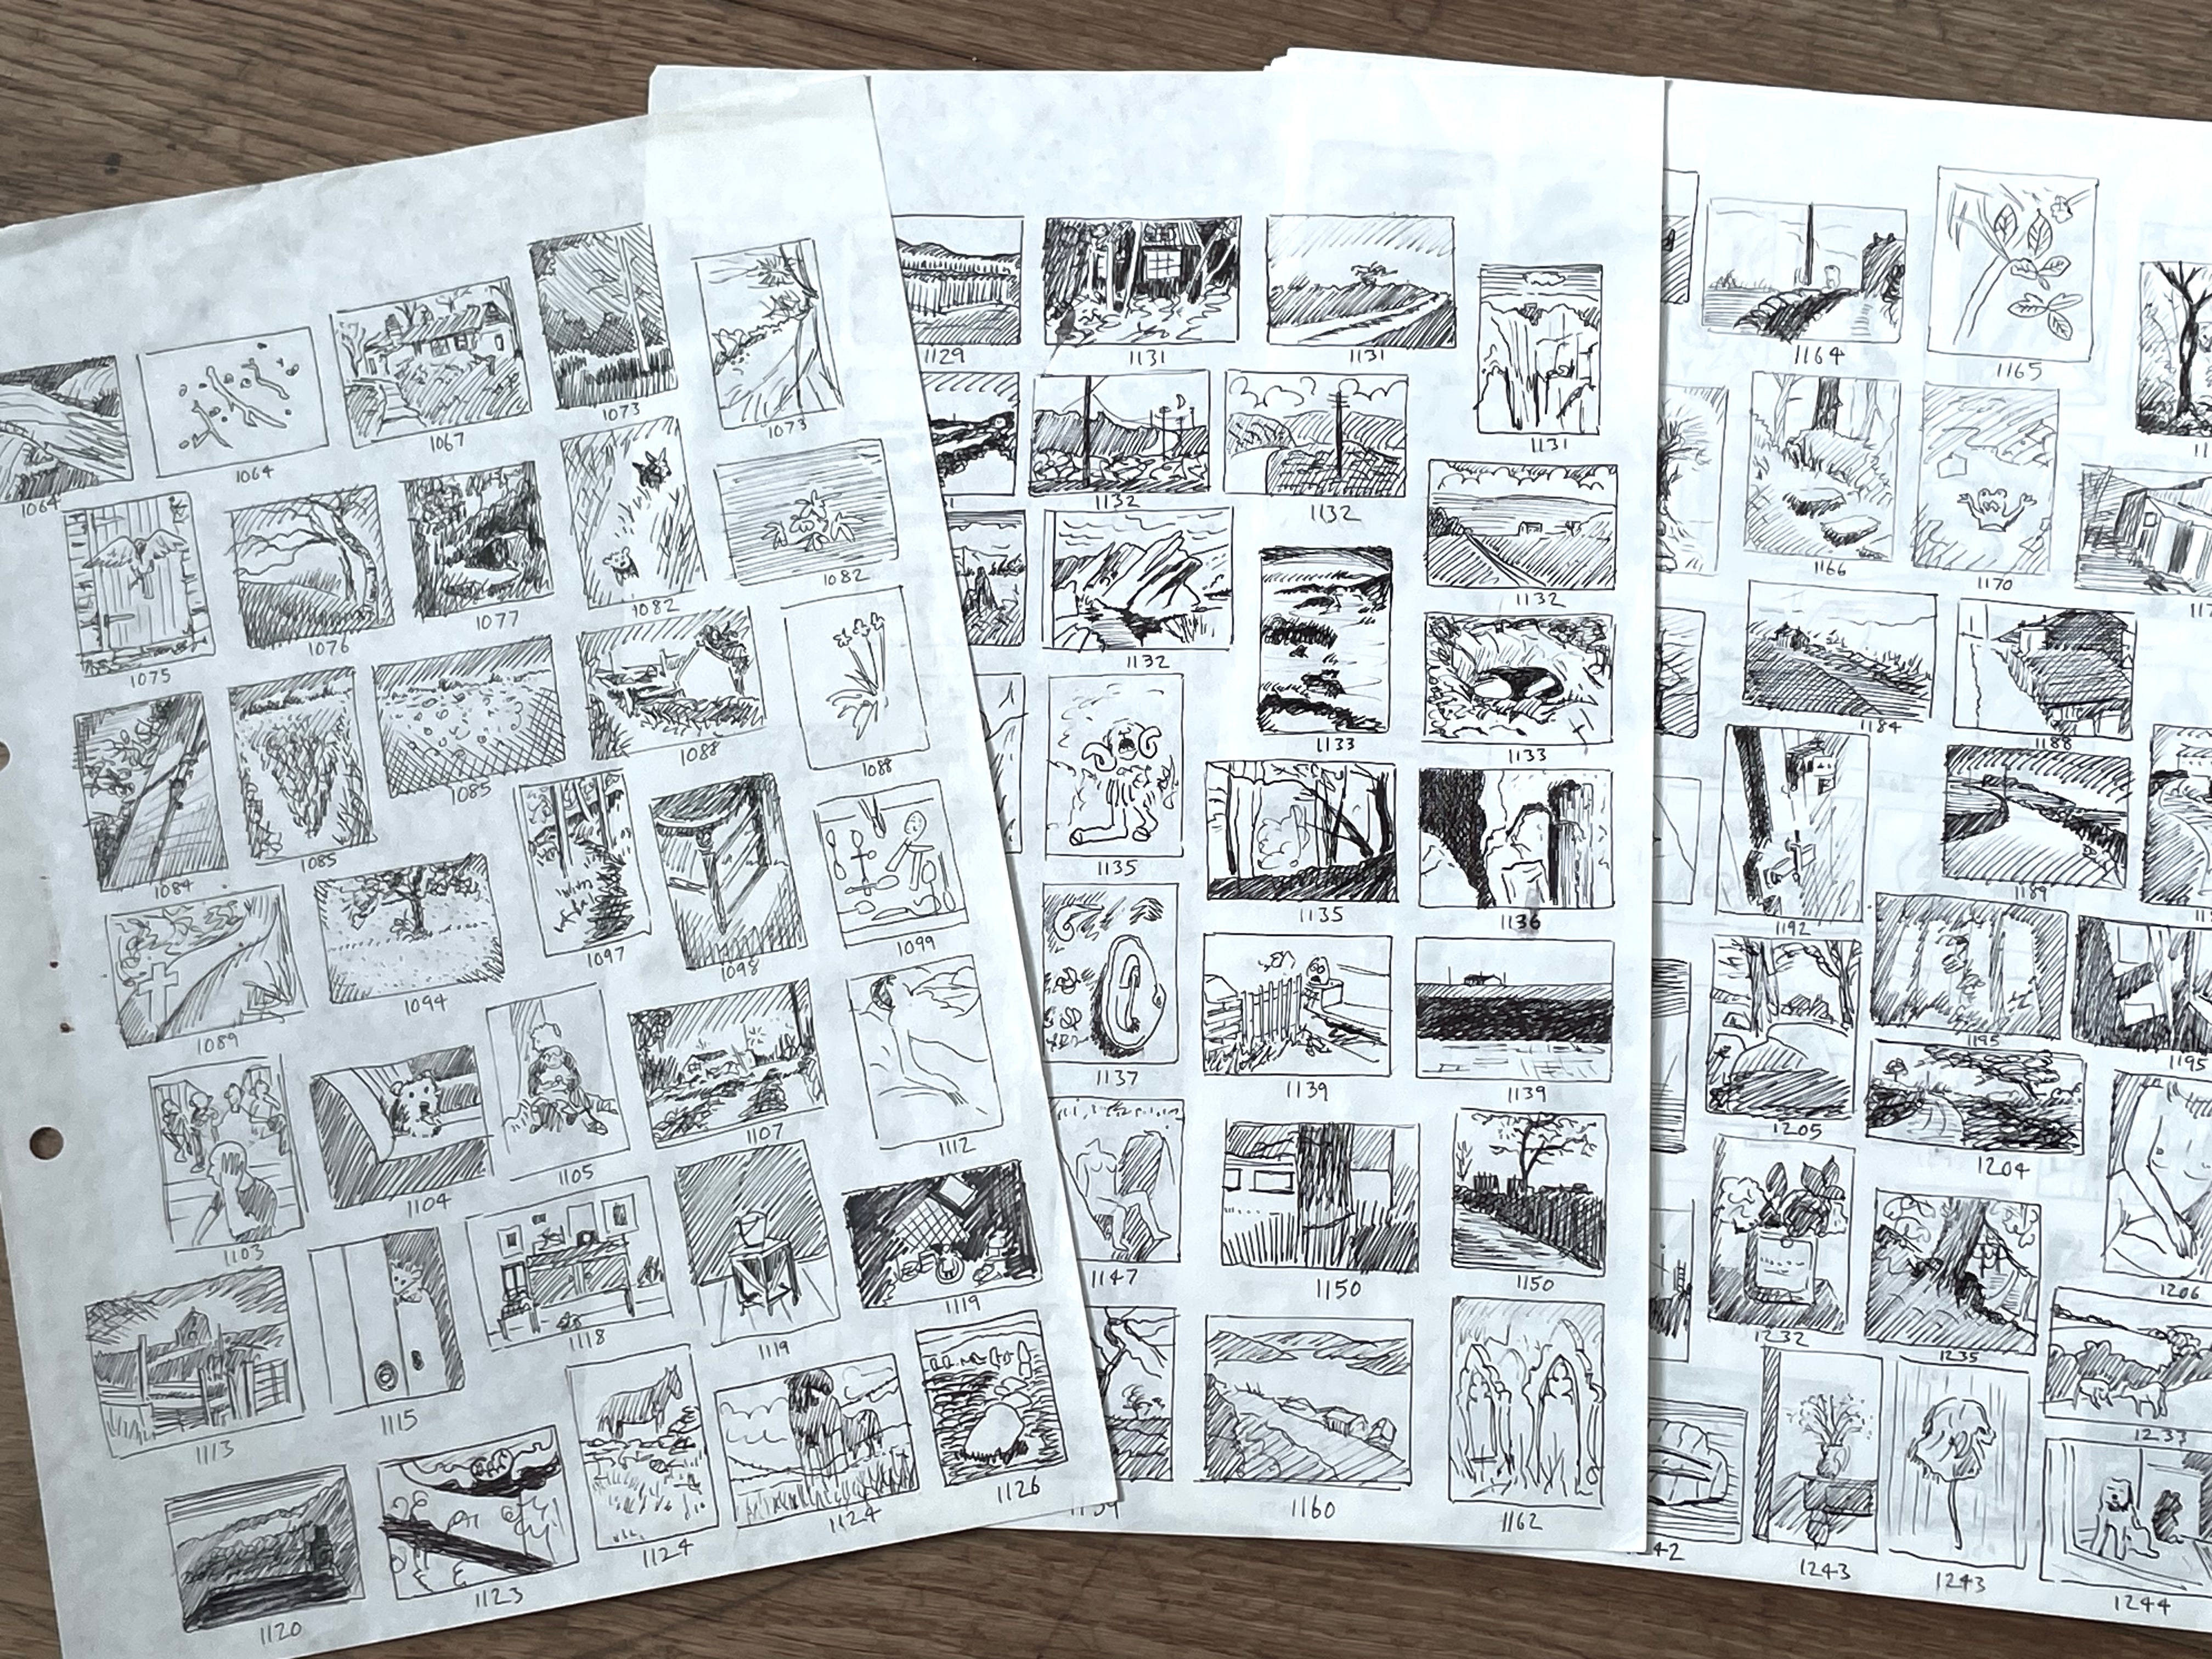
Apart from the little illustrations above, how does line drawing have any connection with photography?
There is a technique where a line drawing is made over a print in pencil or ink, then the image is bleached away leaving just the drawing.
It is. a very old technique. Although accurate drawing was taught at art colleges at the time of the old illustrations above, and there were many fine illustrators, I suspect that the technique was used occasionally. I say this because I was looking at some books on illustrators to find images for this article and I found one with converging verticals, -a sure sign that it was from a photograph.
It starts with a normal print, though for best results I would suggest a much paler image than you would normally desire. A pale print will bleach easier than a dense one, so the image should vanish completely. Also, make one with a full range of tones as a reference.
Reference print:
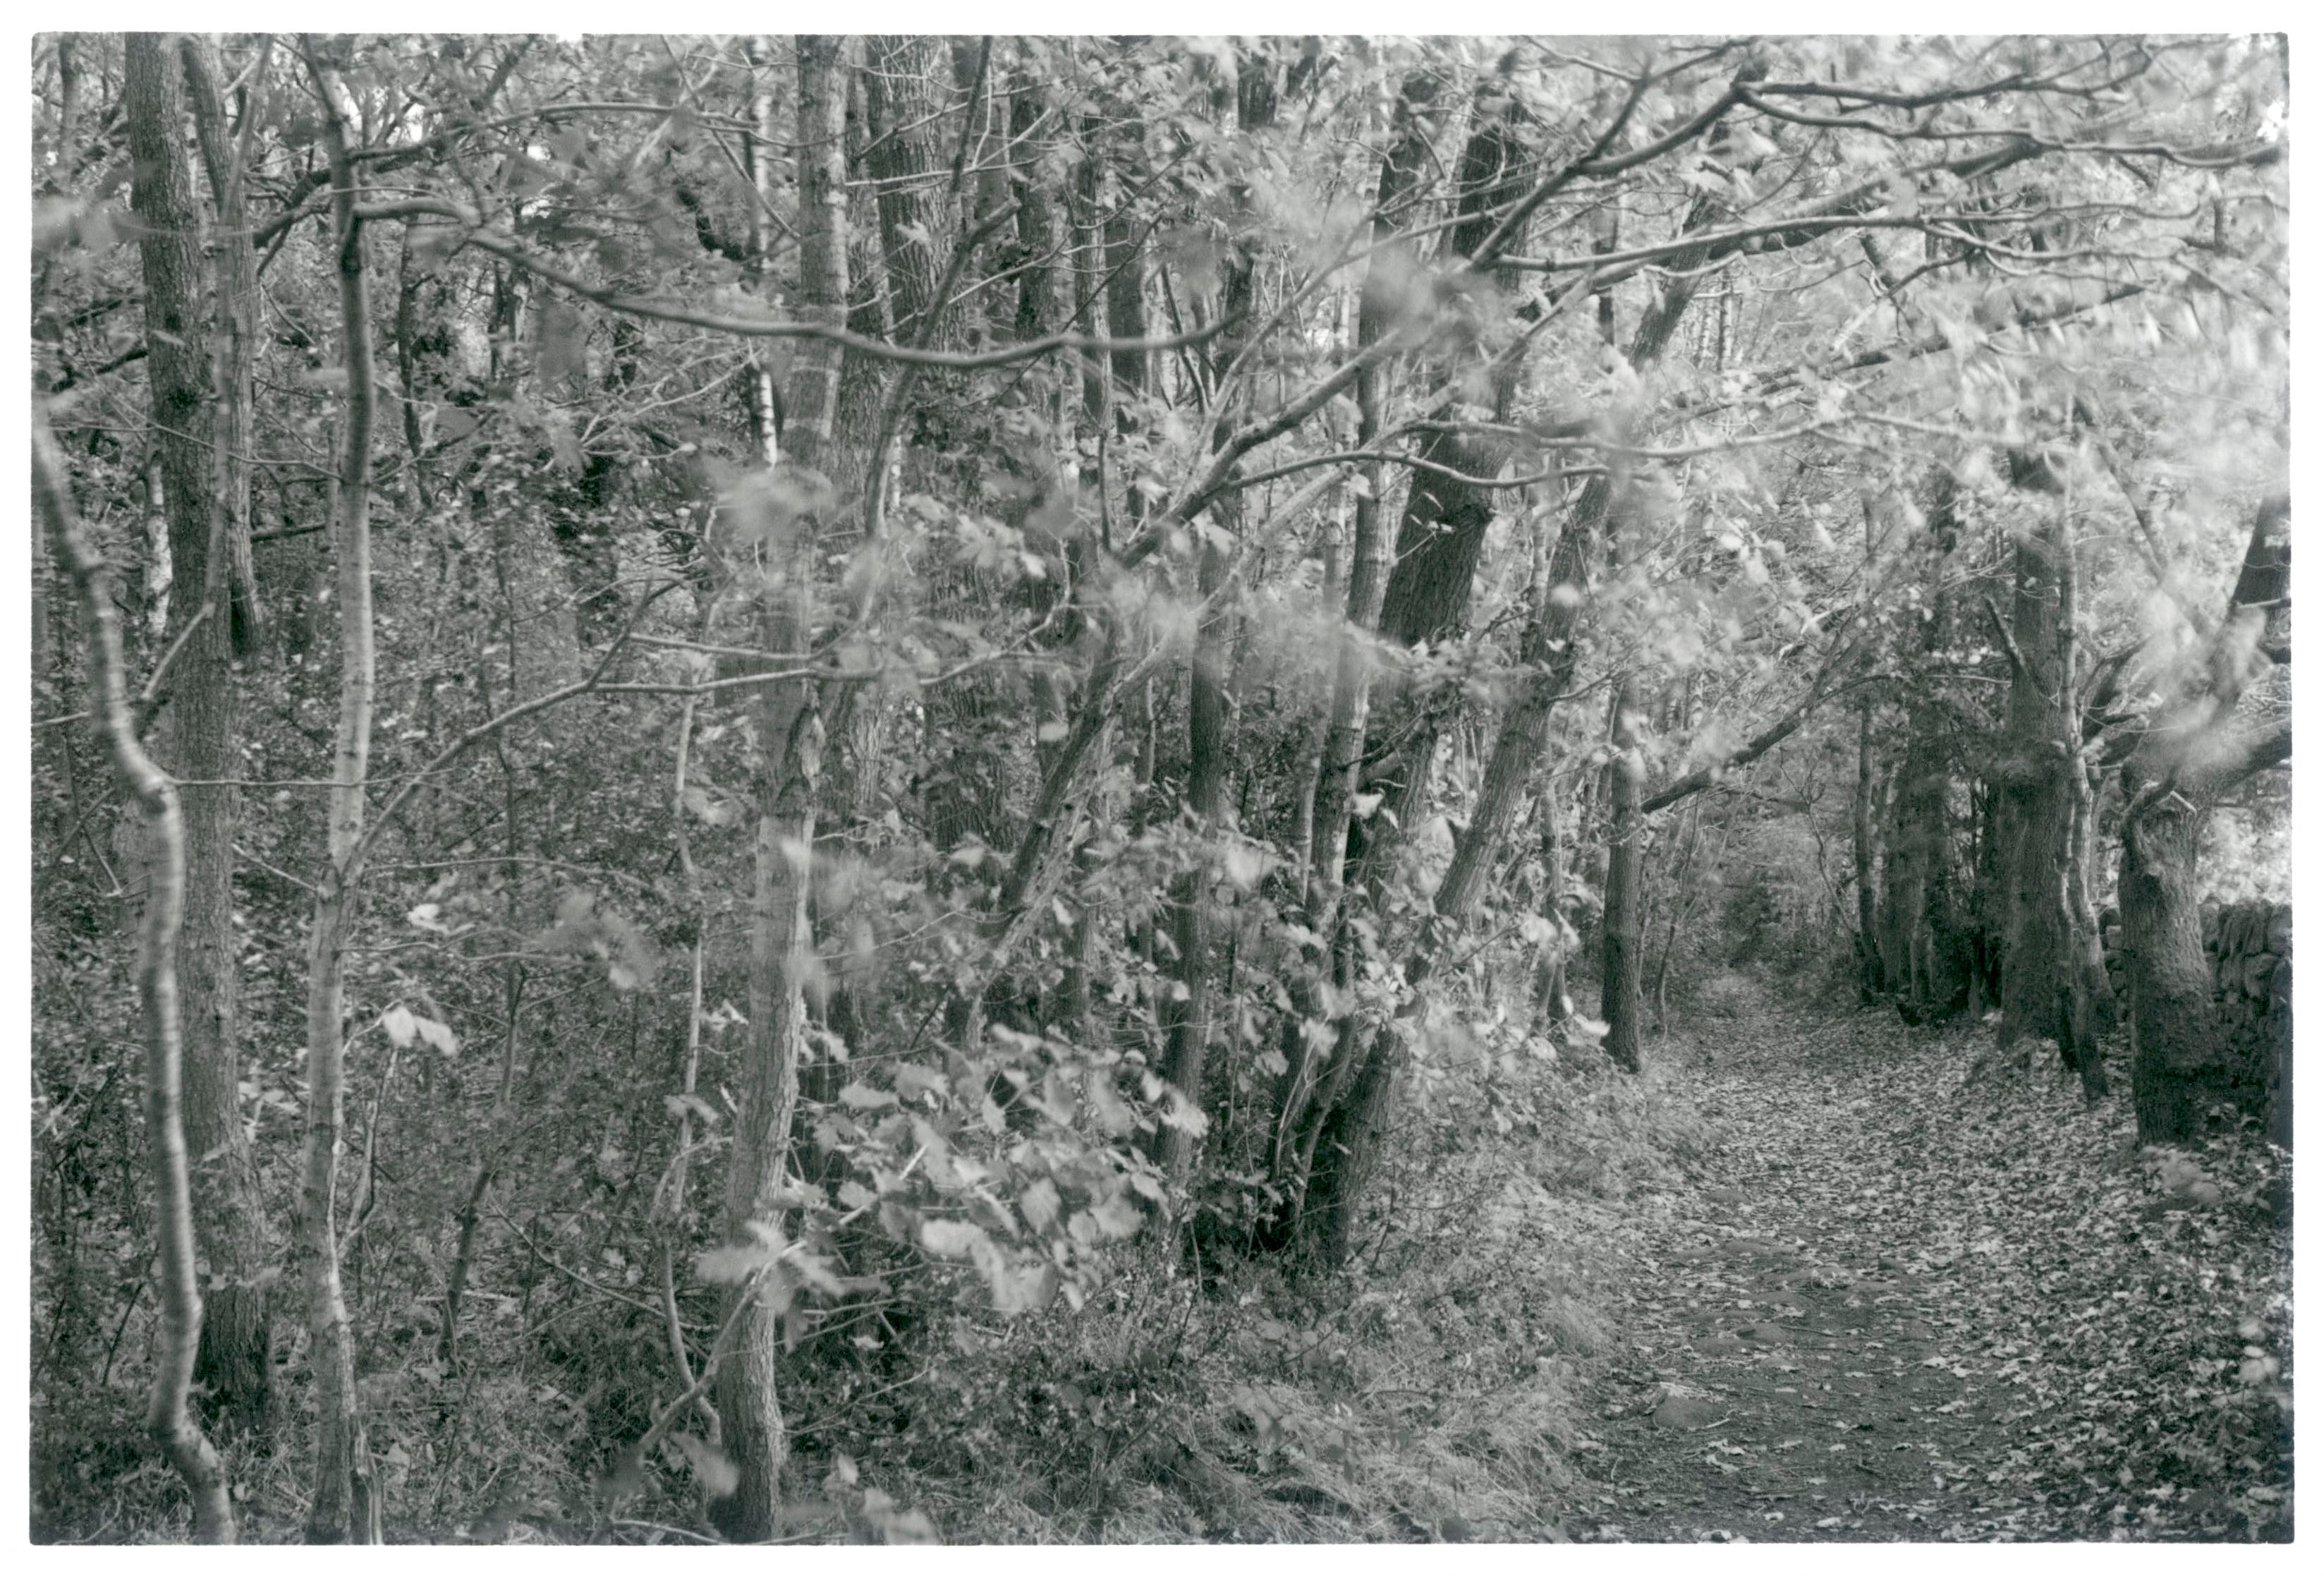
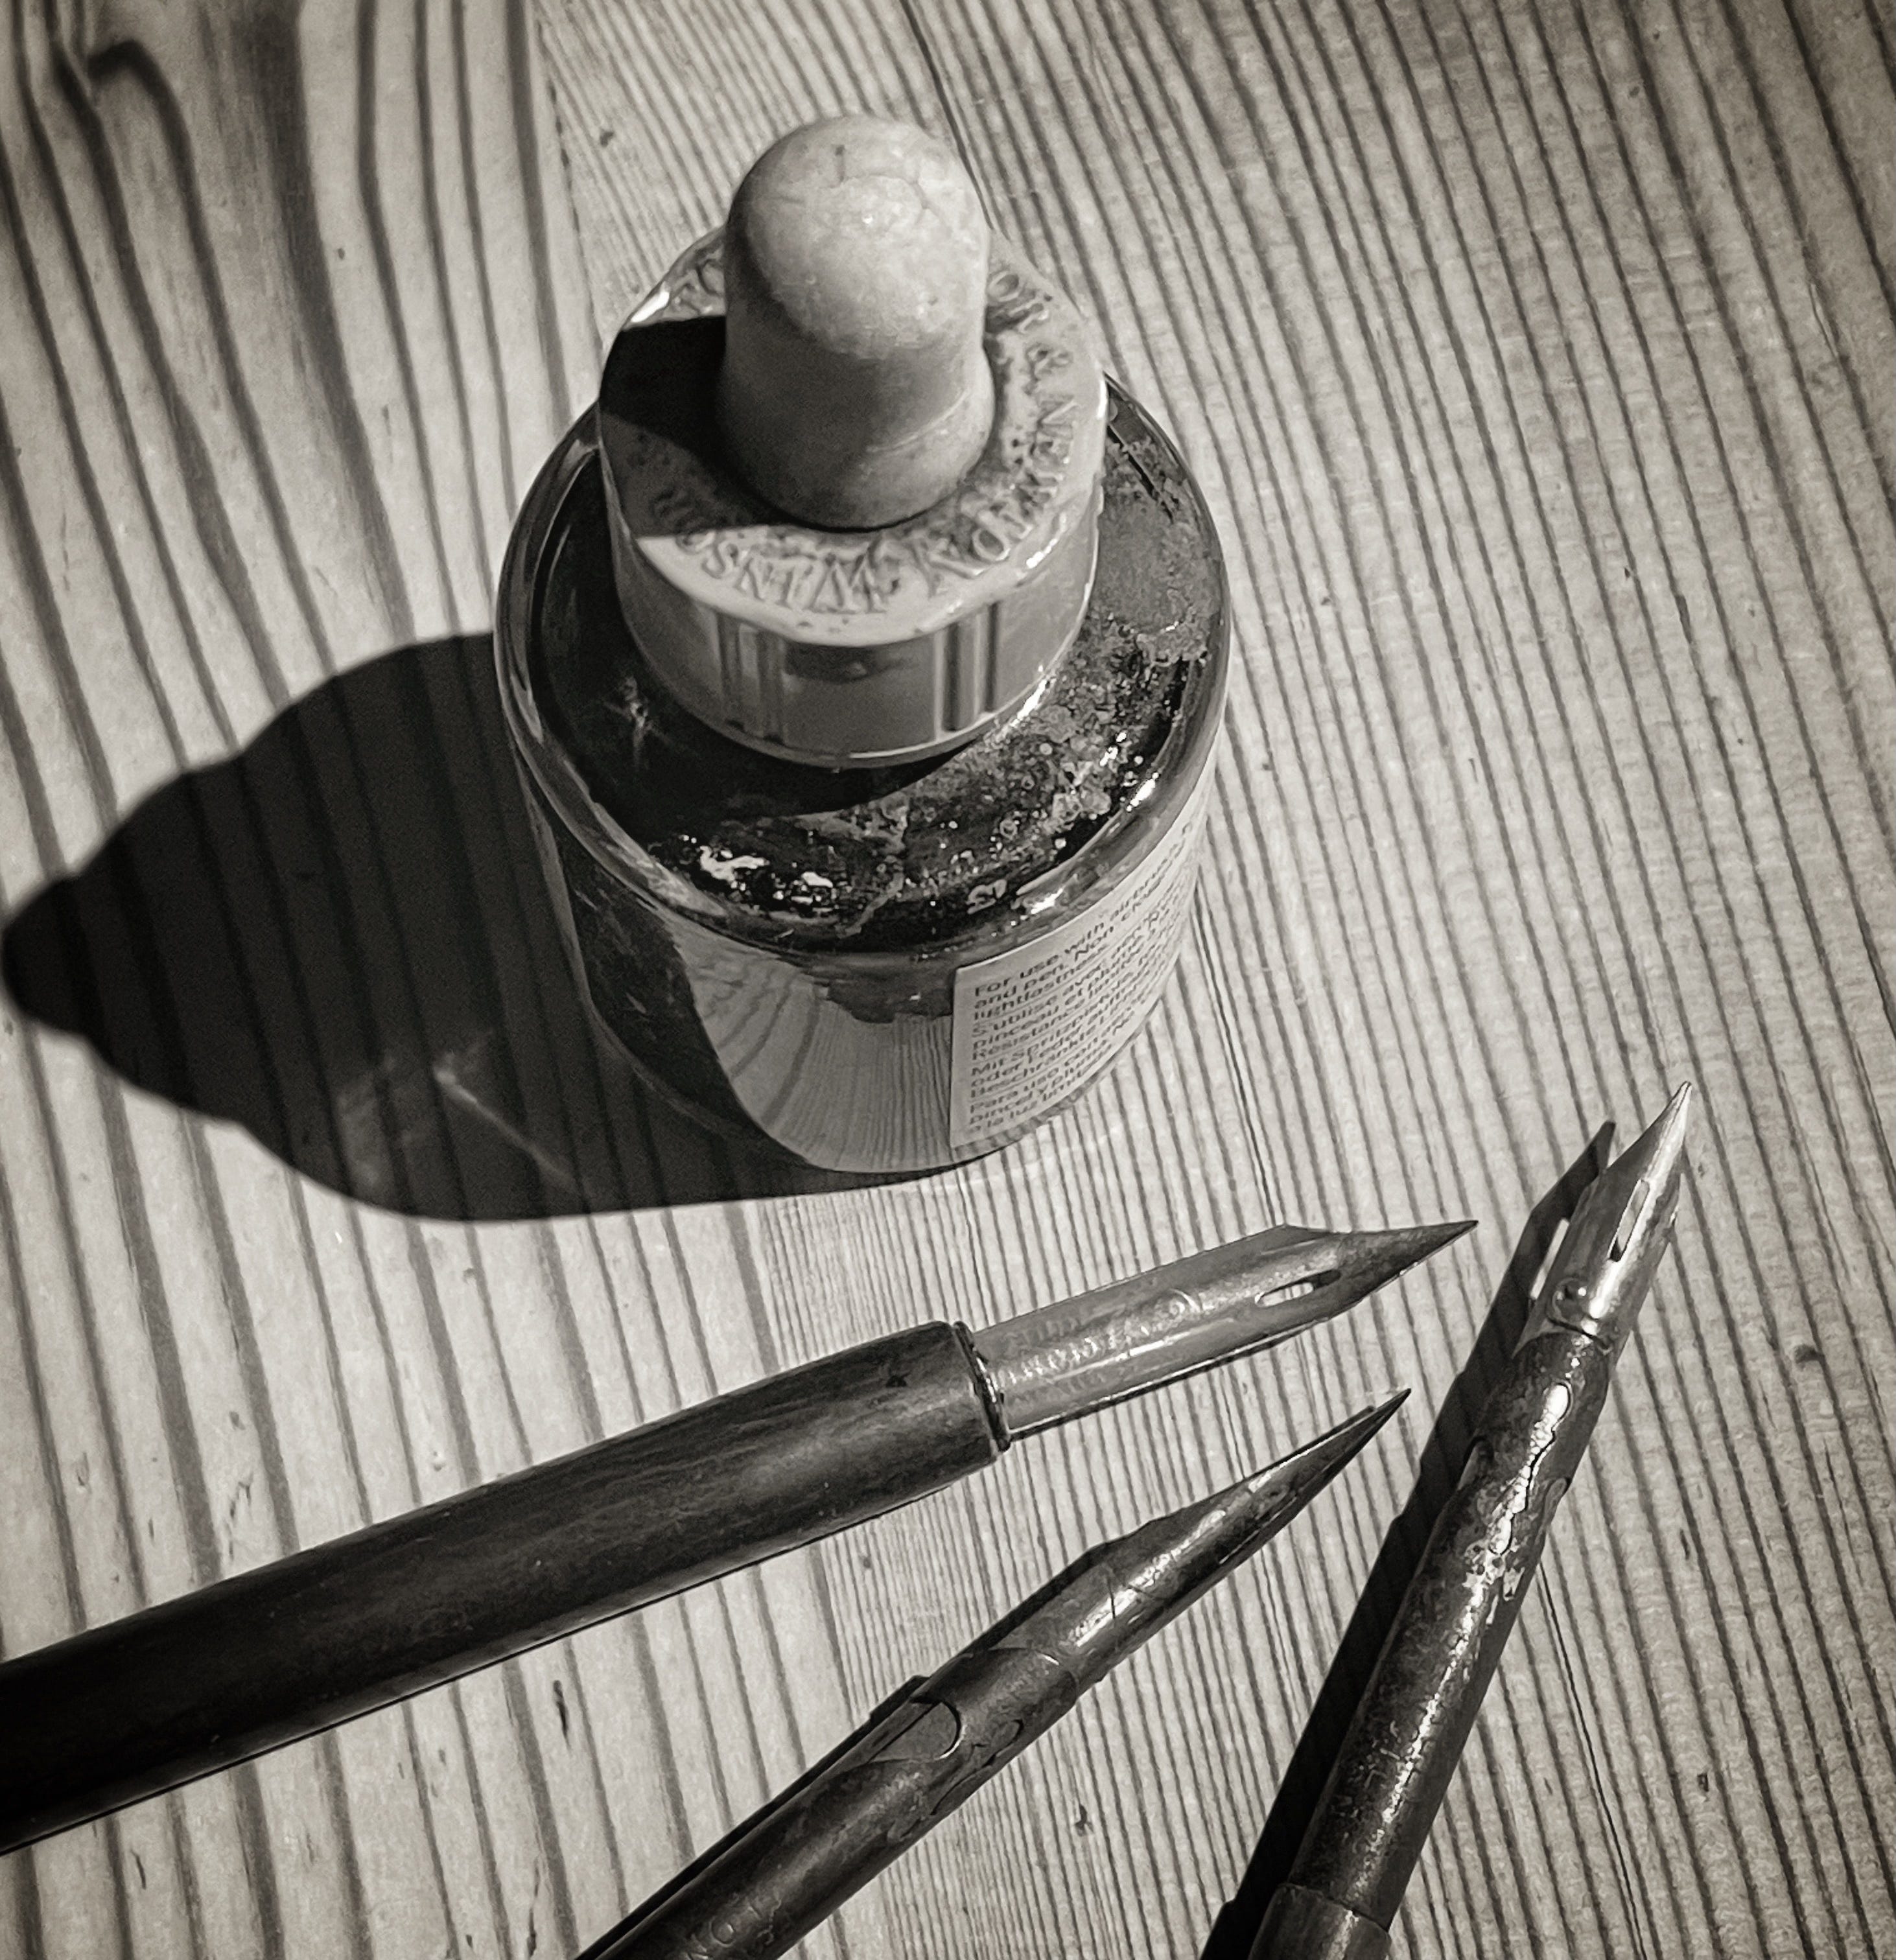
When both prints are dry, draw over the pale image in Indian ink, -or pencil if you have printed on a matt, textured paper. If you are intending to bleach the print, make sure you use an ink that will not wash off after it dries. Here is an example that I did the other day with sepia ink and a nib pen, but I forgot to check first if the ink was waterproof after drying (it wasn’t), so I couldn’t bleach it.
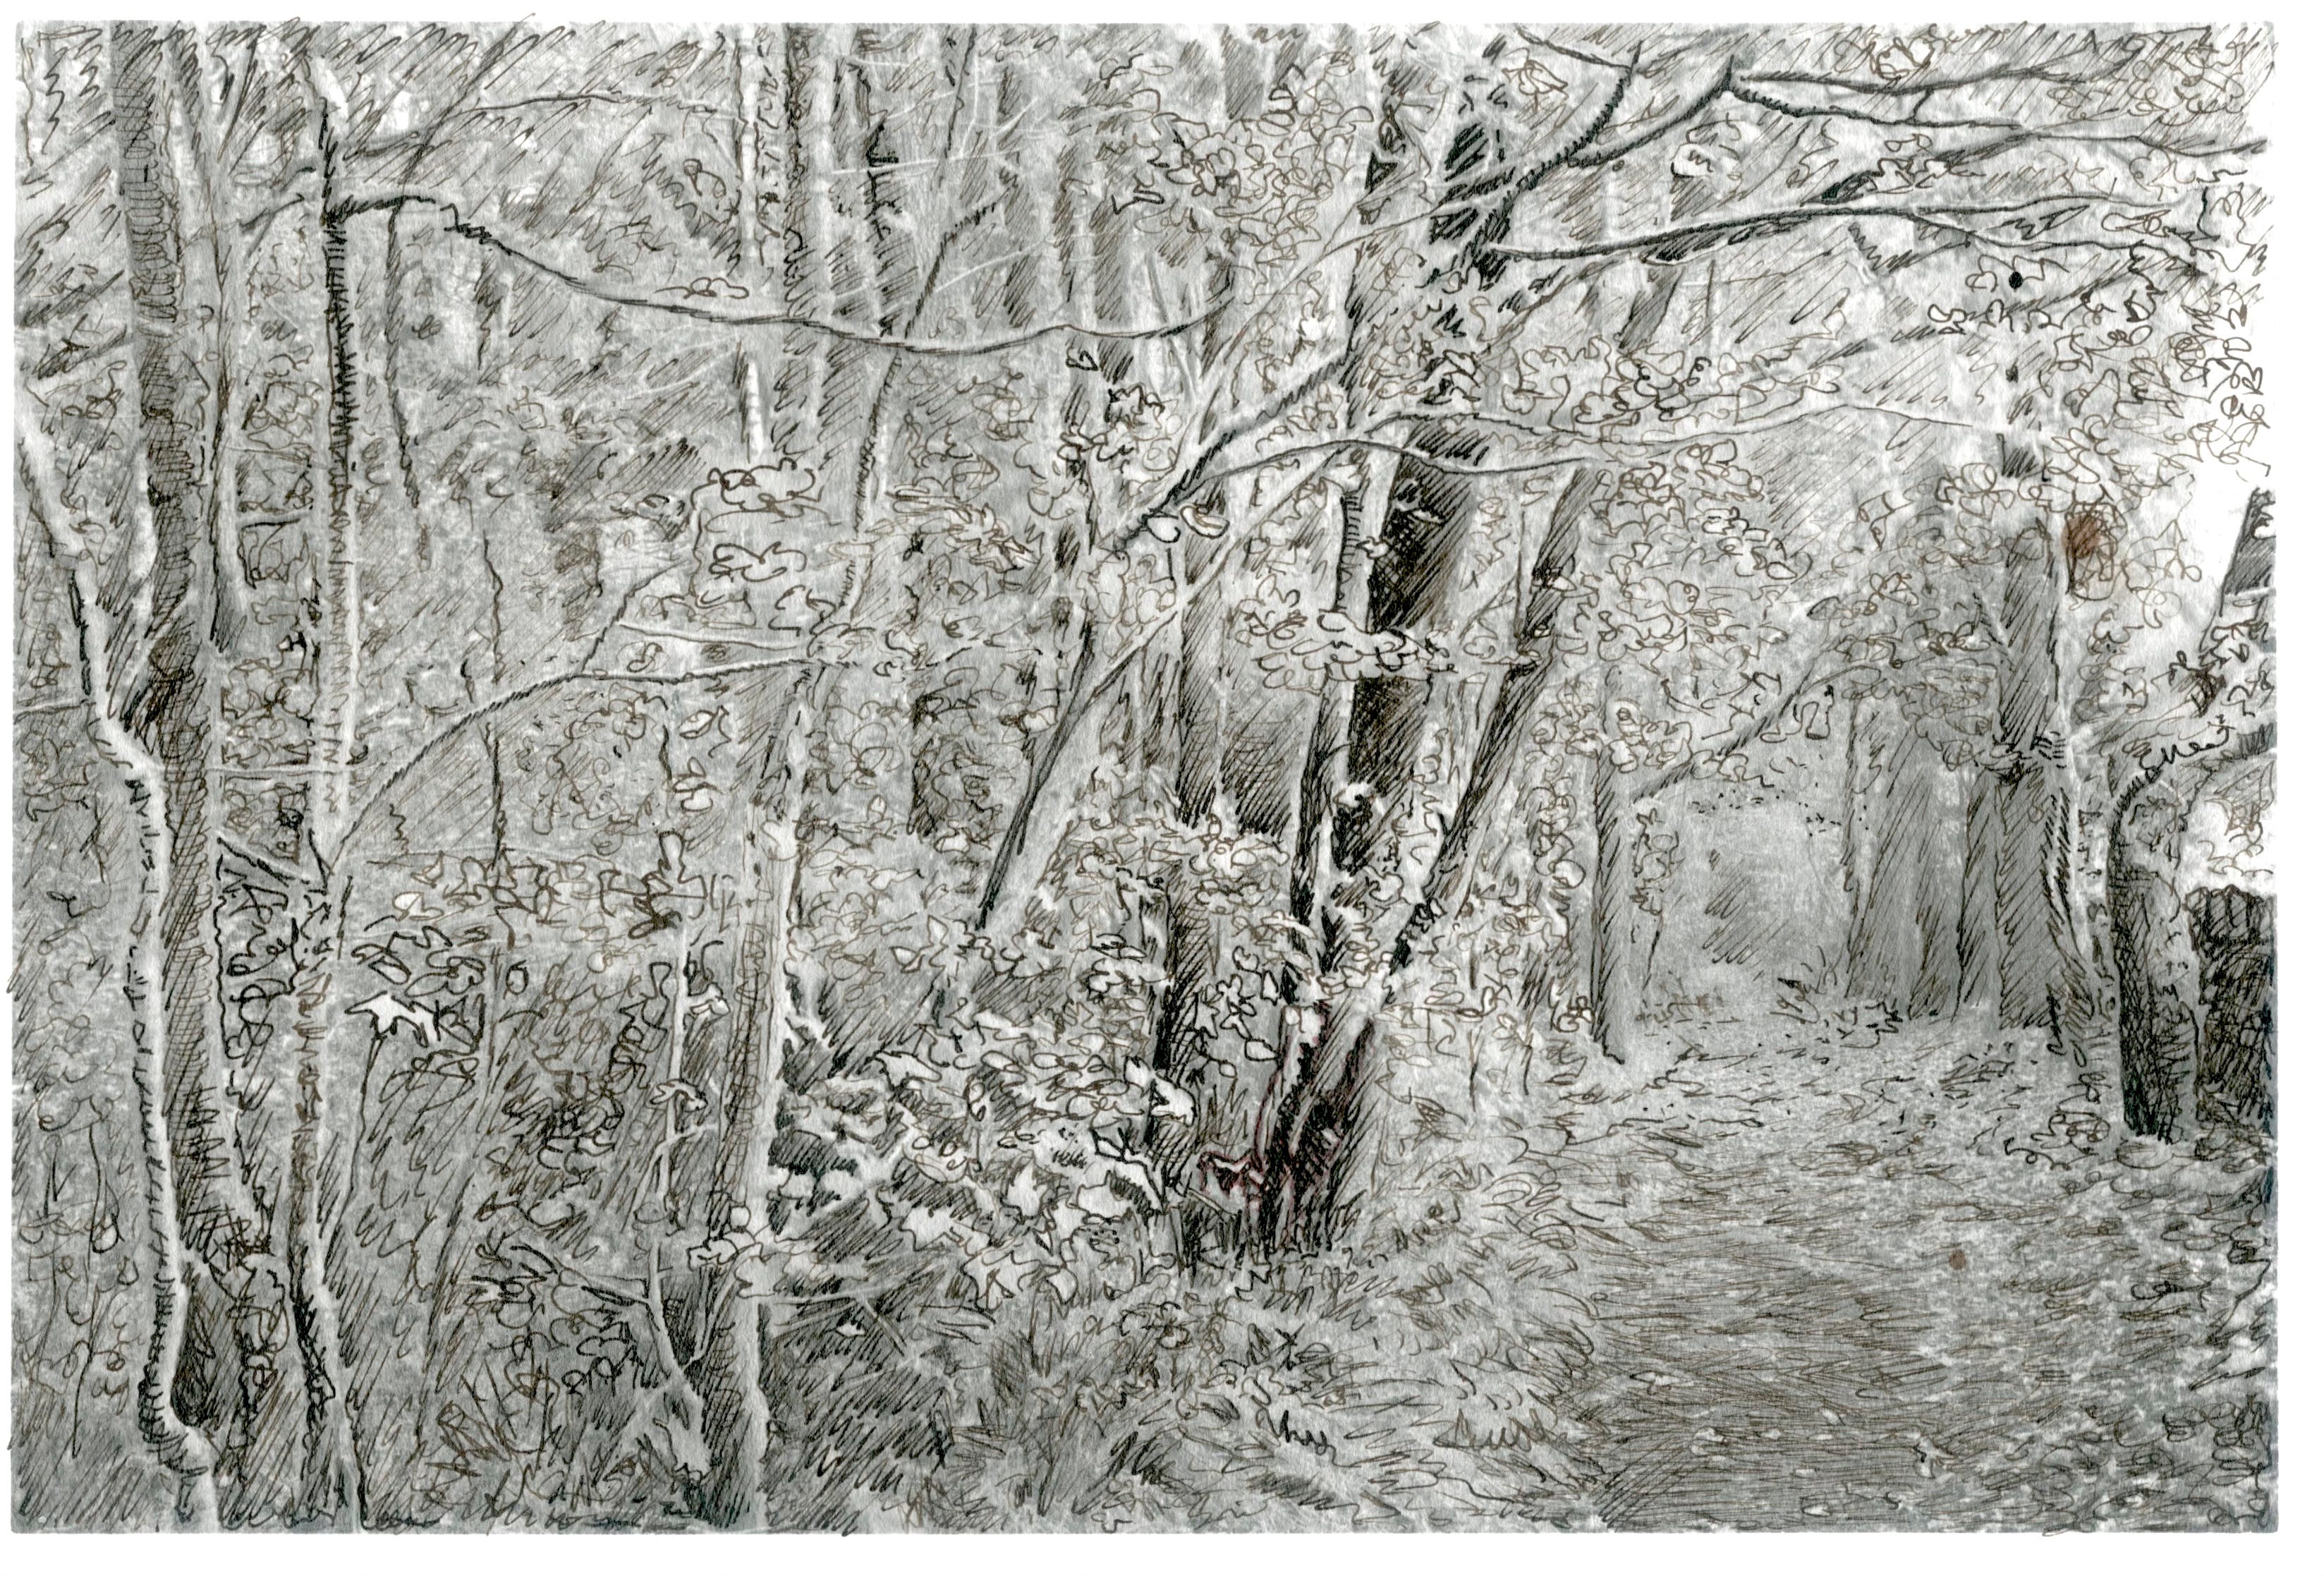
Use your reference print to give you an idea where the deepest tones are, and what is happening in the lightest parts of the print. At first you should mark out the dominant lines and shapes, then as you progress, put in more of the detail. parallel lines can be used to suggest shading, this is known a cross hatching.
Don’t get too involved with one small area, step back every now and then and look at the overall effect. Assess your drawing and judge whether other areas need bringing up more.
At some point you will decide that no more drawing is necessary and at this stage you can either leave it as it is, or place the print in a bleach made from Potassium Ferricyanide mixed with Fixer, which will remove all of the photograph leaving just your drawing. Once used, the mixture is useless, so don’t save it. Wash the bleach from the print (this usually takes about five minutes with an RC print and 15 minutes with a Fibre Based print, though a weak mixture will take longer. You can use a bath of Potassium Ferricyanide first, and then follow it with a few minutes in the fix. This way the bleach can be re used, but the fix will be contaminated and will need to be discarded.
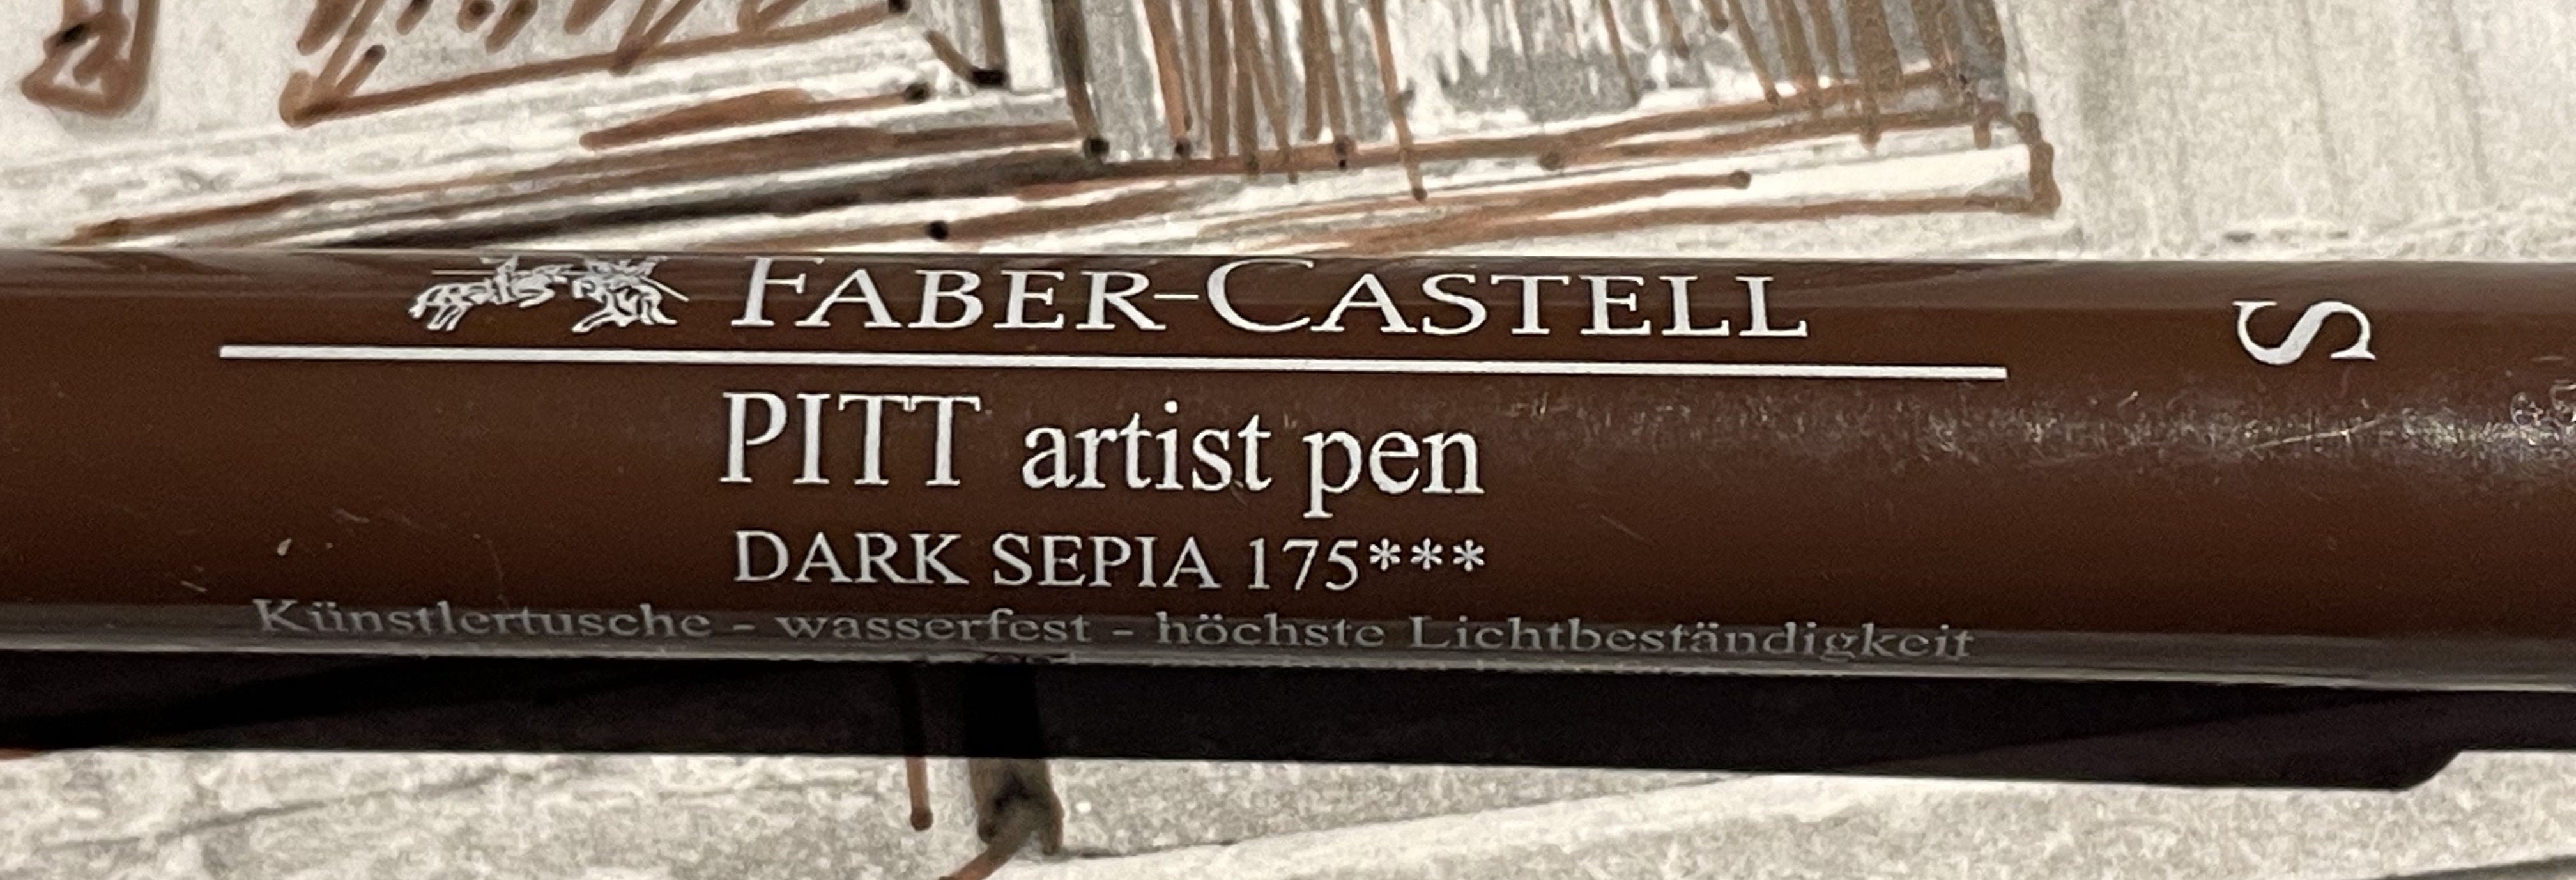
With the next image, I used a fine tipped waterproof drawing pen, though I soon found out that the point was too fat. This made it difficult to get shaded lines (hatching) that didn’t look crude. I much prefer using a scratchy old nib pen, despite the need to keep dipping it.
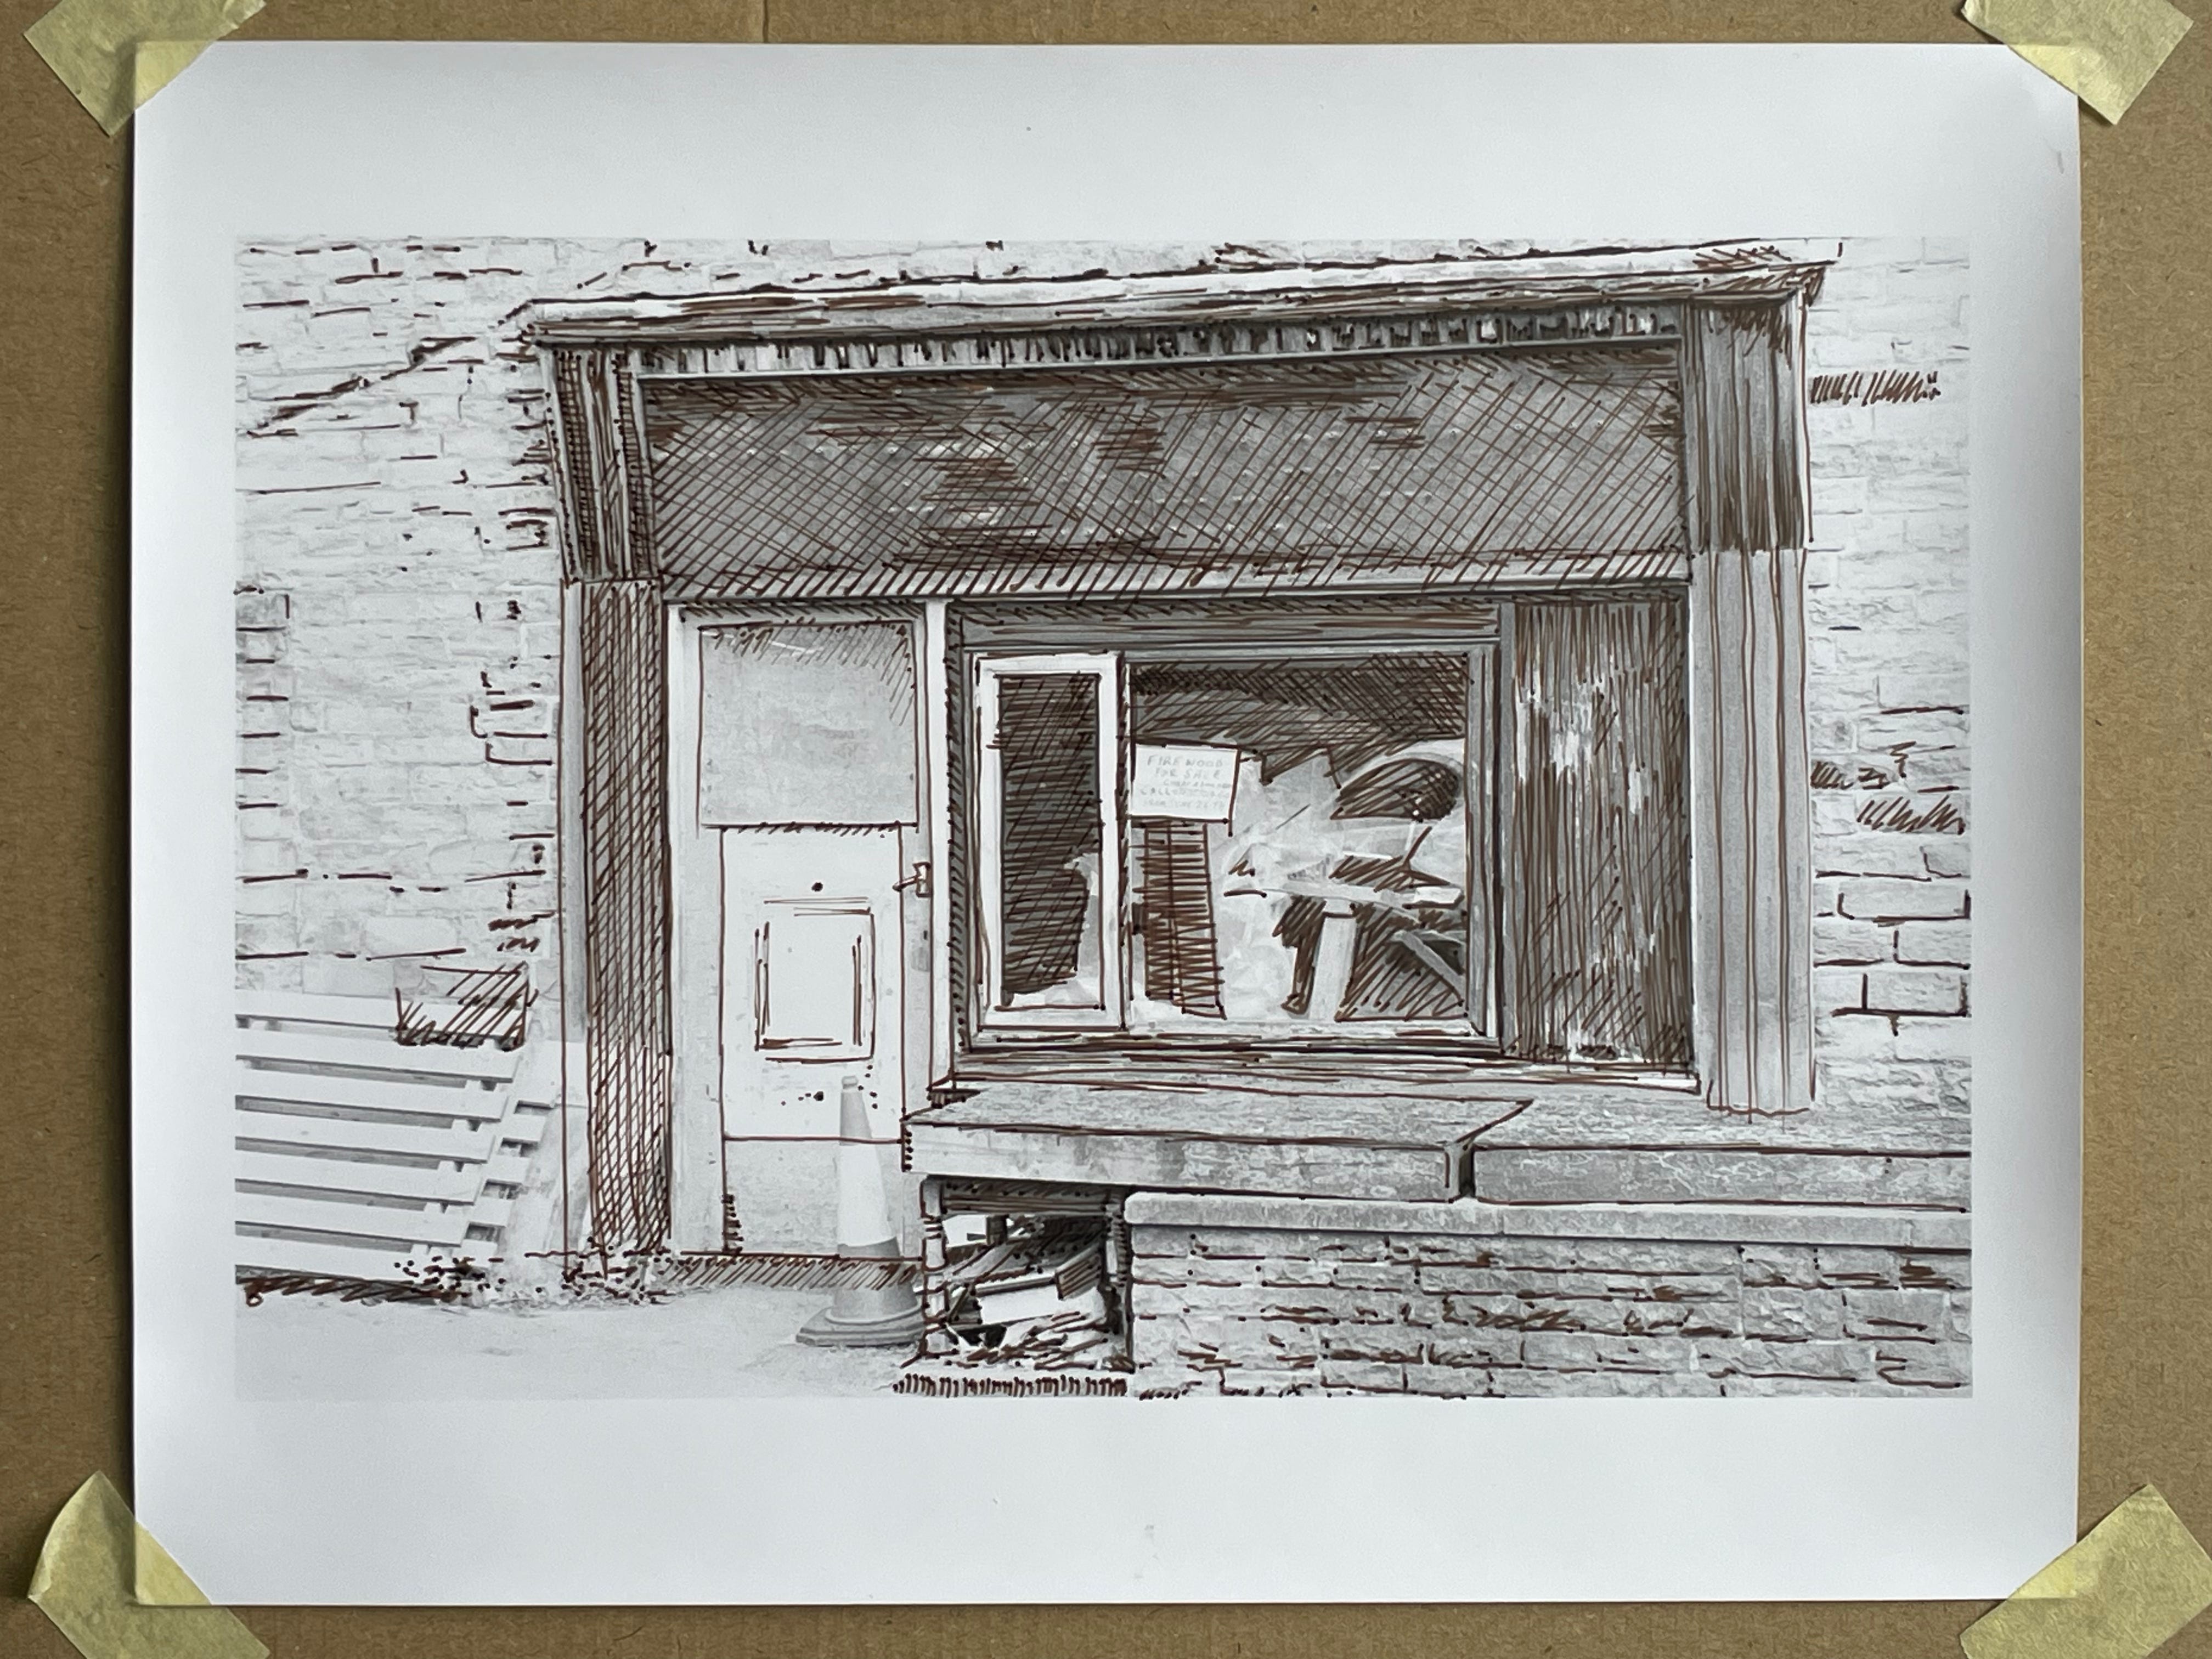
Here is part of the bleaching process, which took about ten minutes in total. After this stage I put the print in fix for three minutes, then washed it.
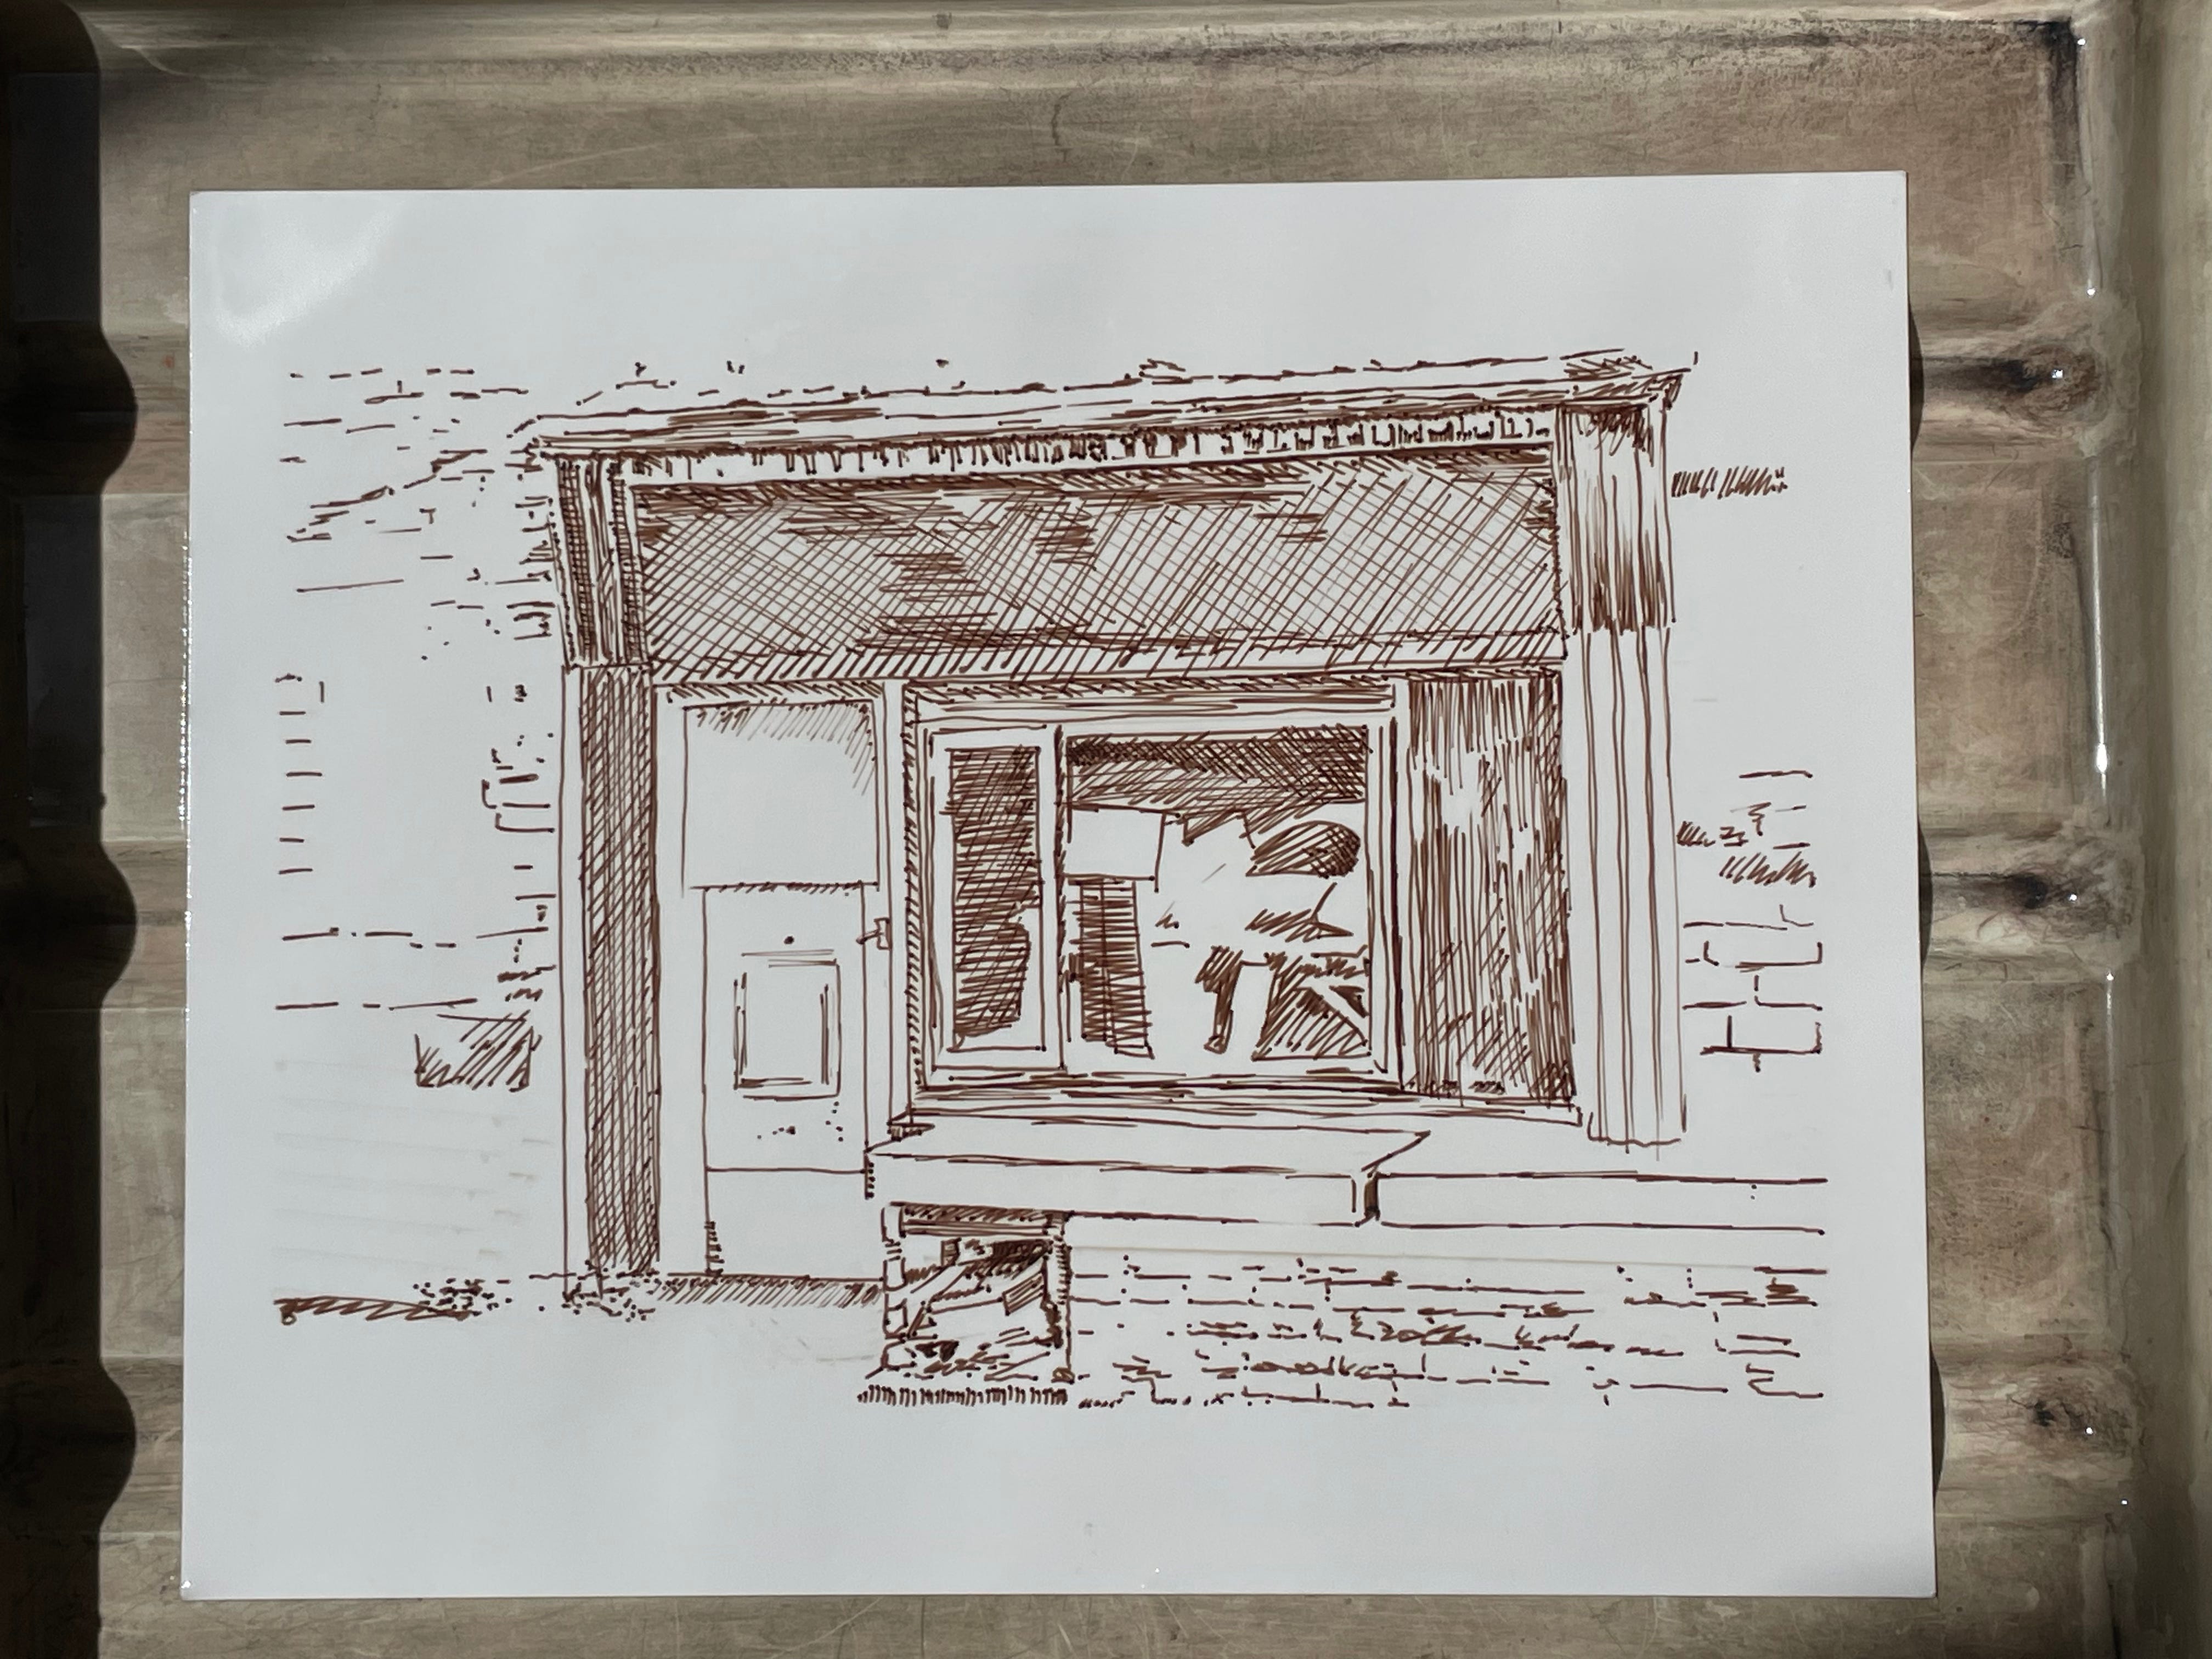
The finished print just out of the wash. Only the ink remains. I may decide to do some extra nib pen work over the top of this to give me finer lines for subtle shading. I can use my reference print to see what was there.
Of course, line drawings can be made over pale inkjet prints too, but there is no way to remove the underlying photographic image afterwards.
This technique can give you a very convincing drawing from an original photograph. Now that I have reminded myself of this technique, I think I will do some more. I have never tried it on a portrait, but I might give it a go.
I hope you have found this article inspiring and you get the urge to try it. Please let me know what you think.
All of these words come out of my head. I never use AI in any form and I never will. I hope you appreciate the time and effort that goes into these articles. Let’s keep real photography and real writing alive.
If you find my articles interesting or useful, please spread the word to anyone you can think of who would be interested.
If you have enjoyed this post and the information here and elsewhere on my Substack and you would like to support me, you can subscribe or just buy me a coffee at Ko-fi.com/andrewsandersonphotography You can send as little as £5.00, or more if you are feeling generous. This money goes towards materials used for the tests and printing for these articles. Alternatively you can be a paid subscriber.
Thank you for reading, please let me know your thoughts.
Andrew Sanderson August 2026.
Other places to see my work;
Instagram; http://instagram.com/andrewsandersonphotography
Original hand made darkroom prints are available from my online shop; www.andrewsandersonphotography.bigcartel.com
I also offer one to one workshops at my darkroom/studio in West Yorkshire, UK. If you are interested please email me at sandyjottings@icloud.com
Brilliant.