Buying an enlarger and setting up a darkroom.
Do you want to make your own prints?

This is a post on choosing the right enlarger for your needs. As I covered quite a few tips on processing and printing in a previous article, I won’t repeat those bits here. There is a link to the other article at the end of this one.
These days with so many people viewing, storing and transmitting pictures electronically, not many people get to see how much better their photographs look as prints. Of those that do make the effort to create prints, an even smaller number go to the trouble of printing their own in a darkroom. This is perhaps understandable these days, as most people do not have a spare room to set up as a darkroom. How many of us have a spare room doing nothing that we can convert? Don’t be discouraged if you don’t have a spare room, I know two top notch printers who have their darkrooms in a garden shed. If you are passionate about trying printing, even occasionally, it makes sense to set up a temporary darkroom in a bathroom, attic space or garage and that is what many people do.
If you really don’t have room to set one up but would like to try it out, I think there are still a few community and rental darkrooms dotted around. I don’t know how the situation is worldwide, but in the UK there were eight when I last looked. A room dedicated to darkroom work is a wonderful thing and I love my current working space, though I have had some less than ideal spaces since I left college. One in an attic which was freezing in winter and unbearably hot in summer, One in a damp cellar, and one in a tiny spare room, surrounded by boxes of junk and old furniture. None of these early spaces had running water, so prints were put in a bucket of water and then carried to the bathroom to be washed in the bath.
There is some footage of Bill Brandt printing in his darkroom which I remember seeing in the early eighties and he has a really basic enlarger and a simple switch to turn the enlarger on as he counts the seconds to a metronome. For anyone working in a darkroom today that footage is a bit of a shock, He didn’t have a darkroom that looked like a highly equipped lab, he didn’t have a timer/analyser, he just made amazing work with the simplest equipment.
To begin printing your own negatives you can manage with a very simple set up, though you wouldn’t think that if you look at examples of other peoples darkrooms in magazines and online.
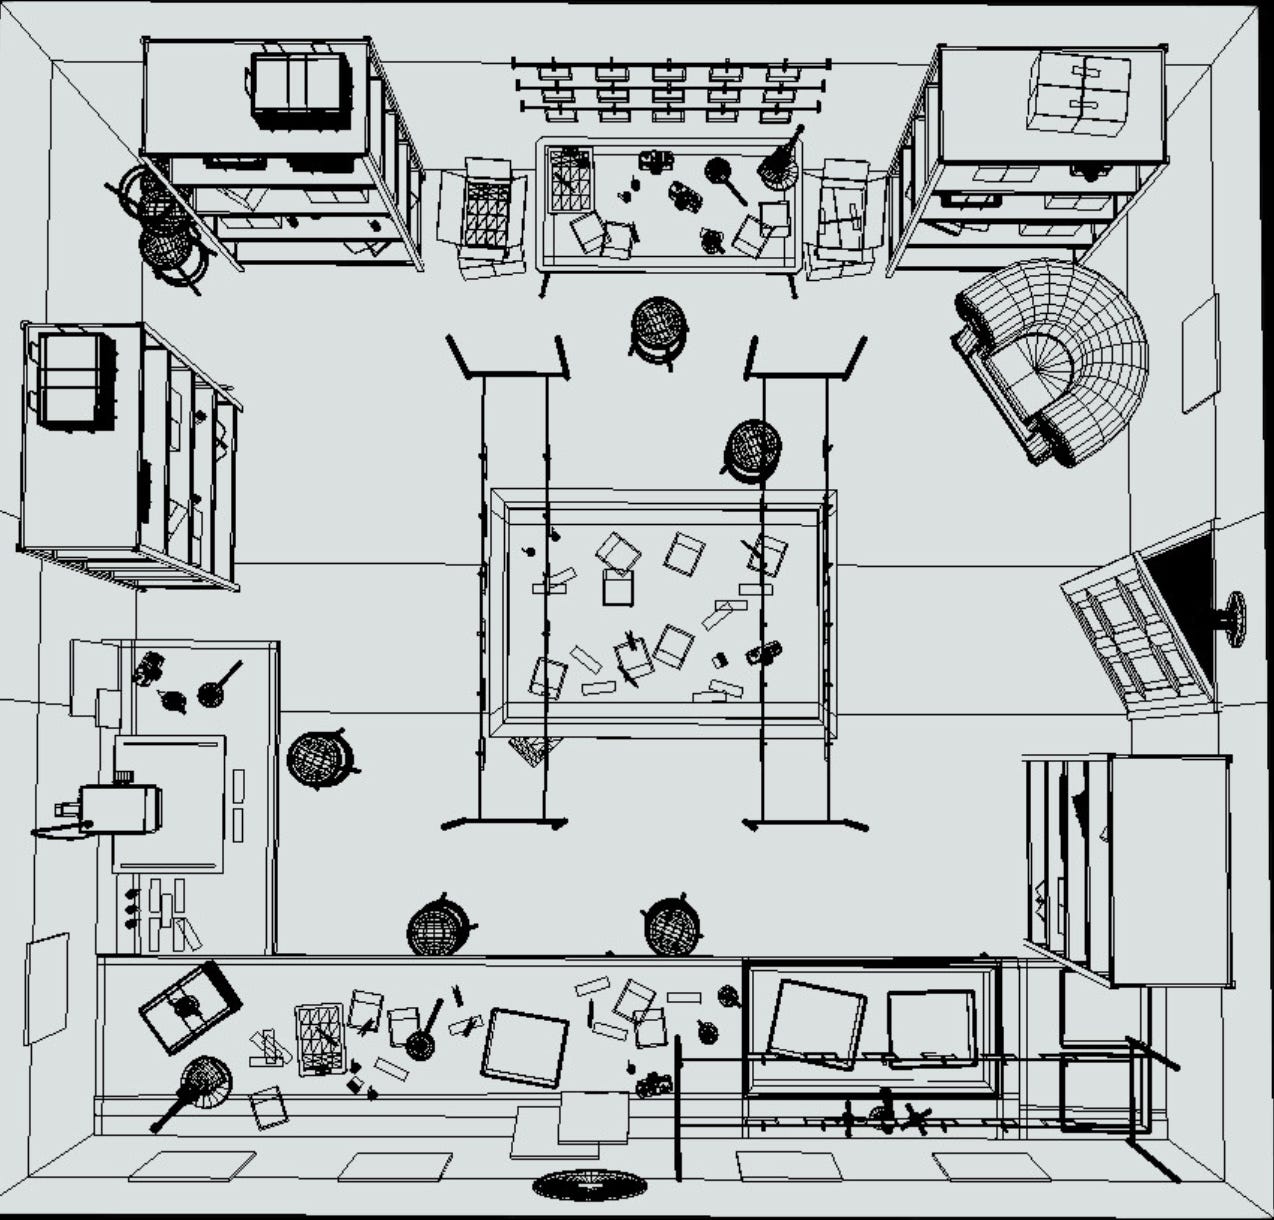
The diagram above is an unlikely scenario, not many of us can afford a 20ft square room.
There are a few things to consider when planning a darkroom. Setting up needn’t be a huge expense, enlargers are difficult to sell, so asking around may turn up an unwanted one in a relatives garage or attic. Take care not to get one that is in bad condition. Looking on Ebay I have seen versions that are rusty, bent, with dirty lenses and sometimes incomplete. Stay away from these. working with an enlarger that is going to frustrate you will kill your enthusiasm for printing pretty quickly, so don’t get something that is obviously junk.
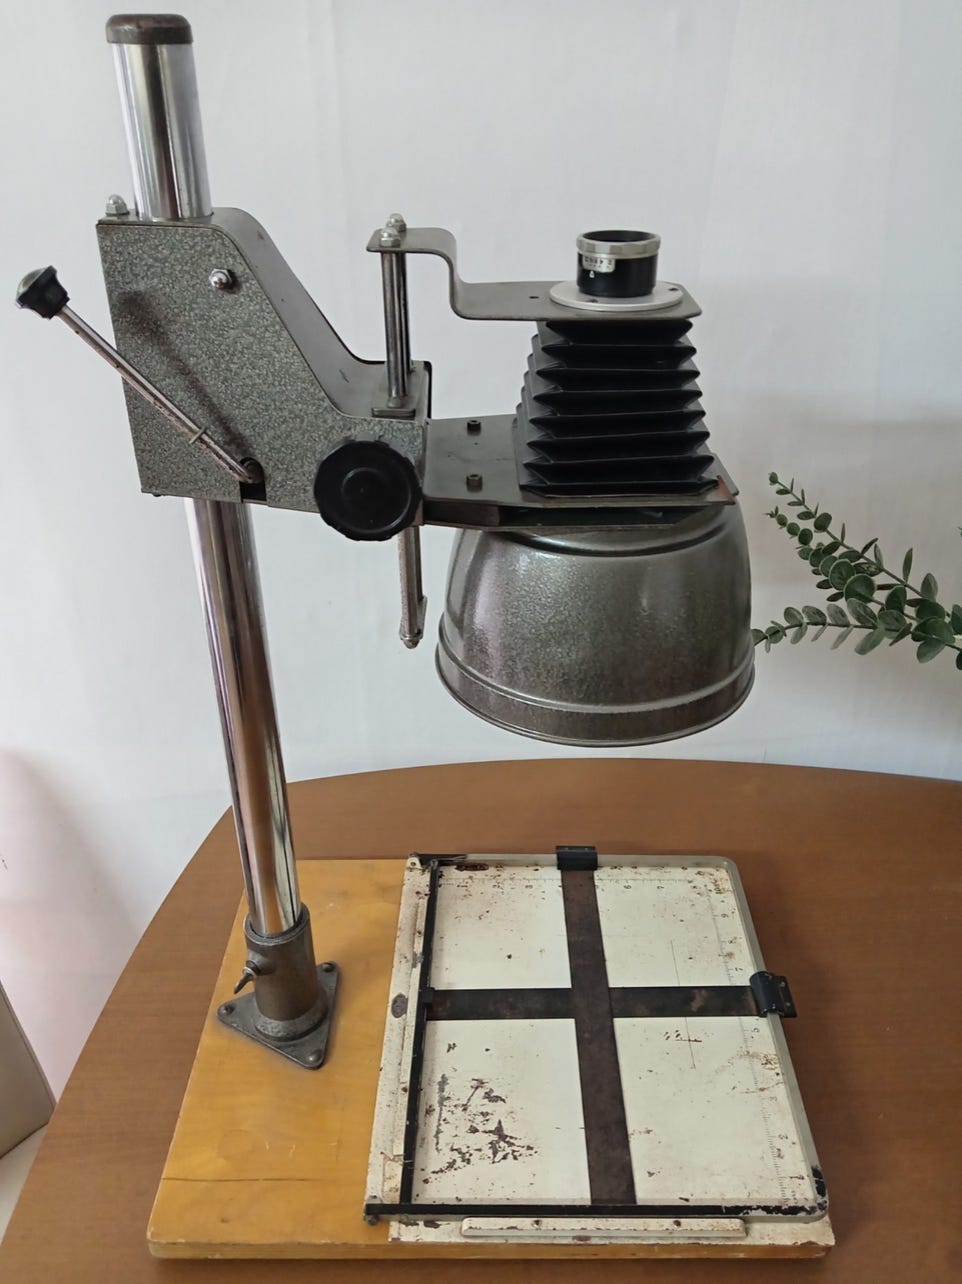
I did see some odd enlargers when I was doing my research today. Have a look at this one;
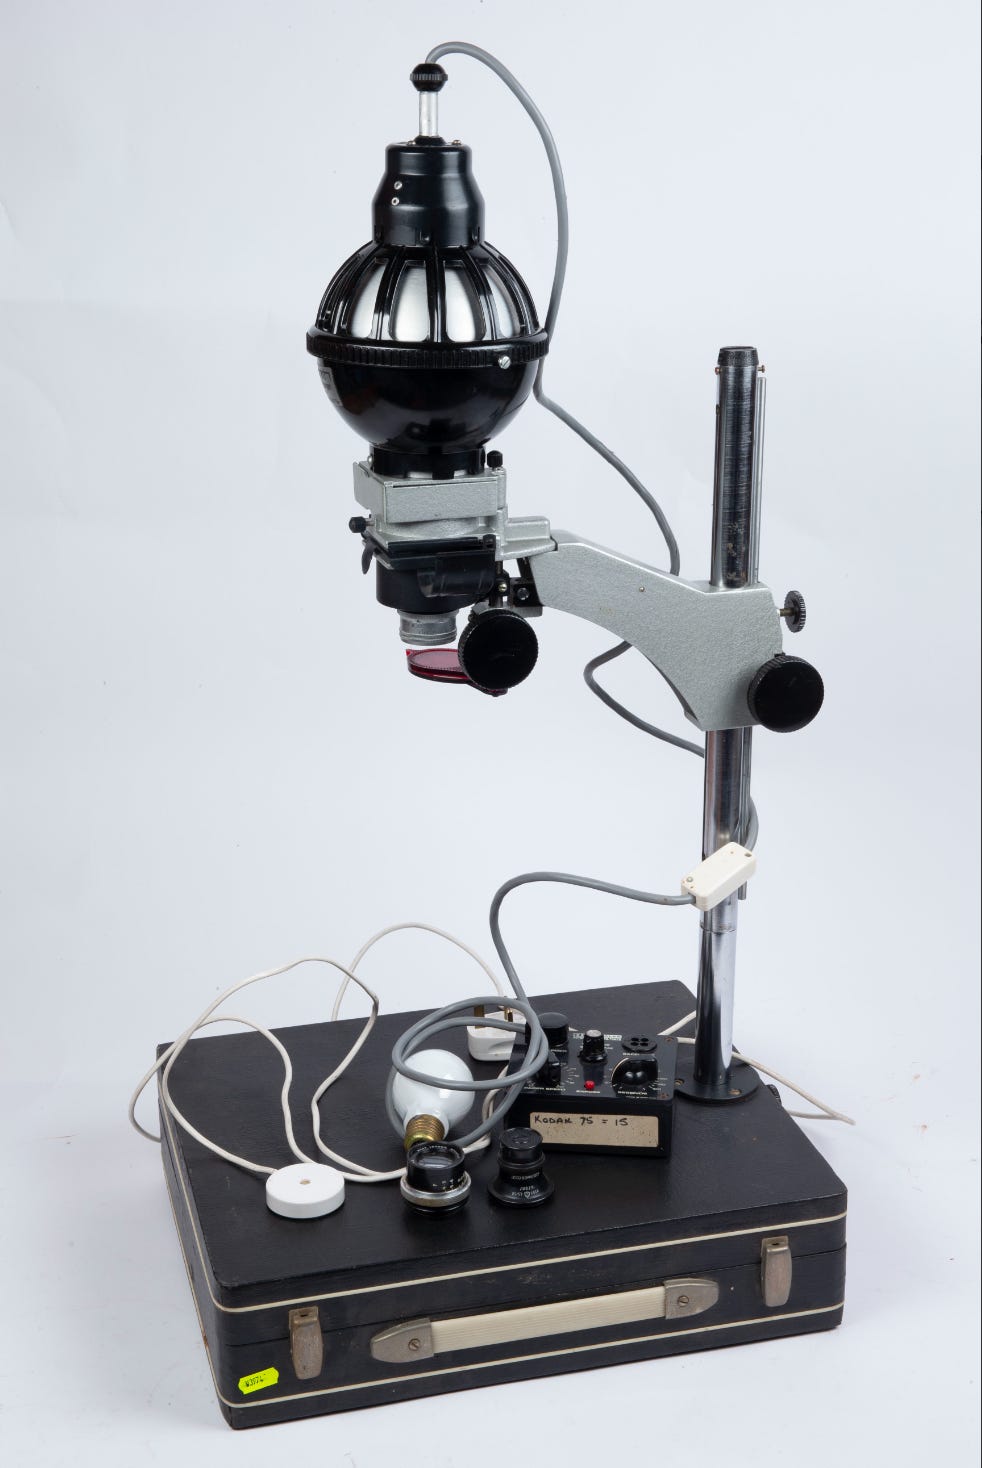
Something to consider is, if you are planning on setting up your darkroom in the bathroom each time you want to print, then don’t get a really heavy enlarger. Carrying one in and out (and storing it) is worth thinking about in advance. I expect that most people will be shooting on 35mm film, and an enlarger that is dedicated to that film format can be quite small. One of the smallest is the Russian Zenit enlarger which packs away into a case which doubles up as the baseboard. It’s a simple and effective little kit, but a bit crude.
If you shoot medium format, or intend to in the future, then you will need a bigger one that can incorporate two film sizes. You will also need two lenses, a 50mm for printing 35mm negatives and a 75 or 80mm for 6x6cm negs. If you shoot 6x7 or 6x9 you will need a correspondingly bigger enlarger and longer focal length lens. The LPL C7700 will print from 6x7 negatives and is well built, but heavy at 16 kg and large. The column is 110 cm high and the thick baseboard is 45x60 cm.

The important thing to note about an enlarger that you might be thinking of getting, is it can be raised or lowered on the column, but won’t begin to slide down once a position has been decided on. Also that it holds the negative flat, and that the illumination is even over the whole of the negative. This last point is difficult to know without seeing it set up in a darkroom. Before you use it, check the wiring is safe.
You will also need a few other items as well as the enlarger;
A room that can be blacked out.
A safe light (orange, amber or red).
Trays x3 (get one size larger than the paper you are using).
Tongs x2.
A steady surface for your enlarger and a table for your trays.
A towel (and maybe a spare one to block the light coming under the door).
A container of water (a bucket, or a big plastic storage box).
A box of darkroom paper (Ilford Multigrade RC deluxe pearl is a good one to start with) .
A masking frame, also known as an easel.
Chemicals (Multigrade Paper developer, stop bath, and fix) .
Scissors.
A bit of card, roughly A4 size.
Paper towels for the odd spillage.
A Paterson focus finder (for checking fine focus).
A clock with a second hand.
Setting up.
Allow yourself at least a couple of hours to set up and make your print, don’t rush it. All the things you need should be laid out on your table where you can easily find them when you are working in low, orange light.
Once you have the equipment (see the list), set up an area with the enlarger and enough space for three trays. Ideally the chemicals should not be near the enlarger. You should have them arranged in a logical sequence; developer, then stop bath, then fix. Beyond that, you could have a big bucket of water to put your prints in to be washed after the printing session. Before you open your box of paper, the most important thing to remember is; Your paper is light sensitive, so always keep the lid on the box. Take out what you need for a test or a print and close it up again, you don’t know if someone is going to open the door and ruin your paper.
You can work with an amber, orange or red light, but I would suggest turning this on after you have checked the room is totally dark. If you leave your printing until the evening, you will probably be able to cover the windows and cracks of light with a couple of layers of black bin liner plastic, stuck up with masking tape. Working on a sunny day will need much more attention to stray light.
I plan to do a couple of Substack posts on printing in the future and will cover basic, intermediate and advanced techniques.
I covered a number of aspects of making test strips, timing exposures, masking frames, safelights and printing in my previous article on darkroom tips here; https://substack.com/@masterprinter/p-173129407
If you find my articles interesting or useful, please spread the word to anyone you can think of who would be interested.
If you have enjoyed this post and the information here and elsewhere on my Substack and you would like to support me, you can subscribe or just buy me a coffee at Ko-fi.com/andrewsandersonphotography You can send as little as £3.00, or more if you are feeling generous. This money goes towards materials used for the tests and printing for these articles. Alternatively you can be a paid subscriber.
Thank you for reading, please let me know your thoughts.
Andrew Sanderson November 2025.
Other places to see my work;
Instagram; http://instagram.com/andrewsandersonphotography
Facebook; https://www.facebook.com/andrew.sanderson.96155/
Original hand made darkroom prints are available from my online shop; www.andrewsandersonphotography.bigcartel.com
I’ve said it before. Your consistent content is great for those starting out. I will say that when I built my darkroom, I did all the research myself and had no help at all. Was it perfect? No. Did I inhale way too many fumes because I had no ventilation? Yes. But in time, I improved upon it year by year until it got to a point where I could walk in, turn out the lights and never miss a beat and that route memory is what counts. To do that, I had to be very disciplined and not change it up too often. Great post!
Ahhh, a blast from the past. I don’t shoot film now but back in the 90s I had to roll film, shoot it, develop it and print it.
Of course, back then the subjects were shots of various and sundry molecular/cellular biology data — don’t ask... We had a couple of darkrooms on the floor where our lab was. A revolving door to get in. A sink and counter top, a red light, and enlarger and some trays and the chemicals we needed. Not fancy at all but it got the job done.
(Don’t tell but one time I did take a roll of lab film out in my camera and shot and developed and printed for a personal project — which ended up being a framed shot of a transformation station as a bespoke gift for someone who worked at ABB, a Swedish electricity company, thinking I’d gift an artsy BnW shot of wires and struts — and that was pretty awesome. Going out and shooting BnW film and printing it was awesome, not my little project 😉).
I really liked learning how to deal with film and printing back then (we even used the first, or maybe second, iteration of Photoshop, back when it was just a one-time licensing purchase, but that was for the digital shots we took through the microscope).
By the time I decided to slap down some cash for a “real” camera, it was the digital age. I miss playing in the printing stage but I don’t miss those nasty chemicals.
Thank you for an interesting read that brings back old memories.